
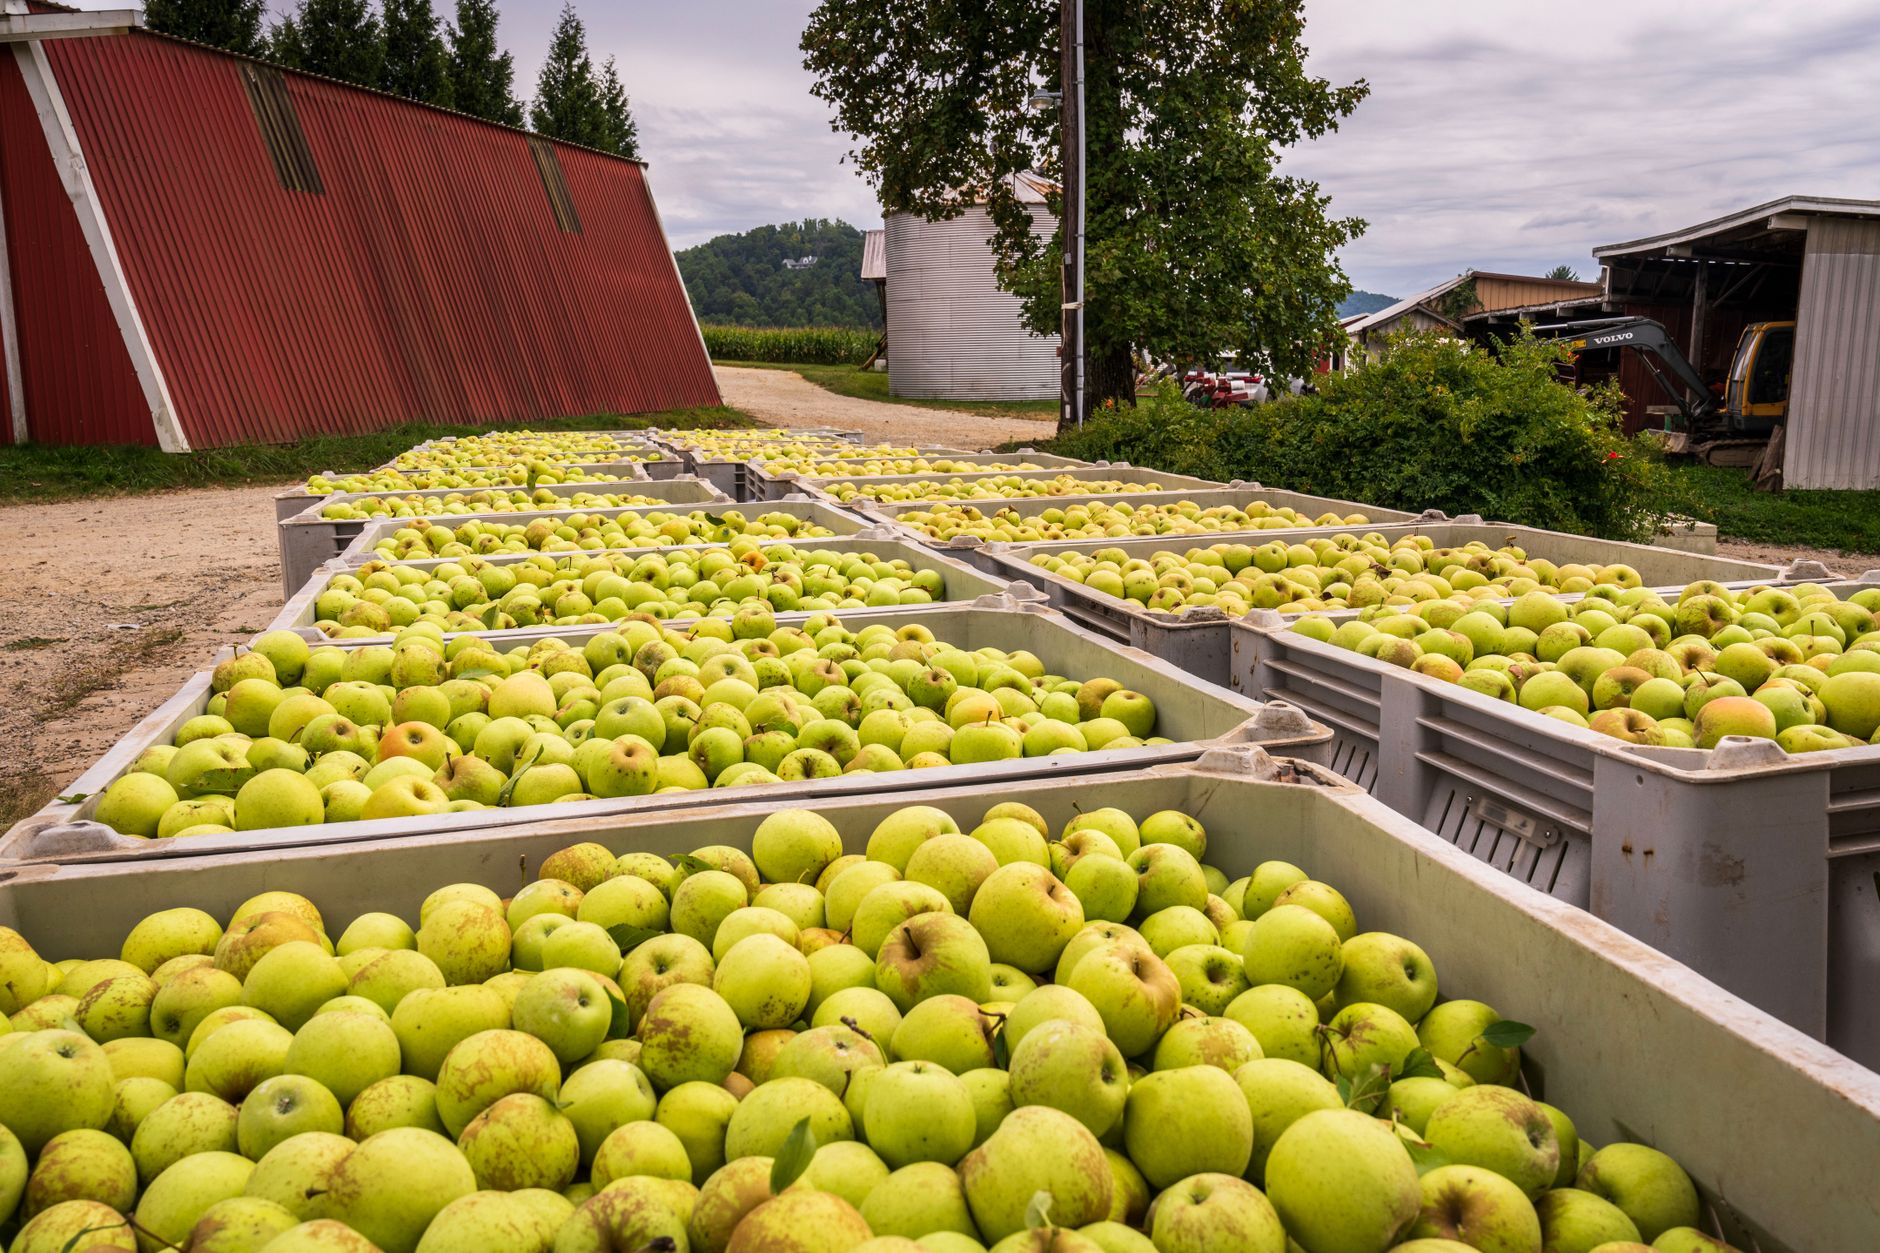
Cider is a popular beverage made from the fermentation of apple juice, enjoyed for its crisp, refreshing taste. The process of making cider can seem complex, but it can be broken down into manageable steps, making it accessible for anyone interested in crafting their own. Understanding how cider is made will enhance your appreciation of this age-old drink and inspire you to perhaps even try making it yourself.
This complete guide will walk you through the cider-making process, from selecting apples to fermentation and bottling, along with helpful tips to ensure the best flavor. Whether you’re a novice or have some experience, this guide will provide all the information you need to embark on your cider-making adventure.
How Is Cider Made?
Cider is made through a fermentation process that converts the sugars in apples into alcohol. The quality of the cider largely depends on the variety of apples used, the fermentation conditions, and the methods employed. This guide presents a step-by-step approach to making your own cider at home, resulting in a delightful drink that can be enjoyed either fresh or after proper aging.
Essential Ingredients for Cider Production
To make cider, you need a few basic ingredients. Here’s what you’ll require:
- Apples: The primary ingredient, choose a mix of sweet, tart, and aromatic apples for a balanced flavor.
- Yeast: A critical component for fermentation; you can use commercial cider yeast or wild yeast found on apple skins.
- Water: Used to dilute the juice if it is too concentrated and balance the overall sugar levels.
- Optional additives: Sugar, acid blend, or preservatives may be added to enhance flavor and stability.
Equipment Needed for Cider Making
Before you get started, it’s essential to gather the necessary equipment:
- Apple press: Either a traditional press or a more modern fruit grinder.
- Fermentation vessel: A glass carboy, food-grade bucket, or demijohn equipped with an airlock.
- Siphon: For transferring cider between containers without disturbing sediment.
- Bottles: Clean bottles for storing the finished cider, preferably glass.
- Hydrometer: Measures the specific gravity to track fermentation progress.
- Thermometer: To monitor fermentation temperature.
Step-by-Step Guide to Making Cider
Follow these steps to create your own cider:
- Choosing and Preparing Apples:
Select a combination of apples for your desired flavor profile. Popular varieties include Granny Smith (tart), Fuji (sweet), and Honeycrisp (aromatic). Wash the apples thoroughly and remove any blemishes or rotten spots. - Crushing the Apples:
Use an apple crusher or food processor to crush the apples into a pulp. This increases surface area, allowing for better juice extraction. - Pressing the Apples:
Transfer the crushed apples to your apple press and extract the juice. Collect the resulting juice into a clean fermentation vessel. Aim for around 5 to 6 gallons total juice to yield a batch of cider. - Measuring the Specific Gravity:
Use a hydrometer to measure the initial specific gravity of the juice. This helps determine the potential alcohol content once fermentation is complete. Typical specific gravity for apple juice ranges from 1.050 to 1.070. - Adding Yeast:
Depending on your chosen yeast, you may need to rehydrate it before adding. Follow the instructions provided with the yeast. Stir well to incorporate it into the juice effectively. - Fermentation:
Seal your fermentation vessel with an airlock and place it in a cool, dark place. Ideal fermentation temperatures are between 60°F and 75°F (15°C to 24°C). Fermentation typically lasts from one to three weeks, during which the yeast converts sugars into alcohol. - Checking the Fermentation:
Monitor the fermentation by checking the specific gravity periodically with a hydrometer. When the gravity stabilizes over two consecutive readings, fermentation is nearing completion. - Siphoning the Cider:
Once fermentation is complete, use a siphon to transfer the cider away from the sediment (lees) that has formed at the bottom of the fermenter. Use care to prevent aeration. - Clarifying the Cider:
At this point, you can choose to let the cider clarify naturally over several weeks or use fining agents if you want quicker results. Natural cider will typically achieve a nicer clarity with time. - Bottling the Cider:
When the cider is clear and stable, prepare clean bottles for bottling. If you wish to carbonate your cider, add a small amount of sugar to each bottle or use a carbonation system. Seal the bottles tightly. - Aging the Cider:
Place the bottled cider in a cool, dark place and allow it to age for at least a month. A longer aging period can enhance complexity and flavor. - Tasting Your Cider:
After aging, chill a bottle, pour, and enjoy! Assess the flavor and aroma to determine if any further adjustments are needed for future batches.
Helpful Tips for Successful Cider Making
Here are some practical tips to improve your cider-making experience:
- Choose the Right Apples: Apples are the heart of cider. Experiment with various local and seasonal varieties or consult a cider book for recommended combinations.
- Sanitize Everything: Maintain sanitation to prevent wild bacteria from spoiling your cider. Everything that touches your cider (tools, containers, and bottles) should be thoroughly cleaned and sanitized.
- Monitor Temperature: Consistent fermentation temperature is critical. If the fermentation gets too warm (above 75°F or 24°C), it can result in off-flavors; if too cold, fermentation may stall.
- Patience is Key: Rushing the fermentation or aging process can impact flavor. Allow your cider to develop, and don’t be afraid to wait longer for the best results.
- Experiment with Flavors: You can infuse your cider with spices, herbs, or other fruits during fermentation for unique flavors. Just remember that less is often more—start small when experimenting with additives.
Common Mistakes and Troubleshooting
Cider making can be tricky, and issues may arise during the process. Here are some common problems and how to handle them:
- Off-flavors: This can occur due to wild yeast or bacteria contamination. Ensure all equipment is sanitized and consider adjusting your process to include sulfites for protection.
- Fermentation Stalls: If fermentation does not start or stop abruptly, check your yeast viability and temperature conditions. If necessary, pitch an additional yeast starter.
- Cloudiness: Cloudiness can result from suspended particles; allowing the cider to settle or using fining agents can help clarify it.
- Excess Carbonation: If your cider is overly fizzy, it might have been over-sweetened before bottling. Make sure to measure your sugar precisely if carbonating.
- Low Alcohol Content: If the specific gravity is too high after fermentation, it could indicate incomplete fermentation. Ensure the yeast is healthy and the conditions are optimal.
Variations and Substitutions
Once you’ve mastered the basic method, you might want to explore different types of cider by adjusting your ingredients and techniques:
- Fruit Cider: Replace a portion of the apple juice with other fruit juices such as pear, cherry, or berry to create blended ciders.
- Spiced Cider: Add spices such as cinnamon, cloves, or nutmeg during fermentation for a holiday or seasonal flavor.
- Dry vs. Sweet Cider: Adjust the residual sugar levels by stopping fermentation early (for sweeter cider) or allowing it to ferment completely (for drier cider).
- Sparkling Cider: For a bubbly finish, you can add priming sugar to your bottles before sealing, enabling a second fermentation to produce bubbles.
Storing and Serving Cider
When it comes to storing your cider, keep these points in mind:
- Storage Conditions: Store cider in a cool, dark place, ideally at temperatures between 50°F and 60°F (10°C to 15°C). Avoid direct sunlight and heat.
- Refrigeration: Once opened, cider can be refrigerated. Most commercially produced ciders are best consumed fresh, while homemade ciders may reward aging for improved flavor.
- Serving Suggestions: Serve chilled in a glass, and pair with food such as cheeses, roasted meats, or charcuterie to enhance the tasting experience.
- Freshness Check: Always check for off-flavors when opening a bottle. If something seems off, it may be best to discard it rather than risk an unpleasant experience.
Making cider can be a rewarding process that allows you to encapsulate the flavors of apples into a delightful beverage. With patience, attention to detail, and a willingness to experiment, anyone can enjoy the craft of cider making.
If you’re interested in learning more about related techniques, consider exploring our boiled cider recipe or try making a unique cyser recipe using apples and honey for a truly special drink. Happy cider making!