The smell of apples simmering down into liquid gold on the stove is one of autumn’s best-kept secrets, and boiled cider is the magic that happens when you let it happen.
This old-fashioned recipe transforms fresh apple cider into a syrupy, intensely flavored concentrate that works as a glaze, a sweetener, a sauce topping, or straight-up liquid gold in cocktails. It requires almost no skill, just time and patience, making it perfect for anyone who wants to preserve the essence of fall in a bottle.
Why You’ll Love This Recipe
Boiled cider strips away the water from fresh apple juice, leaving behind pure apple flavor that tastes like autumn in a spoon.
- Takes one basic ingredient and transforms it into something special.
- Works as a glaze for pork, a sweetener for baked goods, or a mixer for cocktails.
- No special equipment or technique required, just heat and time.
- Keeps for months in the fridge, so you get fall flavor year-round.
- Impresses people who don’t know you made it from scratch.
My Experience Making This Recipe
The first time I made boiled cider, I filled a pot with fresh cider from a local orchard and honestly forgot about it for hours. The smell that eventually filled my kitchen was intoxicating, and when I finally looked at what remained, I found myself staring at a pot of glossy, dark syrup that tasted like concentrated apple pie.
I’ve since learned that the slow, gentle reduction is the whole point. Your kitchen fills with the most incredible apple aroma, and people walking in ask what you’re baking even though you’re just simmering juice.
The syrup keeps for months, and I’ve used it on everything from roasted chicken to vanilla ice cream. It’s become one of those recipes I make every fall without thinking twice.
Recipe Overview
- Recipe Name: Boiled Cider
- Servings: Makes about 1 cup of boiled cider syrup
- Prep Time: 5 minutes
- Cook Time: 3 to 4 hours
- Total Time: 3 to 4 hours and 5 minutes
- Course: Condiment or Syrup
- Cuisine: American
- Calories per Serving: 50 calories (per 1 tablespoon serving)
Equipment You Will Need
- Heavy-bottomed pot or Dutch oven
- Wooden spoon for stirring
- Thermometer (candy or instant-read)
- Fine mesh strainer or cheesecloth
- Glass jars for storage
- Measuring cups
- Paper towels
Ingredients for Boiled Cider
- Fresh apple cider: 1 gallon (64 ounces)
Ingredient Notes and Substitutions
- Fresh apple cider is essential here because it provides the full, complex apple flavor that makes boiled cider special. If you can’t find fresh cider, filtered apple juice works but produces a thinner, less rich result, since cider has more solids and natural sugars.
- Some people use cloudy cider versus clear cider. Cloudy cider gives a richer, earthier boiled cider, while clear cider produces a cleaner, brighter finish.
How to Make Boiled Cider
Step 1: Choose Your Cider and Check Quality
Start with the best fresh apple cider you can find, ideally from a local orchard or farmers market made within the last few days. Fresh cider has more flavor and natural pectin, which helps your boiled cider thicken properly.
Step 2: Pour Cider Into Your Pot
Pour the entire gallon of cider into your heavy-bottomed pot. A heavy pot distributes heat evenly and prevents scorching on the bottom, which would ruin the clean apple flavor.
Step 3: Bring to a Boil Over Medium-High Heat
Place the pot on the stove over medium-high heat and bring the cider to a rolling boil. Watch it carefully during this first phase, as it can boil over if you’re not paying attention.
Step 4: Reduce Heat and Maintain a Gentle Simmer
Once the cider reaches a boil, immediately turn the heat down to medium or medium-low so the cider simmers gently and steadily. A gentle simmer prevents spattering and keeps the flavors from becoming bitter or scorched.
Step 5: Let It Reduce, Stirring Occasionally
Allow the cider to bubble away quietly for the next 3 to 4 hours, stirring every 20 to 30 minutes with a wooden spoon. You’re watching the liquid evaporate down to about one-sixteenth of its original volume, which concentrates all the sugars and apple flavor into a syrup.
Step 6: Watch for Color Changes
As the cider reduces, its color will deepen from pale gold to amber to a dark reddish-brown. This color shift tells you the reduction is progressing, but don’t let it go so far that it becomes nearly black, which means it’s caramelized and turning bitter.
Step 7: Test for Doneness With Temperature
Use a candy or instant-read thermometer to check when your boiled cider reaches 226 to 230 degrees Fahrenheit. At this temperature, the syrup will coat a spoon and fall off in a thick sheet rather than running off in a thin stream.
Step 8: Cool and Strain if Desired
Remove the pot from heat and let the boiled cider cool for 10 to 15 minutes. If you want a perfectly clear syrup, pour it through a fine mesh strainer or cheesecloth into a clean jar, though the natural sediment doesn’t affect flavor.
Step 9: Transfer to Storage Jars
Once cooled, transfer your boiled cider into glass jars with tight-fitting lids. Make sure the jars are clean and dry before filling to prevent mold growth during storage.
Pro Tip: The most important moment is maintaining that gentle simmer throughout the entire reduction. Turning the heat too high causes bitter, scorched flavors, while too low a heat takes forever and risks fermentation.
Tips for the Best Boiled Cider
- Don’t walk away from your pot completely, but you don’t need to stand and watch it either. Stirring every 20 to 30 minutes prevents sticking and ensures even reduction.
- Use a pot wider than it is tall because more surface area exposed to heat speeds up evaporation and gives you more control over the final consistency.
- Start checking the temperature around the 3-hour mark so you don’t overshoot your target and end up with overly thick syrup that hardens when cold.
- If you want a smoother syrup without any sediment, strain it while still warm, as the syrup flows through the strainer much easier than when cold.
- Taste your boiled cider once it’s completely cool, then decide if you want to use it as is or thin it slightly with a splash of water for a different consistency.
Common Mistakes to Avoid
- Using high heat throughout the cooking time burns the bottom of the pot and makes the boiled cider taste scorched or bitter instead of clean and sweet.
- Not stirring frequently enough causes uneven reduction and hot spots where the cider caramelizes too quickly in some areas.
- Walking away completely and forgetting about the pot leads to overcooked, rock-hard syrup that’s too thick to use and tastes more like burnt sugar than apples.
- Using store-bought juice instead of fresh cider produces a thin, one-dimensional syrup because juice lacks the natural pectin and complexity of real cider.
- Skipping the straining step leaves sediment that some people find unpleasant, even though it tastes fine and adds to the rustic appeal.
Serving Suggestions
Boiled cider works everywhere you’d use honey or maple syrup, plus some places those can’t go. It brings a sophisticated apple depth to both sweet and savory dishes.
- Drizzle over roasted pork chops or chicken thighs for a glossy, flavorful glaze.
- Stir into vanilla ice cream or Greek yogurt for an instant apple dessert sauce.
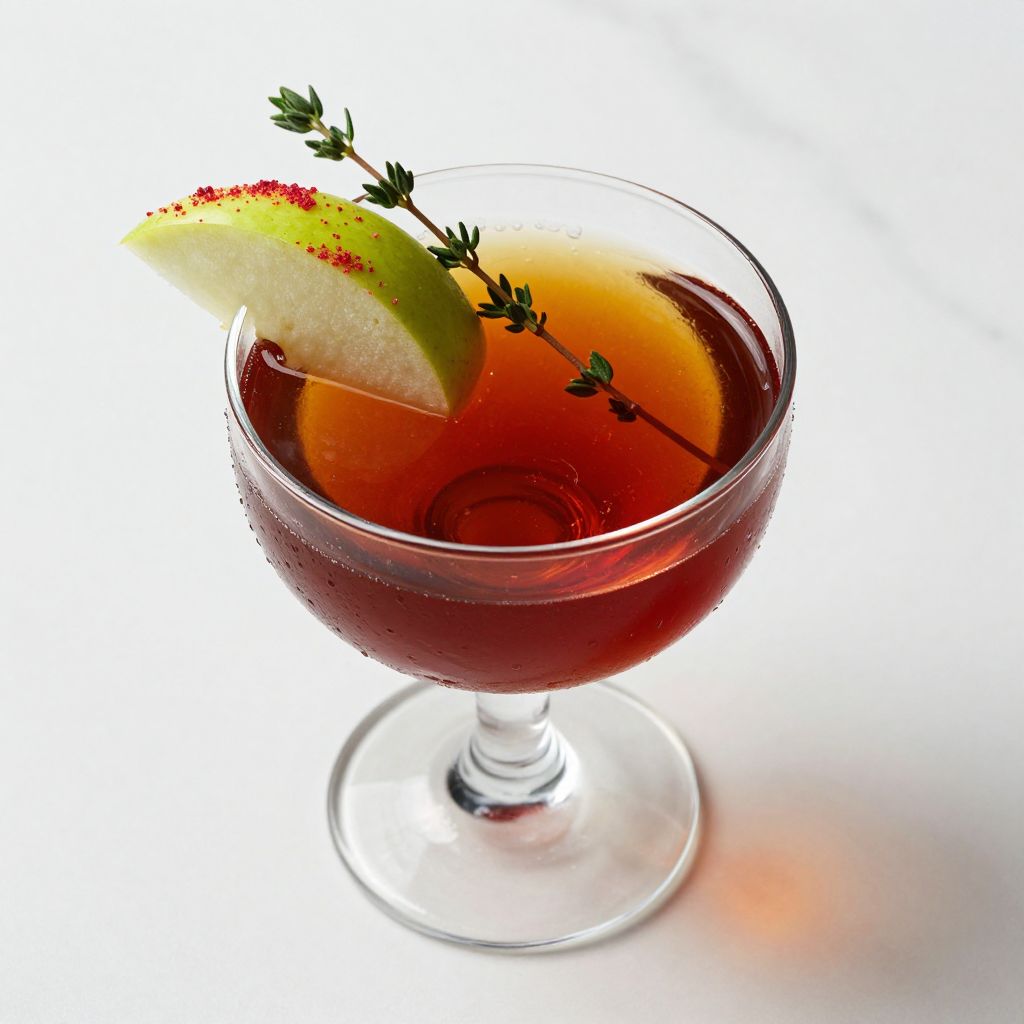
- Mix into bourbon or rye whiskey for a complex, warming cocktail.
- Swirl into oatmeal or yogurt bowls for breakfast with real apple flavor instead of fake syrup.
- Use as a sweetener in salad dressings paired with apple cider vinegar and mustard.
Variations to Try
- Spiced Boiled Cider: Add a cinnamon stick, a few cloves, and a star anise to the pot at the start of cooking for a warm, spiced version that smells incredible.
- Maple Boiled Cider: Reduce regular cider to half the usual thickness, then stir in a splash of pure maple syrup for a deeper, more complex sweetness.
- Bourbon Boiled Cider: Once your cider is reduced and cooled, stir in a small amount of bourbon or whiskey for a spirit-forward syrup perfect for glazing ham or ribs.
- Concentrated Apple Paste: Continue reducing past the syrup stage until the boiled cider becomes nearly solid, then spread it on crackers with cheese or use it as a filling for pastries.
Dietary Adaptations
- Gluten-Free: Boiled cider is naturally gluten-free since it’s just concentrated apple juice, making it safe for anyone avoiding gluten.
- Dairy-Free: This recipe contains no dairy at all, so it works perfectly for anyone avoiding milk products.
- Vegan: Boiled cider is completely plant-based, requiring no animal products, so vegans can use it freely.
- Low-Carb or Keto: Apple cider contains natural sugars that concentrate as the liquid reduces, so boiled cider is fairly high in carbs and not ideal for strict keto diets.
Storage and Reheating
Refrigerator
Boiled cider keeps in the refrigerator for 2 to 3 months in a sealed glass jar. The high sugar content naturally preserves it, so you don’t need to worry about it spoiling quickly.
- Store in airtight glass jars away from strong-smelling foods that might transfer flavors.
- If it thickens too much in the cold, warm it gently or stir in a tiny splash of water to loosen it.
Freezer
Boiled cider freezes well for up to one year, so you can enjoy fall flavors year-round. Freeze it in small portions for easy thawing.
- Pour into ice cube trays and freeze, then pop out the cubes and store in a freezer bag for individual servings.
- Leave a little headspace in glass jars if you freeze them whole, since the syrup expands slightly as it freezes.
Reheating
Boiled cider doesn’t really need reheating, but you can warm it gently if it’s become thick from cold storage. Simply place the jar in warm water or heat it briefly over low heat on the stovetop.
- Avoid microwaving in glass jars without removing the lid, as steam pressure can cause the jar to crack.
- Most often, you’ll use it straight from the jar without warming at all.
Nutrition Information
| Nutrient | Amount |
|---|---|
| Calories | 50 |
| Total Fat | 0 g |
| Saturated Fat | 0 g |
| Carbohydrates | 12 g |
| Fiber | 0 g |
| Sugar | 11 g |
| Protein | 0 g |
| Sodium | 20 mg |
| Cholesterol | 0 mg |
These values represent one tablespoon of boiled cider. Keep in mind that values vary slightly depending on the specific apples used in your cider and how long you reduce it.
Frequently Asked Questions
Can I Use Store-Bought Apple Juice Instead of Fresh Cider?
Store-bought apple juice produces a thinner, less flavorful boiled cider than fresh cider. Fresh cider contains more natural pectin, sediment, and complex flavors that concentrate beautifully, while juice is filtered and pasteurized, removing much of that depth.
How Do I Know When My Boiled Cider Is Done?
The best test is using a thermometer to reach 226 to 230 degrees Fahrenheit, but you can also use the spoon test by dropping a small amount on a cold plate and seeing if it thickens and sets like syrup. If you prefer a thinner consistency, pull it off heat at 220 degrees, or go to 235 degrees for a thicker, nearly solid syrup.
Can I Make Boiled Cider Ahead and Freeze It?
Absolutely, and this is one of the best parts of making boiled cider. You can make a big batch in autumn, freeze it in portions, and use it throughout the year whenever you need that concentrated apple flavor.
Why Did My Boiled Cider Turn Dark or Taste Bitter?
The heat was too high at some point, causing the sugars to caramelize and burn. Lower the heat to maintain just a gentle simmer, and stir more frequently to prevent any one spot from getting too hot and cooking too fast.
What If I Don’t Have a Candy Thermometer?
You can use the spoon test or the cold plate test instead. Dip a spoon into the boiling cider, pull it out, let it cool for a second, and see if it coats the spoon thickly and runs off in a sheet instead of a thin stream, which indicates you’ve reached syrup consistency.
Can I Use Boiled Cider in Baking?
Yes, boiled cider works beautifully in apple cakes, apple muffins, and spice cakes as both a flavoring and a partial sweetener. Use it in place of some of the liquid and sugar in your recipe, though you may need to adjust the other ingredients slightly to maintain the right balance.
Final Thoughts
Making boiled cider feels like you’re doing something special, even though the recipe couldn’t be simpler. One ingredient, patience, and a bit of heat transform fresh apple cider into something that tastes like you spent hours in the kitchen when really you just let time do the work.
If you love apples, fall, or the smell of simmering fruit filling your home, this recipe deserves a spot on your to-make list this season. Your kitchen will smell incredible, and you’ll have a bottle of liquid gold that keeps giving for months.
Boiled Cider
Ingredients
Equipment
Method
- Start with the best fresh apple cider you can find, ideally from a local orchard or farmers market made within the last few days. Fresh cider has more flavor and natural pectin, which helps your boiled cider thicken properly.
- Pour the entire gallon of cider into your heavy-bottomed pot. A heavy pot distributes heat evenly and prevents scorching on the bottom, which would ruin the clean apple flavor.
- Place the pot on the stove over medium-high heat and bring the cider to a rolling boil. Watch it carefully during this first phase, as it can boil over if you're not paying attention.
- Once the cider reaches a boil, immediately turn the heat down to medium or medium-low so the cider simmers gently and steadily. A gentle simmer prevents spattering and keeps the flavors from becoming bitter or scorched.
- Allow the cider to bubble away quietly for 3 to 4 hours, stirring every 20 to 30 minutes with a wooden spoon. You're watching the liquid evaporate down to about one-sixteenth of its original volume, which concentrates all the sugars and apple flavor into a syrup.
- As the cider reduces, its color will deepen from pale gold to amber to a dark reddish-brown. This color shift tells you the reduction is progressing, but don't let it go so far that it becomes nearly black, which means it's caramelized and turning bitter.
- Use a candy or instant-read thermometer to check when your boiled cider reaches 226 to 230 degrees Fahrenheit. At this temperature, the syrup will coat a spoon and fall off in a thick sheet rather than running off in a thin stream.
- Remove the pot from heat and let the boiled cider cool for 10 to 15 minutes. If you want a perfectly clear syrup, pour it through a fine mesh strainer or cheesecloth into a clean jar, though the natural sediment doesn't affect flavor.
- Once cooled, transfer your boiled cider into glass jars with tight-fitting lids. Make sure the jars are clean and dry before filling to prevent mold growth during storage.