
There’s nothing quite like the crisp, refreshing taste of homemade hard cider, especially on a warm afternoon. This Homebrew Hard Cider Recipe is not just easy to whip up, it brings the taste of fall right into your glass, making it perfect for gatherings or a cozy night in.
Why You’ll Love This Recipe
This hard cider recipe stands out for its simplicity and flavor. You’ll appreciate how you can customize it to your taste.
- Deliciously refreshing with a hint of natural sweetness.
- Easy to customize with different apple varieties.
- Perfect for any occasion, from picnics to parties.
- Great way to impress friends with a homemade beverage.
- Once you try it, store-bought won’t compare.
My Experience Making This Recipe
The first time I made this hard cider, I was skeptical about how it would turn out. But when I took that first sip, I was blown away by the crisp apple flavor and slight fizz.
Friends and family were eager to try it, and their compliments made the effort worthwhile. It felt rewarding to bring a taste of autumn from my kitchen to their glasses.
Recipe Overview
- Recipe Name: Homebrew Hard Cider
- Servings: 6-8 servings
- Prep Time: 15 minutes
- Cook Time: 1-2 weeks (fermentation)
- Total Time: 1-2 weeks, 15 minutes active
- Course: Beverage
- Cuisine: American
- Calories per Serving: Approximately 150 calories
Equipment You Will Need
- Large fermentation vessel (like a glass carboy)
- Airlock and stopper
- Funnel
- Hydrometer (optional)
- Bottling bucket or siphon
- Clean bottles and caps
Ingredients for Homebrew Hard Cider
- Apple cider: 1 gallon (fresh, unpasteurized is best)
- Granulated sugar: 1 cup (for fermentation)
- Yeast: 1 packet of champagne or cider yeast
- Water: 1 cup (if needed to dilute)
- Optional spices: Cinnamon sticks, cloves, or ginger for flavor
Ingredient Notes and Substitutions
- Apple cider: This is the base of your cider, providing the primary flavor. You can substitute with store-bought apple juice if fresh cider isn’t available.
- Granulated sugar: Sugar is necessary for fermentation to create alcohol. Honey or brown sugar can be used as alternatives.
- Yeast: Cider yeast enhances flavor and carbonation. If unavailable, a packet of champagne yeast works well.
How to Make Homebrew Hard Cider
Step 1: Gather Ingredients and Equipment
Start by assembling all your ingredients and tools. Having everything ready makes the process smoother and more enjoyable.
Step 2: Prepare the Fermentation Vessel
Thoroughly clean your fermentation vessel to prevent any unwanted bacteria from spoiling your cider. Sanitation is key to a successful brew.
Step 3: Pour Apple Cider into the Vessel
Carefully pour the apple cider into your fermentation vessel. Leave some headspace at the top to allow for bubbling during fermentation.
Step 4: Add Sugar
Dissolve the granulated sugar in a small amount of warm water, then add it to the cider. This will provide the yeast with the necessary sugars to create alcohol and carbonation.
Step 5: Add Yeast
Sprinkle the yeast on top of the mixture without stirring. The yeast will hydrate and begin the fermentation process naturally.
Step 6: Seal with Airlock
Fit the airlock onto the fermentation vessel. This allows gases to escape while keeping out contaminants that could spoil your cider.
Step 7: Ferment
Place the vessel in a cool, dark area for 1 to 2 weeks. You will notice bubbling, which indicates fermentation is happening!
Step 8: Bottle the Cider
Once fermentation slows down, siphon the cider into cleaned bottles, leaving some space at the top. Seal them with caps and store them in a cool place.
Pro Tip: Taste your cider before bottling to see if it’s to your liking; you can always add more sugar or spices at this stage!
Tips for the Best Homebrew Hard Cider
- Use fresh apple cider for the best flavor; pasteurized versions may lack the depth.
- Experiment with different apple varieties to find your favorite flavor combination.
- Keep your fermentation area dark and cool to help maintain a steady temperature.
- Be patient; the longer it ferments, the more complex the flavor becomes.
- Store bottled cider upright to prevent sediment from mixing back in.
Common Mistakes to Avoid
- Skipping sanitation can introduce bacteria, ruining the cider.
- Using pasteurized cider may limit flavor; fresh is best.
- Not allowing enough fermentation time can result in a flat cider.
- Overfilling bottles can cause messes and loss of carbonation.
Serving Suggestions
Serve your homemade hard cider chilled for the best experience. Here are some pairing ideas to enhance your enjoyment.
- Pair with sharp cheeses for a delightful contrast.
- Great with hearty dishes like roasted meats.
- Serve alongside autumnal desserts like apple pie.
- Mix with a splash of ginger beer for a refreshing cocktail.
Variations to Try
- Add a splash of cranberry juice for a tart twist on your cider.
- Infuse with spices like cinnamon or cloves during fermentation for warmth.
- Experiment with different fruits, like pears or peaches, for unique flavors.
- Try a hopped version by adding hops for a beer-like finish.
Dietary Adaptations
- Gluten-free: This cider is naturally gluten-free, making it suitable for those with gluten sensitivities.
- Dairy-free: No dairy ingredients are used, making it safe for those avoiding dairy.
- Vegan: All ingredients are plant-based, perfect for vegan diets.
- Low-carb/keto: Consider reducing the sugar for a lower-carb option.
Storage and Reheating
Refrigerator
Store your cider in a cool, dark place or in the fridge after bottling.
- Lasts about 6 months in the fridge.
- Keep bottles upright to avoid sediment disturbance.
Freezer
Freezing is not recommended as it can alter the taste and texture of the cider.
- Instead, aim to drink it fresh.
Reheating
While cider is best served cold, you can warm it gently on the stove if desired.
- Add spices for a mulled cider experience.
Nutrition Information
| Nutrient | Amount |
|---|---|
| Calories | 150 |
| Total Fat | 0g |
| Saturated Fat | 0g |
| Carbohydrates | 15g |
| Fiber | 0g |
| Sugar | 12g |
| Protein | 0g |
| Sodium | 5mg |
| Cholesterol | 0mg |
This information is an estimate and may vary based on specific ingredients and portion sizes.
Frequently Asked Questions
Can I use store-bought apple juice instead of cider?
Yes, but fresh cider provides a richer flavor that’s hard to beat.
How long can I store my hard cider?
Properly bottled hard cider can last up to six months in the fridge.
What if my cider isn’t fizzy?
Insufficient fermentation time or too little sugar can lead to flat cider; ensure both are adequate.
Can I make this without special equipment?
While some equipment helps, you can use clean containers and bottles; just be mindful of sanitation.
Is it possible to make a non-alcoholic version?
Yes, simply use apple cider and skip the yeast; you’ll have a delicious apple drink instead.
Final Thoughts
Making your own hard cider is a fun, rewarding experience that brings a bit of autumn magic to your home. Give it a try, and you’ll see how satisfying it is to sip on your own creation.
For more delicious drink ideas, explore this hard apple cider recipe or check out this delightful cyser recipe for a unique twist!
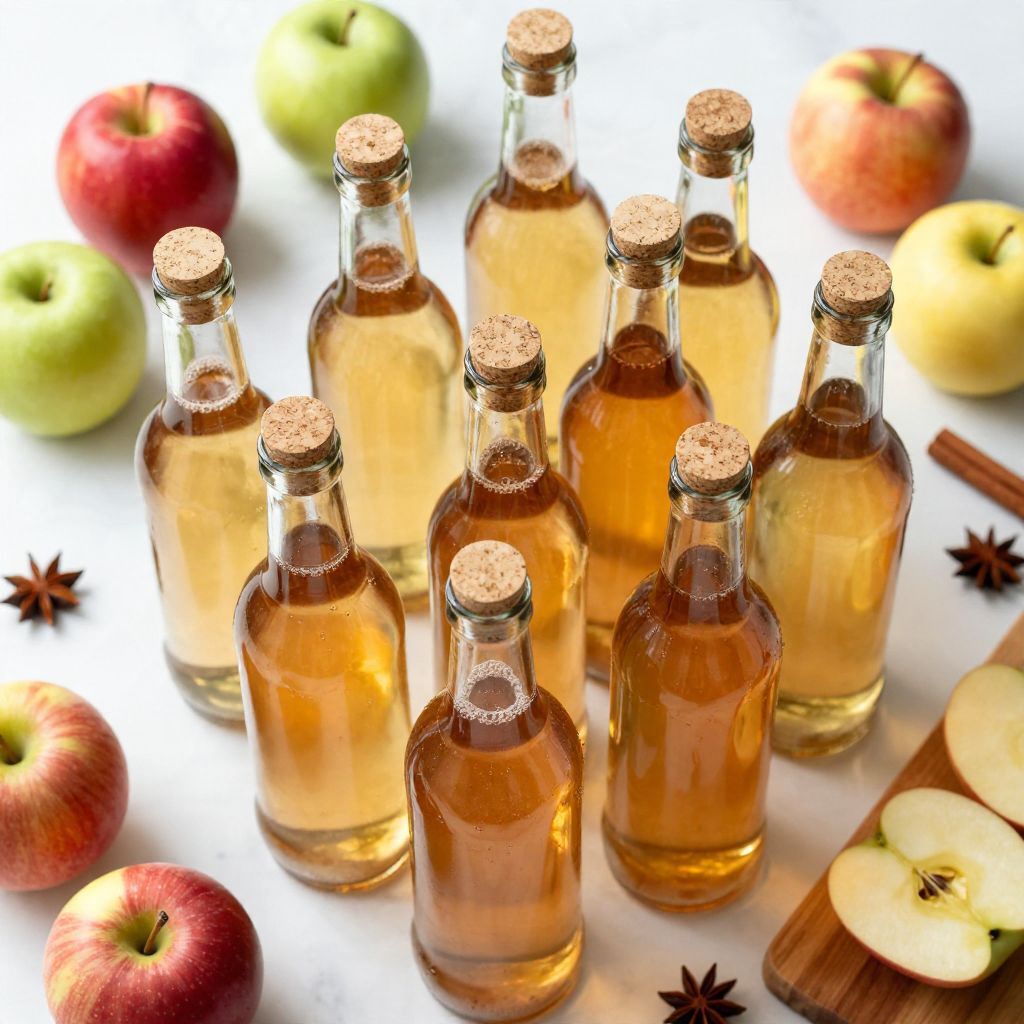
Homebrew Hard Cider
Ingredients
Equipment
Method
- Gather all ingredients and equipment.
- Thoroughly clean your fermentation vessel to prevent any unwanted bacteria.
- Pour the apple cider into the fermentation vessel, leaving headspace at the top.
- Dissolve the granulated sugar in a small amount of warm water, then add it to the cider.
- Sprinkle the yeast on top of the mixture without stirring.
- Fit the airlock onto the fermentation vessel.
- Place the vessel in a cool, dark area for 1 to 2 weeks.
- Once fermentation slows down, siphon the cider into cleaned bottles, leaving some space at the top. Seal them with caps.