
Picture a crisp autumn afternoon, with the sweet scent of ripe pears wafting through the air. Making your own Perry Cider is not only a delightful way to celebrate the harvest, but it also brings a unique flavor that store-bought versions can’t match.
This recipe is special because it combines the juicy goodness of pears with the magic of fermentation, creating a refreshing drink that’s perfect for sharing. The result is a smooth, fruity cider with a hint of sweetness that’s versatile enough for any occasion.
Ready to get started? Let’s gather our ingredients and equipment.
Why You’ll Love This Recipe
This Perry Cider recipe is a favorite for many reasons.
- Deliciously fruity and refreshing.
- Simple fermentation process.
- Perfect for gatherings or cozy nights in.
- Can be customized with different pear varieties.
- Great for both beginners and seasoned cider makers.
My Experience Making This Recipe
The first time I made Perry Cider, I was amazed by how the sweet pear aroma filled my kitchen. Watching the fermentation process transform the simple ingredients into a bubbly delight was nothing short of magical.
Friends were skeptical at first, but once they took that first sip, I knew I had a winner on my hands. The smooth, slightly effervescent cider had them coming back for more.
Recipe Overview
- Recipe Name: Perry Cider
- Servings: 5-6 (1 gallon)
- Prep Time: 30 minutes
- Cook Time: 1-2 weeks (fermentation)
- Total Time: 1-2 weeks
- Course: Beverage
- Cuisine: Fermented
- Calories per Serving: Approximately 150
Equipment You Will Need
- Fermentation vessel (1-gallon glass carboy or food-grade bucket)
- Airlock and stopper
- Siphon or racking cane
- Bottling bucket or funnel
- Clean bottles with caps or corks
- Hydrometer (optional, for measuring sugar content)
Ingredients for Perry Cider
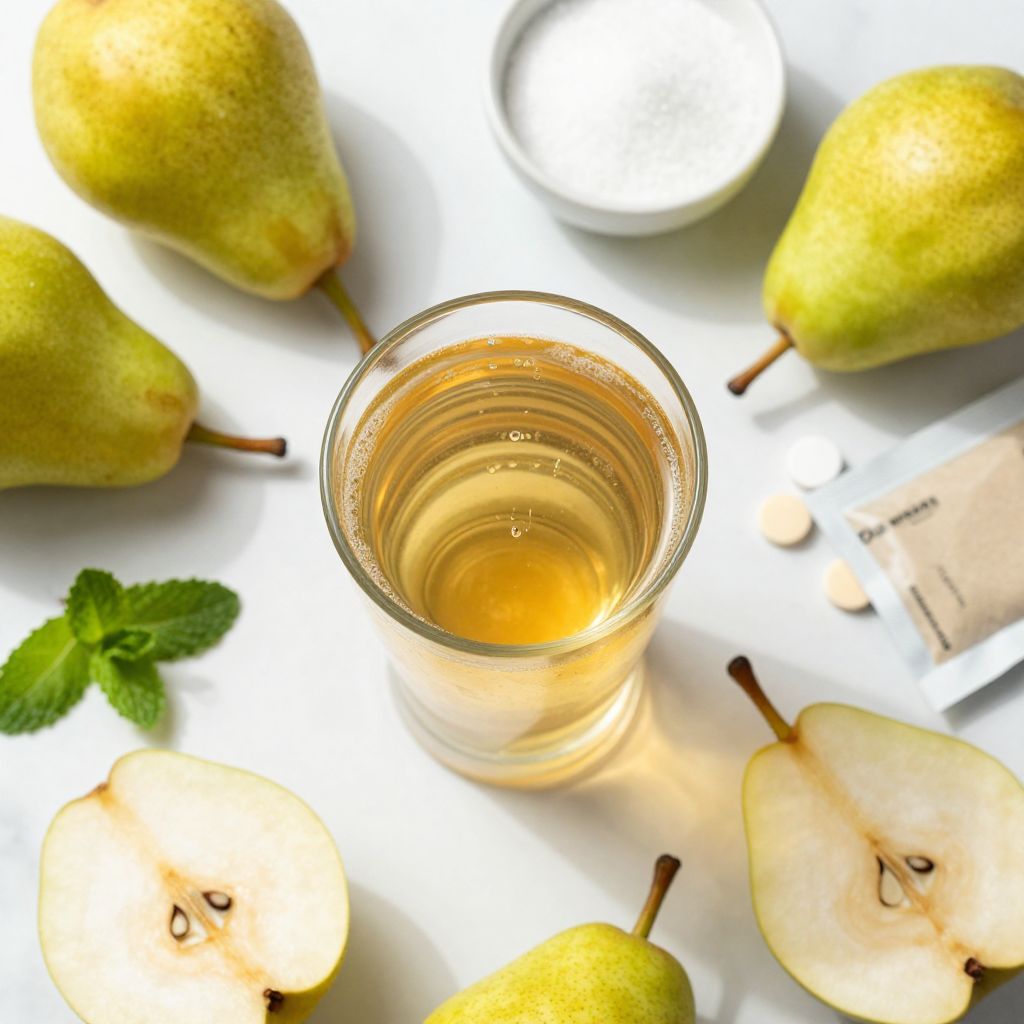
- Pears: 6-8 lbs (any variety, ripe and fresh)
- Water: 1 gallon (preferably filtered)
- Sugar: 1 cup (adjust based on sweetness preference)
- Yeast: 1 packet (Champagne or cider yeast works well)
- Campden tablets: Optional, for sterilizing the must
Ingredient Notes and Substitutions
- Pears: Used for their natural sugars and flavor; can substitute with apples for a different taste.
- Water: Ensures proper dilution; bottled water can be used for a cleaner taste.
- Sugar: Enhances fermentation; honey or maple syrup can be used but may alter flavor.
- Yeast: Responsible for fermentation; wild yeast can be used for a more traditional approach.
- Campden tablets: Help to sterilize must; skipping this is fine if using fresh, clean ingredients.
How to Make Perry Cider
Step 1: Prepare the Pears
Wash and core the pears, removing any blemishes. This ensures that only the best fruit flavor gets into your cider.
Step 2: Create the Pear Mash
Cut the pears into quarters and mash them using a potato masher or food processor. This releases the juices and allows for better fermentation.
Step 3: Combine Ingredients
In your fermentation vessel, mix the pear mash with water and sugar. Stir well to dissolve the sugar, which will nourish the yeast during fermentation.
Step 4: Add Yeast
Sprinkle the yeast over the mixture without stirring. This allows the yeast to activate and start the fermentation process naturally.
Step 5: Seal the Fermentation Vessel
Fit the airlock onto the fermentation vessel. This prevents contamination while allowing carbon dioxide to escape.
Step 6: Ferment
Place the vessel in a cool, dark place. Fermentation can take 1 to 2 weeks, depending on temperature and yeast activity.
Step 7: Siphon the Cider
Once fermentation is complete, carefully siphon the cider into a clean bottling bucket or directly into bottles. Avoid disturbing the sediment at the bottom for a clearer cider.
Step 8: Bottle and Age
Cap or cork the bottles and store them in a cool, dark place. Aging for at least a month allows flavors to develop further.
Pro Tip: Always taste your cider before bottling to ensure the flavor is just right for your palate.
Tips for the Best Perry Cider
- Use ripe, high-quality pears for the best flavor.
- Monitor fermentation temperature; too warm can lead to off-flavors.
- Experiment with different pear varieties for unique flavor profiles.
- Be patient during aging; good cider improves with time.
- Sanitize all equipment thoroughly to prevent unwanted bacteria.
Common Mistakes to Avoid
- Using overripe or damaged pears can spoil the flavor.
- Not sanitizing equipment can lead to contamination and off-flavors.
- Fermenting at high temperatures can produce undesirable tastes.
- Rushing the aging process may result in a harsh cider.
- Not tasting during fermentation can hide potential flavor issues.
Serving Suggestions
Once your Perry Cider is ready, it’s time to enjoy it. Serve it chilled for a refreshing drink on a warm day.
- Pair with cheese platters for a delightful appetizer.
- Enjoy with roasted chicken or pork for a hearty meal.
- Mix into cocktails for a unique twist on classic drinks.
- Serve alongside sweet desserts for a perfect contrast.
- Use in a spritz for a refreshing summer beverage.
Variations to Try
- Add spices like cinnamon or cloves for a warm flavor.
- Mix in other fruits like apples or berries for a blended taste.
- Infuse with herbs like mint or basil for a fresh twist.
- Carbonate your cider for a bubbly experience.
- Try a honey infusion for added sweetness and complexity.
Dietary Adaptations
- Gluten-free: Naturally gluten-free, perfect for all diets.
- Dairy-free: Contains no dairy, suitable for lactose intolerant individuals.
- Vegan: Made entirely from plant-based ingredients.
- Low-carb/keto: Can be made with less sugar for a lower carb count.
Storage and Reheating
Refrigerator
Store your finished cider in the refrigerator for best results.
- Keep tightly sealed to maintain freshness.
- Consume within six months for optimal flavor.
Freezer
Freezing is not recommended as it can alter the texture and flavor.
- Instead, enjoy your cider fresh or refrigerated.
Reheating
Perry cider is best served cold; reheating is not necessary.
- Warm up for mulled cider by gently heating on the stove with spices.
Nutrition Information
| Nutrient | Amount |
|---|---|
| Calories | 150 |
| Total Fat | 0g |
| Saturated Fat | 0g |
| Carbohydrates | 38g |
| Fiber | 2g |
| Sugar | 30g |
| Protein | 0g |
| Sodium | 5mg |
| Cholesterol | 0mg |
Nutrition values are approximate and can vary based on specific ingredients used.
Frequently Asked Questions
Can I substitute pears with other fruits?
Yes, you can use apples or a mix of fruits for different flavors.
How long can I store Perry Cider?
Homemade Perry Cider can be stored in the refrigerator for up to six months.
Can I make this cider ahead of time?
Absolutely! Making it a few weeks in advance allows the flavors to develop.
What should I do if my cider is too sweet?
You can dilute it with a bit of water or mix it with a drier cider.
Why is my cider cloudy?
Cloudiness is often from yeast or sediment; siphoning carefully can help clarify it.
Final Thoughts
Making your own Perry Cider is an enjoyable and rewarding experience. With a little patience and care, you can create a refreshing beverage that friends and family will love.
So, roll up your sleeves and get ready to enjoy the fruits of your labor. And if you’re looking for more delicious drink recipes, check out this apple cider martini recipe or try a delightful peach cider recipe for something different. Cheers!
Perry Cider
Ingredients
Equipment
Method
- Wash and core the pears, removing any blemishes.
- Cut the pears into quarters and mash them using a potato masher or food processor.
- In your fermentation vessel, mix the pear mash with water and sugar. Stir well to dissolve the sugar.
- Sprinkle the yeast over the mixture without stirring.
- Fit the airlock onto the fermentation vessel.
- Place the vessel in a cool, dark place and let it ferment for 1-2 weeks.
- Once fermentation is complete, carefully siphon the cider into a clean bottling bucket or directly into bottles.
- Cap or cork the bottles and store them in a cool, dark place.
- Aging for at least a month allows flavors to develop further.