
Picture this: a cozy evening, the aroma of freshly brewed coffee wafting through the air, and a rich, creamy liqueur waiting to be sipped. The Non Alcoholic Coffee Liqueur is a delightful treat that brings a touch of indulgence without the buzz. This recipe is special because it captures the essence of traditional coffee liqueurs, offering a sweet, velvety experience that’s perfect for everything from coffee cocktails to dessert toppings. It’s easy to make, versatile, and a hit at gatherings, making it a must-try for coffee lovers!
Why You’ll Love This Recipe
This recipe is a crowd-pleaser for many reasons. It combines the rich flavor of coffee with a sweet, syrupy finish.
- Quick and simple to prepare.
- Perfect for coffee enthusiasts and non-drinkers alike.
- Can be used in various drinks and desserts.
- Rich, smooth flavor that mimics traditional liqueurs.
- Easy to customize with your favorite flavors.
My Experience Making This Recipe
When I first made this Non Alcoholic Coffee Liqueur, I was pleasantly surprised by how easy it was. The process filled my kitchen with the enticing scent of coffee, making it feel like a special occasion.
My family couldn’t get enough of it, and they enjoyed tasting it in different ways. It sparked fun conversations about how we could use it in various recipes, making it a memorable experience.
Recipe Overview
- Recipe Name: Non Alcoholic Coffee Liqueur
- Servings: 16
- Prep Time: 10 minutes
- Cook Time: 30 minutes
- Total Time: 40 minutes
- Course: Beverage
- Cuisine: American
- Calories per Serving: 70
Equipment You Will Need
- Medium saucepan
- Measuring cups and spoons
- Whisk
- Fine mesh strainer
- Glass bottle or jar for storage
Ingredients for Non Alcoholic Coffee Liqueur
- 2 cups water
- 1 cup granulated sugar
- 1 cup brewed coffee (strong)
- 1 teaspoon vanilla extract
- 1 teaspoon almond extract
Ingredient Notes and Substitutions
- Water: Used as the base for the liqueur, ensuring the right consistency. You can substitute with brewed coffee for a stronger flavor.
- Granulated sugar: Provides sweetness and thickness. Brown sugar can be used for a deeper flavor.
- Brewed coffee: The star ingredient that gives the liqueur its identity. Use decaf coffee if you want to enjoy it later in the day.
- Vanilla extract: Adds a warm, comforting flavor. Feel free to swap with hazelnut or another extract for a unique twist.
- Almond extract: Enhances the overall flavor profile. Omit if nut allergies are a concern.
How to Make Non Alcoholic Coffee Liqueur
Step 1: Prepare the Coffee
Brew one cup of strong coffee using your preferred method. The stronger the coffee, the more robust the flavor of your liqueur will be.
Step 2: Combine Water and Sugar
In a medium saucepan, combine two cups of water with one cup of granulated sugar. This mixture will create the sweet base for your liqueur.
Step 3: Heat the Mixture
Place the saucepan over medium heat and stir until the sugar completely dissolves. This helps to create a smooth syrup without any gritty texture.
Step 4: Add Coffee
Once the sugar is dissolved, remove the saucepan from heat. Stir in the brewed coffee, mixing thoroughly to combine.
Step 5: Incorporate Extracts
Add one teaspoon each of vanilla and almond extract to the coffee mixture. These extracts will enhance the flavor and give your liqueur a lovely aroma.
Step 6: Cool the Mixture
Allow the mixture to cool to room temperature. Cooling is essential so that the flavors can meld together beautifully.
Step 7: Strain the Liqueur
Using a fine mesh strainer, pour the cooled mixture into a glass bottle or jar. This step removes any coffee grounds or sediment, ensuring a smooth final product.
Step 8: Store and Enjoy
Seal the container and store it in the refrigerator. Let it chill for at least 24 hours before enjoying for the best flavor.
Pro Tip: For an extra depth of flavor, let the liqueur sit for a week before using it.
Tips for the Best Non Alcoholic Coffee Liqueur
- Use freshly brewed coffee for the best taste.
- Experiment with different extracts for unique flavors.
- Store in a dark place to maintain freshness.
- Pair with ice cream for a delicious dessert treat.
- Make a larger batch to share with friends and family.
Common Mistakes to Avoid
- Using weak coffee can lead to a bland liqueur. Always brew a strong coffee for the best flavor.
- Not straining the mixture can leave a gritty texture. Always strain to achieve a smooth finish.
- Skipping the cooling step can affect the flavor. Take your time to let it cool for the best results.
- Using too much sugar can make it overly sweet. Adjust the sugar based on your taste preference.
- Not allowing it to sit for a day can miss out on flavor development. Patience is key for the richest taste.
Serving Suggestions
This liqueur is versatile and can be enjoyed in many ways. Here are some delightful pairings to consider.
- Mix with soda water for a refreshing drink.
- Pour over ice cream for a decadent dessert.
- Use in coffee cocktails for a non-alcoholic twist.
- Drizzle over pancakes or waffles for a sweet breakfast.
- Blend into smoothies for a coffee-flavored boost.
Variations to Try
- Add a splash of cocoa powder for a mocha flavor.
- Incorporate spices like cinnamon or nutmeg for warmth.
- Use coconut milk instead of water for a tropical twist.
- Infuse with orange zest for a citrusy kick.
- Mix in caramel sauce for a sweet, indulgent version.
Dietary Adaptations
- Gluten-free: This recipe is naturally gluten-free.
- Dairy-free: Use plant-based milk to enjoy it in coffee.
- Vegan: All ingredients are vegan-friendly.
- Low-carb/keto: Replace sugar with a sugar substitute to lower carbs.
Storage and Reheating
Refrigerator
Store the liqueur in the refrigerator for up to one month. Ensure it’s tightly sealed to maintain flavor.
- Keep in a glass bottle to avoid any off-flavors.
- Label the bottle with the date you made it.
Freezer
This liqueur can also be frozen for longer storage. Keep in mind that it may thicken slightly.
- Use an airtight container to prevent freezer burn.
- Thaw in the refrigerator before serving.
Reheating
If you prefer it warm, gently heat in a saucepan over low heat. Avoid boiling to maintain flavor.
- Stir continuously to prevent burning.
- Serve warm over dessert or in coffee for a cozy drink.
Nutrition Information
| Nutrient | Amount |
|---|---|
| Calories | 70 |
| Total Fat | 0g |
| Saturated Fat | 0g |
| Carbohydrates | 18g |
| Fiber | 0g |
| Sugar | 17g |
| Protein | 0g |
| Sodium | 0mg |
| Cholesterol | 0mg |
This nutritional information may vary based on ingredient brands and measurements.
Frequently Asked Questions
Can I make this coffee liqueur ahead of time?
Yes, this liqueur can be made a week in advance for the best flavor.
What can I use instead of sugar?
You can use a sugar substitute like stevia or erythritol for a low-carb option.
How should I store the liqueur?
Store it in the refrigerator in a sealed container for up to a month.
Will this liqueur freeze well?
Yes, it can be frozen for longer storage. Just ensure it’s in an airtight container.
Can I use decaf coffee for this recipe?
Absolutely! Decaf coffee works perfectly if you prefer to avoid caffeine.
Final Thoughts
Making your own Non Alcoholic Coffee Liqueur is a fantastic way to indulge in rich flavors without the alcohol content. It’s versatile and fun to experiment with, making it perfect for any occasion.
So grab your ingredients, get brewing, and enjoy the sweet satisfaction of this delightful treat. Don’t forget to check out the coconut coffee recipe and the coffee nudge recipe for more coffee-inspired delights!
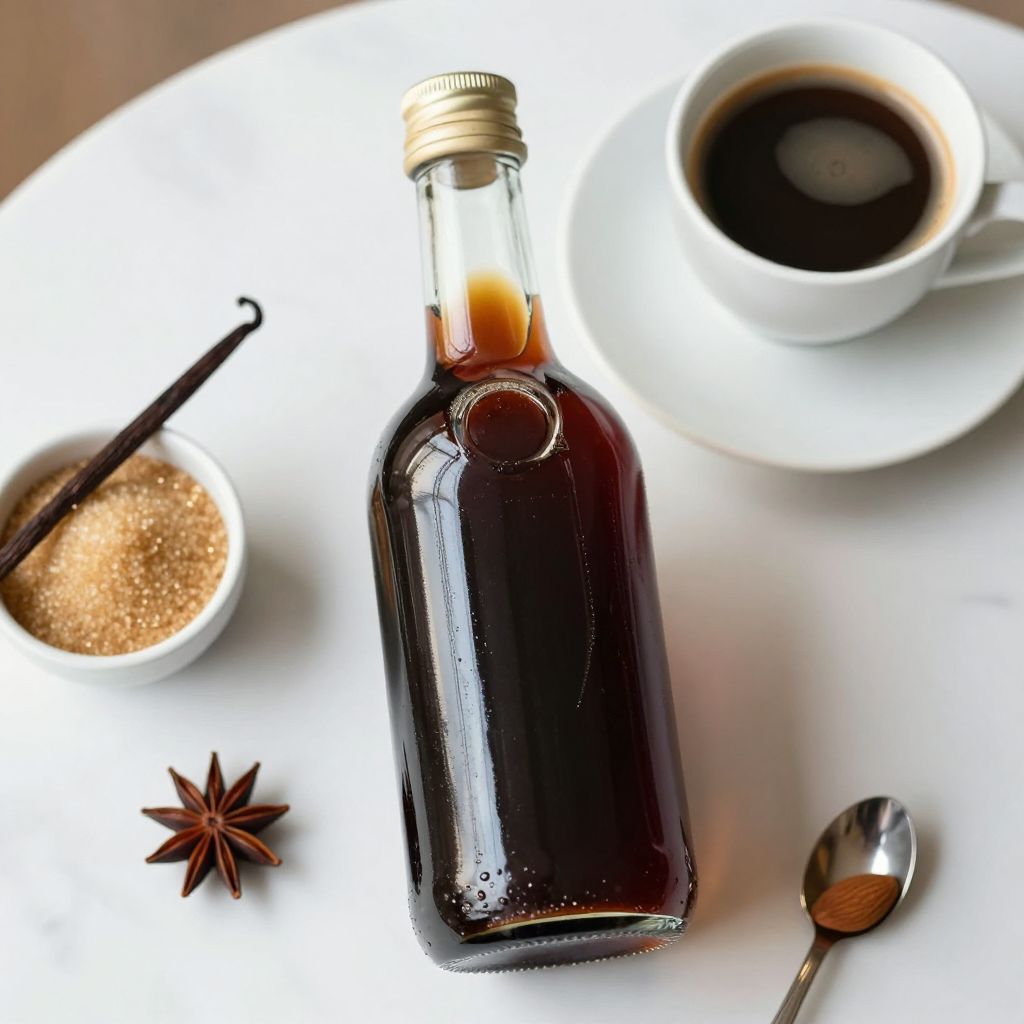
Non Alcoholic Coffee Liqueur
Ingredients
Equipment
Method
- Brew one cup of strong coffee using your preferred method.
- In a medium saucepan, combine two cups of water with one cup of granulated sugar.
- Place the saucepan over medium heat and stir until the sugar completely dissolves.
- Once the sugar is dissolved, remove the saucepan from heat.
- Stir in the brewed coffee, mixing thoroughly to combine.
- Add one teaspoon each of vanilla and almond extract to the coffee mixture.
- Allow the mixture to cool to room temperature.
- Using a fine mesh strainer, pour the cooled mixture into a glass bottle or jar.
- Seal the container and store it in the refrigerator for at least 24 hours before enjoying.