
Imagine the crisp aroma of fresh apples wafting through your kitchen as you craft your own Hard Cider. This recipe is special because it brings the fun of brewing right to your home, allowing you to create a refreshing beverage that is perfect for gatherings or quiet evenings. With bright flavors, a delightful sparkle, and the satisfaction of home brewing, this hard cider is a crowd-pleaser. Let’s get started with the ingredients and equipment needed for this delightful project.
Why You’ll Love This Recipe
This Hard Cider Recipe is perfect for beginners and seasoned brewers alike.
- Flavorful: Each sip bursts with the essence of apples.
- Customizable: Experiment with different apple varieties for unique flavors.
- Easy to Make: Follow simple steps to create something special.
- Great for Sharing: Perfect for parties, picnics, or cozy nights in.
My Experience Making This Recipe
When I first made this hard cider, the excitement was palpable. The smell of fermenting apples filled my home, and my friends were intrigued to taste the final product.
After a few weeks of fermentation, the moment arrived. Taking my first sip was like a crisp autumn day captured in a glass, and I knew this would become a staple in my brewing adventures.
Recipe Overview
- Recipe Name: Hard Cider
- Servings: 40 (5 gallons)
- Prep Time: 30 minutes
- Fermentation Time: 1-2 weeks
- Total Time: 1-2 weeks
- Course: Beverage
- Cuisine: American
- Calories per Serving: Approx. 150
Equipment You Will Need
- 5-gallon fermenter with airlock
- Hydrometer
- Sanitizing solution
- Large pot for boiling
- Bottles and caps
- Siphon for bottling
Ingredients for Hard Cider
- 5 gallons fresh apple cider (unpasteurized is best)
- 1 packet champagne yeast or cider yeast
- 1 cup granulated sugar (for carbonation)
- 1 tablespoon yeast nutrient (optional)
Ingredient Notes and Substitutions
- Fresh apple cider: This gives the best flavor. You can use store-bought cider if unpasteurized isn’t available.
- Champagne yeast: This yeast provides a clean finish. A general-purpose ale yeast can be used but will alter the flavor.
- Granulated sugar: This helps with carbonation. You can substitute with honey or brown sugar for different flavor profiles.
How to Make Hard Cider
Step 1: Sanitize Everything
Cleaning is key in brewing. Use a sanitizing solution on all equipment to prevent unwanted bacteria.
Step 2: Prepare the Cider
Pour the fresh apple cider into the sanitized fermenter. Leave some space at the top for fermentation activity.
Step 3: Add Yeast Nutrient
If using yeast nutrient, sprinkle it into the cider. This helps the yeast thrive and improves fermentation.
Step 4: Pitch the Yeast
Sprinkle the yeast on top of the cider. There’s no need to stir; the yeast will activate on its own.
Step 5: Seal the Fermenter
Attach the airlock to the fermenter. This allows gases to escape while keeping contaminants out.
Step 6: Let it Ferment
Store the fermenter in a cool, dark place for 1-2 weeks. Fermentation will create bubbles in the airlock, indicating it’s working.
Step 7: Check the Specific Gravity
After a week, use a hydrometer to check the specific gravity. This will tell you if fermentation is complete.
Step 8: Bottle the Cider
Siphon the cider into sanitized bottles, leaving some headspace. Add priming sugar if desired for carbonation.
Pro Tip: Be patient! The longer you let the cider condition, the better the flavor.
Tips for the Best Hard Cider
- Choose a mix of sweet and tart apples for a balanced flavor.
- Monitor the temperature during fermentation; ideally around 65-75°F.
- Consider adding spices like cinnamon or cloves for a unique twist.
- Use a siphon to minimize exposure to oxygen during bottling.
- Label your bottles with the date; you’ll want to remember this special brew.
Common Mistakes to Avoid
- Skipping sanitation can lead to off-flavors. Always sanitize all equipment.
- Fermenting at high temperatures can produce undesirable flavors. Keep it cool.
- Rushing the bottling process can lead to exploding bottles. Be patient and let fermentation complete.
- Over-carbonating can make for a messy pour. Measure sugar accurately before bottling.
Serving Suggestions
Enjoy your hard cider chilled on its own or as part of a festive gathering. It pairs wonderfully with various foods.
- Cheese platters
- Grilled meats
- Spicy appetizers
- Apple pie for dessert
Variations to Try
- Add ginger for a spicy kick that complements the apple flavor.
- Mix in berries for a fruity twist.
- Experiment with different yeasts for varied flavor profiles.
- Try adding maple syrup for a unique sweetness.
Dietary Adaptations
- Gluten-free: Naturally gluten-free, perfect for those with gluten intolerance.
- Dairy-free: This recipe contains no dairy.
- Vegan: All ingredients are plant-based, great for vegan diets.
- Low-carb/keto: Omit added sugars for a lower carb option, but expect less carbonation.
Storage and Reheating
Refrigerator
Store bottles upright in the fridge. This will keep them cold and fresh.
- Best consumed within 6 months.
- Check for carbonation before serving.
Freezer
Avoid freezing hard cider, as it can alter the taste and texture. Always store in the refrigerator.
- Keep it chilled for best flavor.
Reheating
Hard cider is best enjoyed cold. Avoid reheating as it can affect the flavor.
- Serve directly from the fridge.
Nutrition Information
| Nutrient | Amount |
|---|---|
| Calories | 150 |
| Total Fat | 0g |
| Saturated Fat | 0g |
| Carbohydrates | 12g |
| Fiber | 0g |
| Sugar | 12g |
| Protein | 0g |
| Sodium | 5mg |
| Cholesterol | 0mg |
This is an estimate and can vary based on specific ingredients used.
Frequently Asked Questions
Can I use store-bought cider?
Yes, just ensure it is unpasteurized for the best fermentation results.
How long does it take to ferment?
Fermentation typically takes 1-2 weeks, depending on the temperature and yeast.
Can I make this recipe without sugar?
You can omit added sugar, but it helps with carbonation and flavor development.
What if my cider is too sweet?
Let it ferment longer to allow more sugars to convert into alcohol.
Can I add flavors to my cider?
Absolutely! Spices, fruits, or even herbs can be added to create your own unique blend.
Final Thoughts
Making your own Hard Cider is not just about brewing; it’s about creating something special. I encourage you to gather your ingredients and give this recipe a try; the results are worth the effort!
If you enjoyed this recipe, check out my other posts like Hard Kombucha Recipe for more fun brewing adventures or Strawberry Mead Recipe for something sweet and unique.
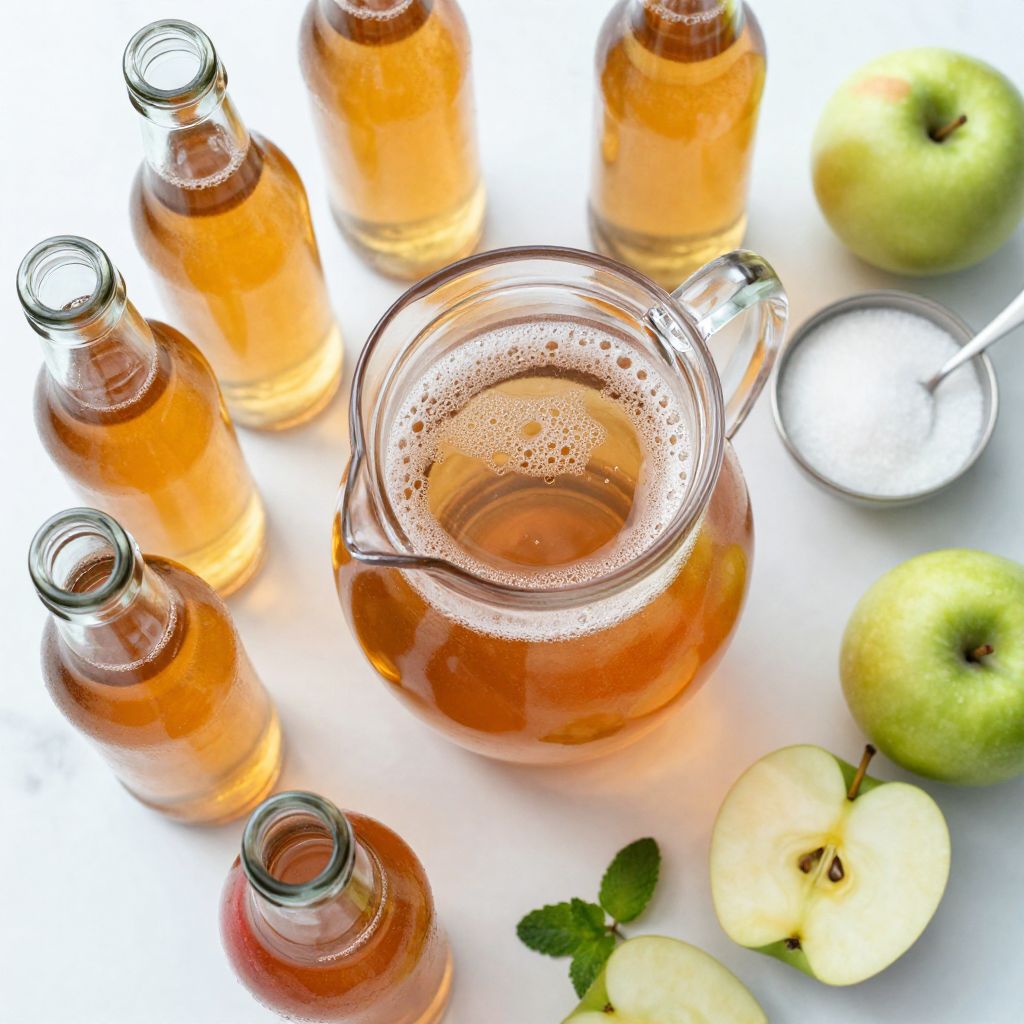
Hard Cider
Ingredients
Equipment
Method
- Sanitize all equipment using a sanitizing solution.
- Pour the fresh apple cider into the sanitized fermenter, leaving some space at the top.
- If using yeast nutrient, sprinkle it into the cider.
- Sprinkle the yeast on top of the cider without stirring.
- Attach the airlock to the fermenter.
- Store the fermenter in a cool, dark place for 1-2 weeks.
- After a week, check the specific gravity with a hydrometer.
- Siphon the cider into sanitized bottles, leaving some headspace.