
Picture this: a refreshing glass of homemade ginger beer, bubbling with life and flavor. Making your own Ginger Beer Plant not only impresses friends but also fills your kitchen with an irresistible spicy aroma that brings back memories of summer picnics.
This recipe is special because it connects you to the age-old tradition of fermentation, offering a unique taste that store-bought versions can’t match. The drink is fizzy, tangy, and has a perfect balance of sweet and spicy notes, making it a delightful addition to any gathering.
Let’s jump right into the ingredients and steps to create this delicious concoction!
Why You’ll Love This Recipe
This recipe is a winner for many reasons.
- Unique flavor that outshines store-bought versions.
- Fun fermentation process that’s easy to follow.
- Customizable sweetness and spice levels.
- Health benefits from natural fermentation.
My Experience Making This Recipe
When I first made this ginger beer, I was amazed at how simple the process was. The bubbling fermentation made my kitchen feel alive, and I couldn’t help but sneak a taste of the sweet, spicy mixture.
After a few days of patiently waiting, the moment of truth arrived. The first sip was crisp, refreshing, and utterly satisfying. It was a hit at my last barbecue, with guests asking for the recipe!
Recipe Overview
- Recipe Name: Ginger Beer Plant
- Servings: Approximately 8 cups
- Prep Time: 15 minutes
- Fermentation Time: 5-7 days
- Total Time: 5-7 days 15 minutes
- Course: Beverage
- Cuisine: Fermented
- Calories per Serving: Approximately 80
Equipment You Will Need
- Large glass jar or fermentation vessel
- Cheesecloth or breathable cover
- Rubber band or string
- Measuring cups and spoons
- Funnel
- Plastic bottles for storage
Ingredients for Ginger Beer Plant
- 1 cup fresh ginger root, grated
- 1 cup granulated sugar
- 1 teaspoon active dry yeast
- 1 lemon, juiced
- 4 cups water
Ingredient Notes and Substitutions
- Fresh ginger root: This adds a potent flavor and aroma. Dried ginger can be used but will yield a different taste.
- Granulated sugar: Sugar is crucial for fermentation. Honey or agave syrup can be alternatives, but they may change the flavor.
- Active dry yeast: This kickstarts the fermentation. You can use champagne yeast for a different profile.
- Lemon juice: It adds acidity to balance the sweetness. Lime juice can work as a substitute.
- Water: Use filtered or spring water for the best taste. Tap water may contain chlorine that affects fermentation.
How to Make Ginger Beer Plant
Step 1: Prepare the Ginger
Start by grating the fresh ginger root. This maximizes the surface area, allowing the flavor to infuse into the mixture.
Step 2: Mix the Ingredients
In a large glass jar, combine the grated ginger, sugar, yeast, lemon juice, and water. Stir until the sugar completely dissolves to ensure an even fermentation.
Step 3: Cover the Jar
Cover the jar with cheesecloth or a breathable cover and secure it with a rubber band. This allows gases to escape during fermentation while keeping out contaminants.
Step 4: Ferment
Place the jar in a warm, dark spot for 5-7 days. Check daily for bubbles, which indicate fermentation is happening.
Step 5: Taste Test
After about 5 days, taste the mixture. If it’s fizzy and flavorful, it’s ready. If not, give it a couple more days.
Step 6: Strain the Mixture
Once fermented to your liking, strain the mixture through a fine mesh sieve into another container, discarding solids. This process clarifies the ginger beer and prepares it for bottling.
Step 7: Bottle the Ginger Beer
Using a funnel, pour the strained liquid into plastic bottles, leaving some space at the top. Seal tightly to trap the carbonation inside.
Step 8: Chill and Enjoy
Refrigerate the bottles for at least 24 hours before enjoying. This step enhances the flavor and carbonation, making for a refreshing drink.
Pro Tip: Always leave some space in the bottles to avoid overflow from excessive carbonation.
Tips for the Best Ginger Beer Plant
- Use fresh ginger for the most vibrant flavor.
- Monitor the fermentation closely to avoid over-fermentation.
- Experiment with different sweeteners to find your favorite taste.
- Store the ginger beer in the refrigerator to slow fermentation.
- Feel free to adjust the lemon juice for more or less acidity.
Common Mistakes to Avoid
- Not using enough sugar can result in flat ginger beer.
- Covering the jar too tightly may lead to pressure build-up.
- Using chlorinated water can hinder fermentation.
- Not checking daily can result in over-fermentation.
Serving Suggestions
Ginger beer is versatile and can be enjoyed in various ways.
- Serve it chilled on its own for a refreshing drink.
- Mix with rum or vodka for a fantastic cocktail.
- Add a splash to your favorite fruit punch for extra zing.
- Pair it with spicy foods to complement the heat.
Variations to Try
- Add mint leaves for a refreshing twist.
- Infuse with berries like raspberries or blackberries for a fruity flavor.
- Experiment with different citrus juices like lime or grapefruit.
- Try adding spices like cinnamon for a warm note.
Dietary Adaptations
- Gluten-free: All ingredients are naturally gluten-free.
- Dairy-free: This recipe contains no dairy.
- Vegan: Suitable for a vegan diet with no animal products.
- Low-carb/keto: Use a low-carb sweetener instead of sugar.
Storage and Reheating
Refrigerator
Store your ginger beer in the refrigerator to keep it fresh.
- Consume within 1-2 weeks for the best flavor.
- Keep bottles tightly sealed to maintain carbonation.
Freezer
Freezing is not recommended, as it can affect the texture and carbonation.
- Try to finish the ginger beer fresh instead.
Reheating
Ginger beer is best enjoyed cold and is not typically reheated.
- Chill it in the fridge before serving for optimal flavor.
Nutrition Information
| Nutrient | Amount |
|---|---|
| Calories | 80 |
| Total Fat | 0g |
| Saturated Fat | 0g |
| Carbohydrates | 20g |
| Fiber | 0g |
| Sugar | 20g |
| Protein | 0g |
| Sodium | 5mg |
| Cholesterol | 0mg |
This nutrition information is an estimate and can vary based on ingredients used.
Frequently Asked Questions
Can I use bottled ginger?
Bottled ginger can work, but fresh ginger provides a stronger flavor and aroma.
How long can I keep my ginger beer?
Store it in the refrigerator for up to two weeks for the best taste.
Can I make this ginger beer ahead of time?
Yes, you can prepare it a week in advance and keep it chilled.
What if my ginger beer is flat?
If it’s flat, it may have not fermented long enough or was exposed to air.
Can I carbonate it more?
Yes, you can add more sugar before bottling to create additional carbonation.
Final Thoughts
Making your own ginger beer plant is a fun and rewarding experience. With just a few simple ingredients, you can enjoy a refreshing drink that’s sure to impress.
So, roll up your sleeves and give this recipe a try. You’ll be sipping on homemade ginger beer in no time!
If you enjoyed this recipe, explore more about crafting beverages with my Ginger Beer Recipe with Ginger Bug or try a Fermented Ginger Beer Recipe for another delightful twist!
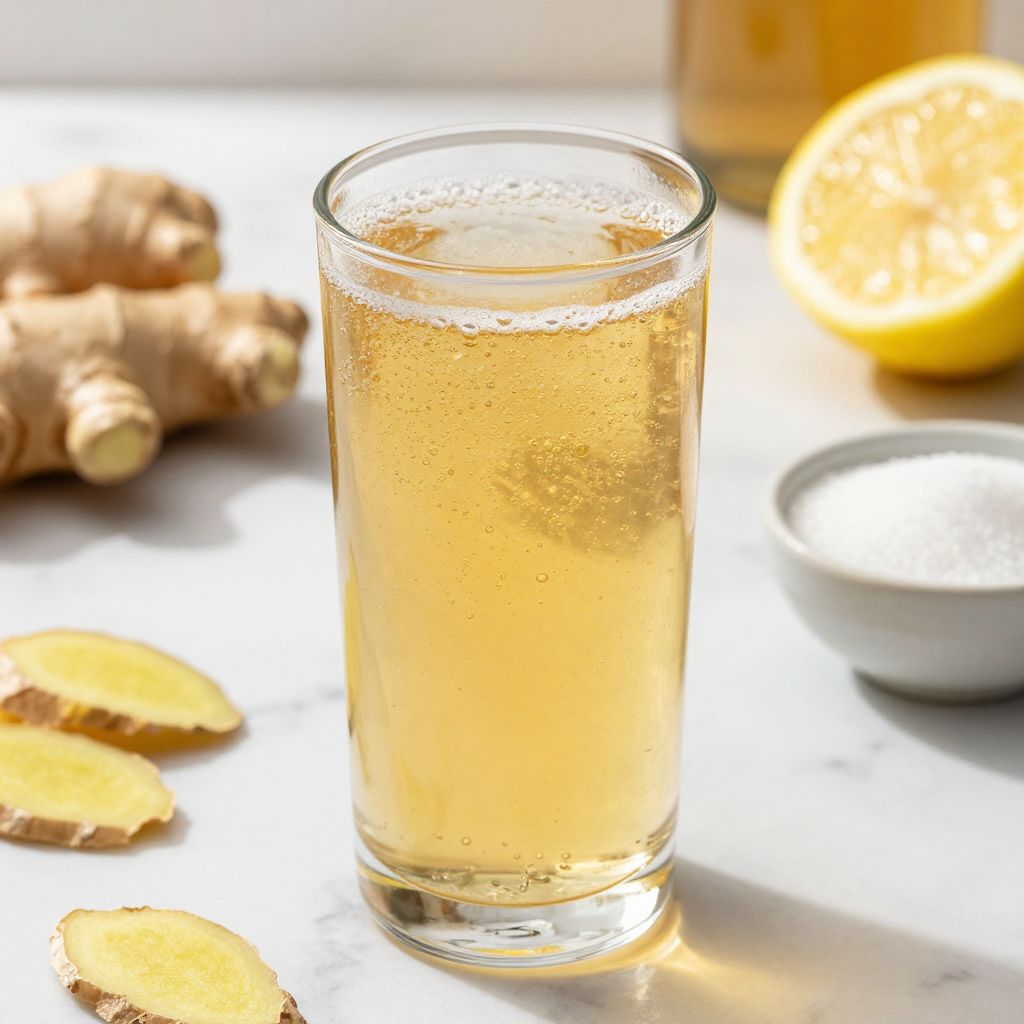
Ginger Beer Plant
Ingredients
Equipment
Method
- Grate the fresh ginger root.
- In a large glass jar, combine the grated ginger, sugar, yeast, lemon juice, and water. Stir until the sugar completely dissolves.
- Cover the jar with cheesecloth or a breathable cover and secure it with a rubber band.
- Place the jar in a warm, dark spot for 5-7 days, checking daily for bubbles.
- After about 5 days, taste the mixture. If it’s fizzy and flavorful, it’s ready.
- Strain the mixture through a fine mesh sieve into another container, discarding solids.
- Using a funnel, pour the strained liquid into plastic bottles, leaving some space at the top.
- Seal tightly and refrigerate for at least 24 hours before enjoying.