
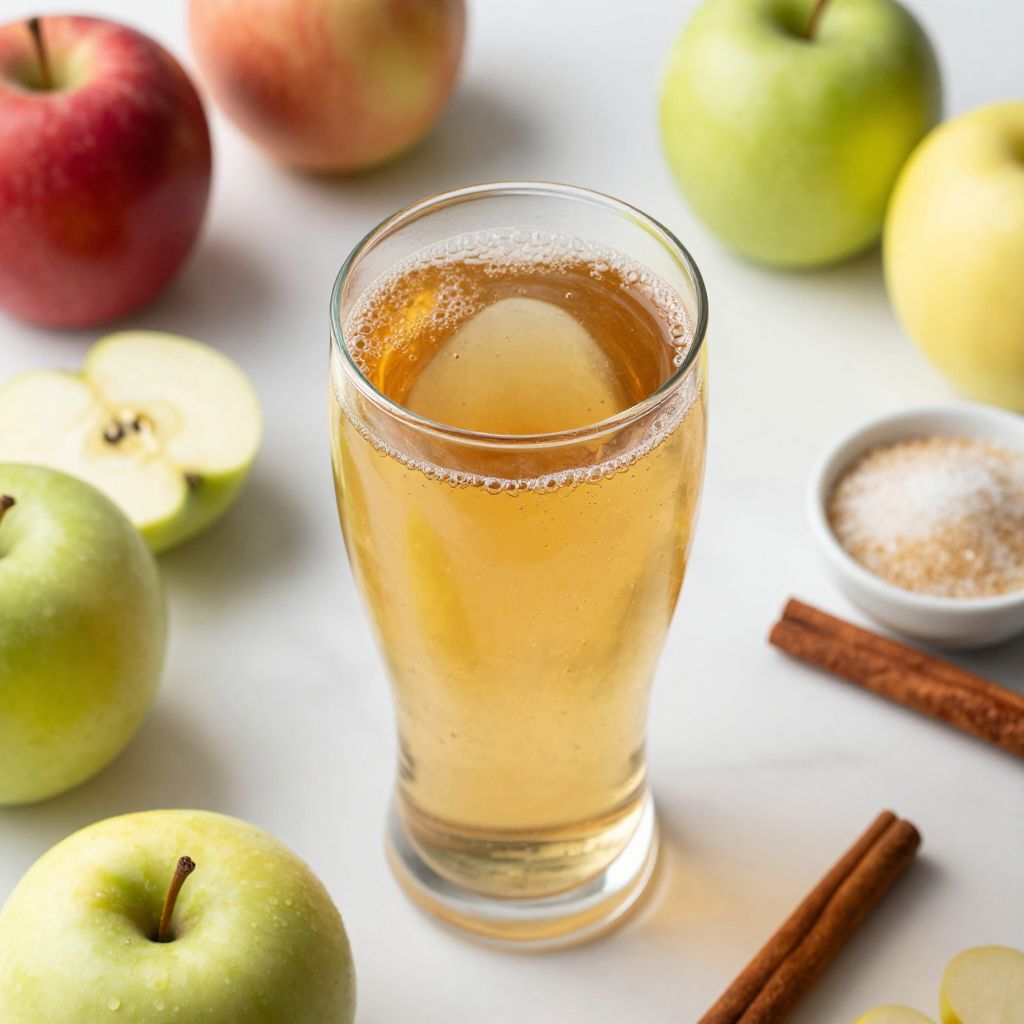
There’s nothing quite like the crisp, refreshing taste of homemade Dry Hard Cider on a sunny afternoon. This recipe combines the sweetness of apples with a hint of tartness, resulting in a drink that’s both satisfying and sophisticated. Making your own cider is not just a fun project, it’s a way to impress friends and family with your brewing skills. Plus, it’s a rewarding experience to sip on something you crafted from scratch. Gather your ingredients, and let’s get started!
Why You’ll Love This Recipe
This Dry Hard Cider recipe is perfect for those who enjoy a refreshing drink with a kick. It balances sweetness and acidity beautifully.
- Perfect for warm days or cozy nights.
- Customizable with your favorite apple varieties.
- Easy to make at home with minimal equipment.
- Impressive flavor that rivals store-bought options.
- A fun project to share with friends.
My Experience Making This Recipe
When I first tried making Dry Hard Cider, I was surprised at how simple the process was. The thrilling moment when I poured the first glass and tasted the crisp, bubbly cider was pure bliss.
Friends who sampled it were amazed and insisted I host a cider-tasting night. Watching their faces light up with each sip was a victory in itself.
Recipe Overview
- Recipe Name: Dry Hard Cider
- Servings: 4-6 servings
- Prep Time: 30 minutes
- Fermentation Time: 1-2 weeks
- Total Time: 1-2 weeks 30 minutes
- Course: Beverage
- Cuisine: American
- Calories per Serving: 150
Equipment You Will Need
- Fermentation vessel (glass carboy or plastic bucket)
- Airlock and stopper
- Hydrometer
- Siphon or racking cane
- Bottles and caps
- Sanitizer
Ingredients for Dry Hard Cider
- 5 gallons of fresh apple juice (unsweetened, no preservatives)
- 1 packet of champagne yeast
- 1 cup of granulated sugar (optional, for sweetness)
- 1 teaspoon of yeast nutrient (optional)
- 1 teaspoon of pectic enzyme (optional, for clarity)
Ingredient Notes and Substitutions
- Fresh apple juice is key for authentic flavor; you can use store-bought if it’s 100% juice.
- Champagne yeast is preferred for a clean finish; ale yeast works too but may alter the flavor.
- Sugar can enhance sweetness, but adjust according to your taste.
- Yeast nutrient helps fermentation; it’s okay to skip it if you don’t have any.
- Pectic enzyme aids in clarity; it’s optional but can make your cider look better.
How to Make Dry Hard Cider
Step 1: Sanitize Everything
Start by sanitizing all your equipment, including the fermentation vessel, airlock, and siphon. This step is crucial to prevent unwanted bacteria from spoiling your cider.
Step 2: Prepare the Juice
Pour the fresh apple juice into the sanitized fermentation vessel. Ensure you leave some space at the top to prevent overflow during fermentation.
Step 3: Add Yeast and Nutrients
If using, add yeast nutrient and pectic enzyme to the juice. Sprinkle the champagne yeast on top of the juice without stirring.
Step 4: Seal and Store
Fit the airlock into the fermentation vessel and place it in a cool, dark area. This setup allows gases to escape while keeping contaminants out.
Step 5: Monitor Fermentation
Check the fermentation every few days. You’ll see bubbles forming in the airlock, indicating that fermentation is active. This process usually takes about 1-2 weeks.
Step 6: Test the Cider
After a week, use a hydrometer to test the specific gravity. This will help you gauge the alcohol content and determine when fermentation is complete.
Step 7: Siphon the Cider
Once fermentation is complete, siphon the cider into clean bottles, leaving sediment behind. Be gentle to avoid disturbing the sediment for a clearer cider.
Step 8: Cap and Age
Cap the bottles and store them in a cool, dark place. Let the cider age for at least another week for flavors to meld before tasting.
Pro Tip: Always taste your cider before bottling; this way, you can adjust sweetness or acidity to your liking.
Tips for the Best Dry Hard Cider
- Choose a mix of sweet and tart apples for a balanced flavor.
- Keep everything sanitized to avoid off-flavors.
- Experiment with different apple varieties for unique profiles.
- Consider adding spices like cinnamon for a seasonal twist.
- Keep an eye on fermentation temperature; too warm or cold can affect the yeast.
Common Mistakes to Avoid
- Not sanitizing equipment can lead to spoilage, ruining your cider.
- Using juice with preservatives can inhibit fermentation.
- Allowing cider to ferment for too long can lead to overly dry results.
- Skipping the hydrometer check can result in unexpected alcohol levels.
Serving Suggestions
Dry hard cider is versatile and pairs well with many dishes. Here are some ideas to enjoy with your homemade cider.
- Grilled meats for a smoky contrast.
- Cheese platters featuring sharp cheddar.
- Spicy dishes for a refreshing balance.
- Roasted vegetables to enhance earthy flavors.
Variations to Try
- Add cinnamon sticks during fermentation for a warm spice note.
- Mix in ginger for a zesty kick.
- Experiment with different fruits like pears or berries for a unique flavor.
- Try a hopped cider by adding hops during fermentation for complexity.
Dietary Adaptations
- Gluten-free: Naturally gluten-free since it’s made from apples.
- Dairy-free: No dairy used in this recipe.
- Vegan: Suitable for vegans as all ingredients are plant-based.
- Low-carb/keto: Sugar can be left out for a lower-carb option.
Storage and Reheating
Refrigerator
Store the bottled cider in the refrigerator for up to six months. Ensure the bottles are capped tightly to maintain fizz.
- Keep in a cool, dark place.
- Serve chilled for the best taste.
Freezer
Aging cider in the freezer is not recommended as it can alter flavor and texture. Stick to refrigeration for best results.
Reheating
If you prefer warm cider, gently heat on the stove. Avoid boiling as it can affect the flavor.
- Heat slowly over low to medium heat.
- Consider adding spices for a warm, spiced version.
Nutrition Information
| Nutrient | Amount |
|---|---|
| Calories | 150 |
| Total Fat | 0g |
| Saturated Fat | 0g |
| Carbohydrates | 12g |
| Fiber | 0g |
| Sugar | 12g |
| Protein | 0g |
| Sodium | 5mg |
| Cholesterol | 0mg |
This information is approximate and can vary based on specific ingredients used.
Frequently Asked Questions
Can I use store-bought apple juice?
Yes, just ensure it’s 100% juice with no preservatives for best results.
How long can I store homemade cider?
Homemade cider can last up to six months in the fridge if properly stored.
What if my cider tastes too sour?
It may be due to over-fermentation; try adding a little sugar at bottling for balance.
Can I make this cider in smaller batches?
Absolutely! Just scale down the ingredients accordingly.
Is it possible to carbonate my cider?
Yes, you can add a small amount of sugar before bottling to create natural carbonation.
Final Thoughts
Making your own Dry Hard Cider is a delightful experience, blending creativity with reward. Each sip of your homemade cider will remind you of the care and effort you put into crafting it.
So roll up your sleeves and give it a go. You might just find yourself hooked on the art of cider-making!
For more delicious recipes, check out our hard apple cider recipe or try a sweet cyser recipe for a fruity twist!
Dry Hard Cider
Ingredients
Equipment
Method
- Start by sanitizing all your equipment, including the fermentation vessel, airlock, and siphon.
- Pour the fresh apple juice into the sanitized fermentation vessel and leave some space at the top.
- If using, add yeast nutrient and pectic enzyme to the juice. Sprinkle the champagne yeast on top without stirring.
- Fit the airlock into the fermentation vessel and place it in a cool, dark area.
- Check the fermentation every few days, looking for bubbles in the airlock, which indicates active fermentation.
- After a week, use a hydrometer to test the specific gravity to gauge alcohol content.
- Once fermentation is complete, siphon the cider into clean bottles, leaving sediment behind.
- Cap the bottles and store in a cool, dark place for at least another week before tasting.