
Picture this: crisp autumn air, the scent of ripe apples wafting through the orchard, and a glass of homemade hard cider in hand as you chat with friends. This Award Winning Hard Cider Recipe is not just a delightful drink; it’s a labor of love that transforms fresh apples into a bubbly, refreshing beverage. With its perfect balance of sweetness and tartness, this cider stands out with complex flavors that will make you the star of any gathering. Let’s gather our ingredients and get started on crafting this delicious cider!
Why You’ll Love This Recipe
This hard cider recipe is a true crowd-pleaser with its unique flavors and satisfying fizz.
- Perfect for any season, especially fall.
- Easy to customize with different apple varieties.
- Great for sharing at parties or enjoying at home.
- Crafting your own cider saves money compared to store-bought options.
My Experience Making This Recipe
The first time I made this hard cider, I was amazed by the transformation of simple apples into a bubbly drink. It filled my home with a wonderful aroma that drew family and friends into the kitchen, eager to taste the results.
Watching the fermentation process unfold was like a mini-science experiment, and when I finally took that first sip, I knew I had a winner. The flavors danced on my tongue, and I couldn’t wait to share it with everyone!
Recipe Overview
- Recipe Name: Award Winning Hard Cider
- Servings: About 5 gallons
- Prep Time: 30 minutes
- Cook Time: 1-2 weeks (fermentation)
- Total Time: 1-2 weeks
- Course: Beverage
- Cuisine: American
- Calories per Serving: Varies based on sugar content
Equipment You Will Need
- Fermentation vessel (5-gallon carboy or food-grade bucket)
- Airlock and stopper
- Hydrometer (optional, for measuring specific gravity)
- Large pot for boiling
- Funnel
- Bottling equipment (bottles, caps, capping tool)
Ingredients for Award Winning Hard Cider
- 5 gallons of fresh apple juice (preferably unfiltered)
- 2 cups of granulated sugar (or honey for a different flavor)
- 1 packet of champagne yeast (or cider yeast)
- 1 teaspoon of yeast nutrient (optional)
- 1 teaspoon of potassium metabisulfite (for sanitizer)
Ingredient Notes and Substitutions
- Apple Juice: Fresh juice gives the best flavor. You can substitute with store-bought juice, but avoid any with preservatives.
- Sugar: Adds sweetness and helps with fermentation. Honey can also be used for a unique flavor.
- Yeast: Champagne yeast is recommended for a crisp finish. If unavailable, any brewing yeast will work.
- Yeast Nutrient: Helps yeast thrive, especially if using store-bought juice. It’s optional but recommended.
How to Make Award Winning Hard Cider
Step 1: Sanitize Equipment
Start by sanitizing all your equipment to prevent unwanted bacteria. A clean environment is crucial for a successful fermentation.
Step 2: Prepare Apple Juice
Pour the fresh apple juice into your fermentation vessel. Ensure it’s at room temperature before adding any ingredients.
Step 3: Add Sugar
Dissolve the sugar in a small amount of warm water and add it to the apple juice. This step is important for fermentation, as the sugar feeds the yeast.
Step 4: Add Yeast
Sprinkle the yeast over the juice mixture and stir gently. This helps the yeast activate and spread throughout the juice.
Step 5: Attach the Airlock
Seal the fermentation vessel with the airlock to allow gases to escape while keeping contaminants out. This is where the magic begins!
Step 6: Ferment
Let the cider ferment in a cool, dark place for about 1-2 weeks. Check the airlock regularly, and you should see bubbles forming as fermentation occurs.
Step 7: Bottling
Once bubbling slows down, it’s time to bottle your cider. Carefully siphon the cider into sanitized bottles, leaving some space at the top.
Step 8: Carbonate
Add a small amount of sugar to each bottle for carbonation before capping them. This will create that fizzy texture we all love.
Pro Tip: Patience is key! Allow your cider to carbonate for at least 2 weeks before enjoying.
Tips for the Best Award Winning Hard Cider
- Use a mix of sweet and tart apples for a balanced flavor.
- Keep the fermentation area dark and cool, around 65-75°F for optimal yeast activity.
- Be patient during fermentation; rushing can lead to off-flavors.
- Experiment with different apple varieties for unique flavors.
- Always taste your cider before bottling to adjust sweetness if necessary.
Common Mistakes to Avoid
- Skipping sanitization can lead to spoiled cider. Always sanitize everything.
- Using juice with preservatives will hinder fermentation. Stick to fresh juice.
- Not monitoring fermentation temperature can result in poor yeast performance. Keep it consistent.
- Bottling too early can lead to exploding bottles. Wait until fermentation is complete.
Serving Suggestions
This hard cider is delightful on its own, but it pairs beautifully with various foods.
- Enjoy with cheese boards featuring sharp cheddar and brie.
- Serve alongside roasted meats for a refreshing contrast.
- Pair with spiced desserts like apple pie.
- Mix with a splash of ginger beer for a fun cocktail.
Variations to Try
- Add spices like cinnamon or cloves for a warm autumn flavor.
- Infuse with berries for a fruity twist – think cranberries or raspberries.
- Try different sweeteners like maple syrup for a unique profile.
- Experiment with hops for a cider-beer hybrid.
Dietary Adaptations
- Gluten-Free: Naturally gluten-free, perfect for everyone.
- Dairy-Free: This recipe contains no dairy products.
- Vegan: All ingredients are vegan-friendly.
- Low-Carb/Keto: Not suitable due to sugar content; consider using a low-carb sweetener.
Storage and Reheating
Refrigerator
Store your hard cider in the refrigerator once bottled to slow fermentation.
- Keep bottles upright to avoid any sediment disturbance.
- Consume within 6 months for the best flavor.
Freezer
Freezing is not recommended as it can alter the cider’s texture and flavor.
- Instead, consider making smaller batches if you want to store for longer.
Reheating
Hard cider is best enjoyed cold; reheating can ruin the flavor profile.
- If you prefer warm cider, gently heat it on the stove with spices.
Nutrition Information
| Nutrient | Amount |
|---|---|
| Calories | 150 |
| Total Fat | 0g |
| Saturated Fat | 0g |
| Carbohydrates | 15g |
| Fiber | 0g |
| Sugar | 12g |
| Protein | 0g |
| Sodium | 5mg |
| Cholesterol | 0mg |
Nutrition values can vary based on ingredients used.
Frequently Asked Questions
Can I use store-bought apple juice?
Yes, but ensure it is free of preservatives to allow for fermentation.
How long does the fermentation process take?
Typically, fermentation takes about 1-2 weeks, depending on temperature and yeast activity.
Can I make this cider ahead of time?
Absolutely! Just store it in the fridge once bottled and consume within 6 months.
What if my cider is too sweet?
You can balance sweetness by adding more acid, like lemon juice, or allowing it to ferment longer.
Is it possible to carbonate cider after bottling?
Once bottled, carbonation should happen during the bottling process. Adding sugar at bottling helps.
Final Thoughts
This Award Winning Hard Cider Recipe is a fantastic way to celebrate the apple harvest and impress your friends. With a bit of patience, you’ll have a delicious homemade cider that showcases the essence of fall.
Give this recipe a try, and don’t forget to explore more delightful beverages like this hard apple cider recipe or something unique like strawberry mead. Cheers!
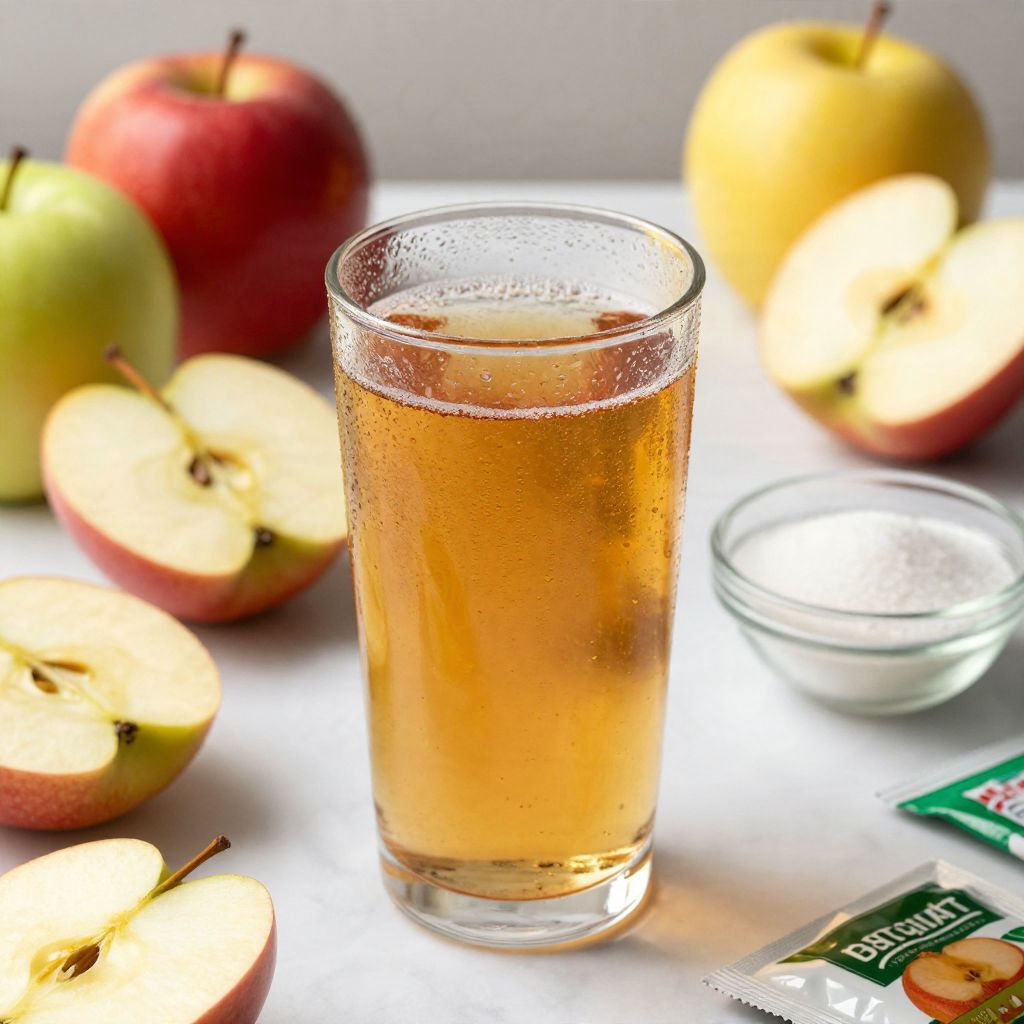
Award Winning Hard Cider
Ingredients
Equipment
Method
- Start by sanitizing all your equipment to prevent unwanted bacteria.
- Pour the fresh apple juice into your fermentation vessel.
- Dissolve the sugar in a small amount of warm water and add it to the apple juice.
- Sprinkle the yeast over the juice mixture and stir gently.
- Seal the fermentation vessel with the airlock.
- Let the cider ferment in a cool, dark place for about 1-2 weeks.
- Once bubbling slows down, siphon the cider into sanitized bottles.
- Add a small amount of sugar to each bottle for carbonation before capping them.