
Imagine waking up to the rich aroma of freshly brewed cold coffee waiting in your fridge. The Kitchenaid Cold Brew is a game changer, making it effortless to enjoy smooth, rich coffee at home. This method highlights the coffee’s natural flavors, resulting in a delightful drink that is less acidic and oh-so-refreshing. Plus, it’s incredibly easy to make, perfect for busy mornings or lazy afternoons. Let’s get brewing!
Why You’ll Love This Recipe
This recipe is a crowd-pleaser for coffee lovers everywhere.
- Simple process that requires minimal effort.
- Rich, smooth flavor that’s less acidic.
- Customizable to your taste with different beans and flavors.
- Perfect for batch brewing to enjoy all week long.
- Uses your Kitchenaid appliance to streamline the process.
My Experience Making This Recipe
The first time I made cold brew with my Kitchenaid, I was amazed at how easy it was. I simply combined coarsely ground coffee with water, set it up, and let the magic happen overnight.
The next morning, I poured myself a glass over ice and was instantly transported to coffee heaven. The smoothness was incredible, and I couldn’t believe I had just made it at home.
Recipe Overview
- Recipe Name: Kitchenaid Cold Brew
- Servings: 4
- Prep Time: 10 minutes
- Cook Time: 12-24 hours
- Total Time: 12-24 hours 10 minutes
- Course: Beverage
- Cuisine: American
- Calories per Serving: 100
Equipment You Will Need
- Kitchenaid coffee maker with cold brew capability
- Coarse coffee grinder
- Measuring cups
- Stirring spoon
- Filter (if not using a built-in one)
Ingredients for Kitchenaid Cold Brew
- 1 cup of coarsely ground coffee
- 4 cups of cold water
- Optional: Sweetener or flavored syrups to taste
Ingredient Notes and Substitutions
- Coarsely ground coffee: This ensures a smooth brew and prevents bitterness. If you don’t have coarsely ground coffee, you can grind your own but be careful not to make it too fine.
- Cold water: Using cold water is crucial for a balanced flavor. If you prefer, filtered water enhances the taste.
How to Make Kitchenaid Cold Brew
Step 1: Measure the Coffee and Water
Start by measuring 1 cup of coarsely ground coffee and 4 cups of cold water. The ratio is key for achieving a balanced flavor.
Step 2: Combine in the Kitchenaid
Pour the ground coffee into the Kitchenaid coffee maker and add the cold water. Stir gently to ensure all the coffee grounds are saturated.
Step 3: Let It Brew
Set your Kitchenaid to brew and let it steep for 12 to 24 hours. The longer it brews, the stronger the flavor will be.
Step 4: Filter the Brew
If your Kitchenaid does not have a built-in filter, use a fine mesh strainer or a coffee filter to separate the grounds from the liquid.
Step 5: Store the Cold Brew
Transfer the brewed coffee into a pitcher or airtight container. This cold brew can be stored in the fridge for up to two weeks.
Step 6: Serve Over Ice
Pour the cold brew over ice for a refreshing drink. You can adjust the strength by adding more water or milk if desired.
Step 7: Sweeten to Taste
Add sweetener or flavored syrups if you prefer a sweeter taste. This step is entirely optional and can be customized to your liking.
Step 8: Enjoy!
Take a moment to savor your homemade cold brew. Feel free to experiment with flavors or enjoy it black.
Pro Tip: For the best flavor, use fresh coffee beans and grind them just before brewing.
Tips for the Best Kitchenaid Cold Brew
- Always use coarsely ground coffee to prevent bitterness.
- Experiment with different coffee beans for unique flavors.
- Store your cold brew in a sealed container to keep it fresh.
- Adjust the brewing time based on your taste preference.
- Consider adding milk or a splash of vanilla for extra flavor.
Common Mistakes to Avoid
- Using finely ground coffee can lead to a bitter flavor. Stick to coarsely ground.
- Not brewing long enough won’t extract the full flavor. Aim for at least 12 hours.
- Forgetting to filter out the grounds will result in a gritty drink.
- Using hot water instead of cold will create a different taste profile.
Serving Suggestions
Enjoy your cold brew solo or pair it with snacks for a complete experience.
- Chocolate croissants for a sweet breakfast.
- Homemade cookies for a delightful afternoon treat.
- Granola bars for a quick energy boost.
- Fresh fruit to balance the richness of the coffee.
Variations to Try
- Add a splash of almond milk for a nutty flavor.
- Mix in flavored syrups like hazelnut or caramel for a twist.
- Combine with a scoop of ice cream for a dessert-style treat.
- Try different ratios of coffee to water for stronger or lighter brews.
Dietary Adaptations
- Gluten-free: This recipe is naturally gluten-free.
- Dairy-free: Use non-dairy milk alternatives to enjoy a creamy texture.
- Vegan: All ingredients are plant-based, making it vegan-friendly.
- Low-carb/keto: Enjoy cold brew with no added sweeteners for a keto-friendly option.
Storage and Reheating
Refrigerator
Store the cold brew in the fridge in a sealed container. It will stay fresh for up to two weeks.
- Use an airtight pitcher for best results.
- Keep away from strong-smelling foods to avoid flavor transfer.
Freezer
For longer storage, consider freezing cold brew in ice cube trays. This way, you can enjoy it later without it getting watered down.
- Once frozen, transfer cubes to a zip-top bag.
- Use within three months for the best flavor.
Reheating
Cold brew is typically served cold, but you can heat it if desired. Just warm it gently on the stove or in the microwave.
- Avoid boiling to keep the flavors intact.
- Add a splash of milk or cream to enhance the taste.
Nutrition Information
| Nutrient | Amount |
|---|---|
| Calories | 100 |
| Total Fat | 0g |
| Saturated Fat | 0g |
| Carbohydrates | 0g |
| Fiber | 0g |
| Sugar | 0g |
| Protein | 0g |
| Sodium | 5mg |
| Cholesterol | 0mg |
This nutrition information is an estimate and can vary based on specific ingredients used.
Frequently Asked Questions
Can I use regular brewed coffee instead of cold brew?
Regular brewed coffee has a different flavor profile and acidity level, so it’s best to stick to cold brew for this recipe.
How long can I store cold brew in the fridge?
Homemade cold brew can last up to two weeks in the refrigerator if stored properly in an airtight container.
What if I want a stronger cold brew?
For a stronger flavor, increase the amount of coffee or steep it for a longer period of time.
Can I make cold brew without a Kitchenaid?
Yes, you can use any container with a lid and a strainer to make cold brew, just follow the same steps.
Is it possible to make cold brew with flavored coffee?
Absolutely! Using flavored coffee beans can add a unique twist to your cold brew.
Final Thoughts
Crafting your own Kitchenaid cold brew is a delightful experience that elevates your coffee game. Whether you enjoy it black or with a splash of cream, you’ll love how easy it is to make.
So, grab your Kitchenaid and get brewing! For more fun recipes, check out this cold brew coffee concentrate recipe or try this delicious Cocoa Puff cold brew recipe.
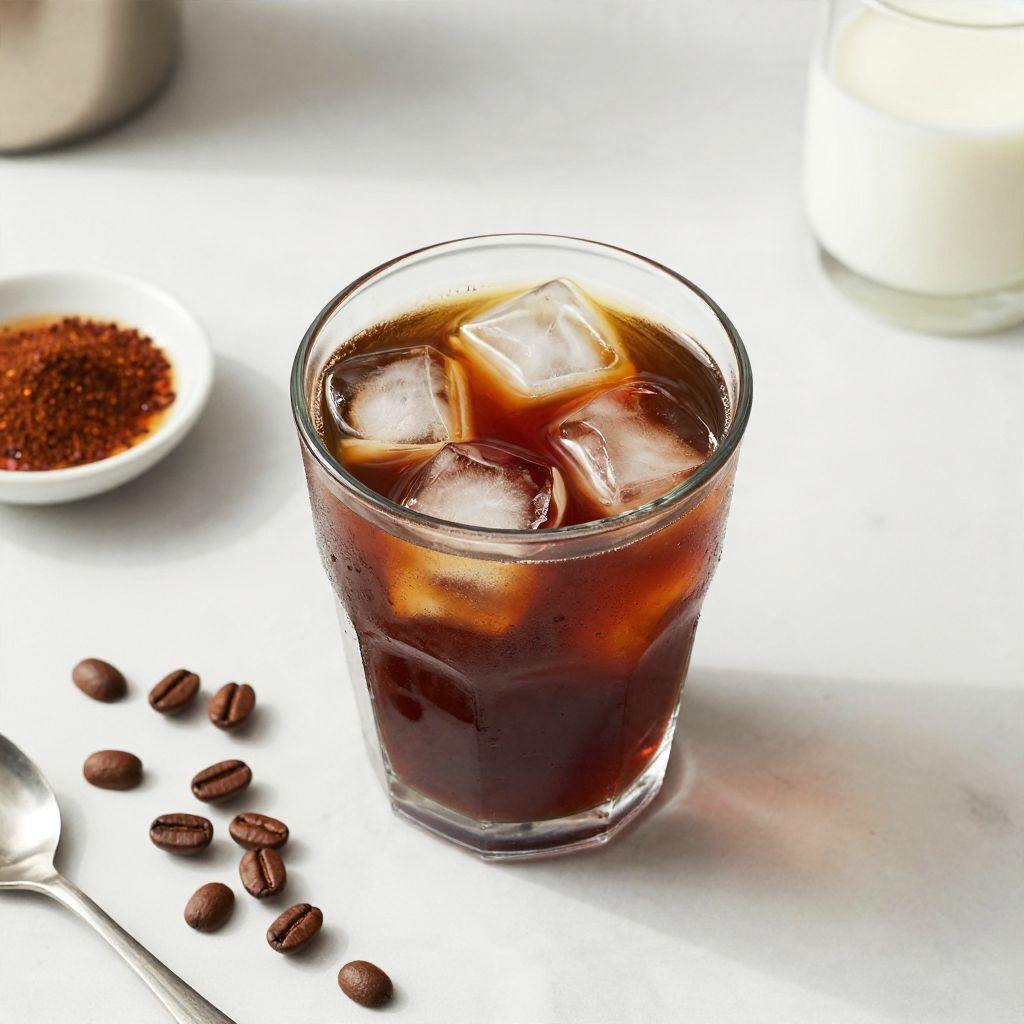
Kitchenaid Cold Brew
Ingredients
Equipment
Method
- Measure 1 cup of coarsely ground coffee and 4 cups of cold water.
- Pour the ground coffee into the Kitchenaid coffee maker and add the cold water. Stir gently.
- Set your Kitchenaid to brew and let it steep for 12 to 24 hours.
- If your Kitchenaid does not have a built-in filter, use a fine mesh strainer or coffee filter to separate the grounds.
- Transfer the brewed coffee into a pitcher or airtight container.
- Store the cold brew in the fridge for up to two weeks.
- Pour the cold brew over ice and adjust the strength as desired.
- Add sweetener or flavored syrups if preferred.
- Enjoy your homemade cold brew.