
The smell of old fashioned donuts frying in hot oil is something that instantly transports you back to lazy Sunday mornings and county fair memories. Old fashioned donuts are a timeless treat that sit somewhere between a cake donut and a fried pastry, with crispy edges, a tender crumb, and that perfect golden-brown exterior that makes them irresistible. They’re not trendy or complicated, but they deliver pure, honest flavor that never goes out of style. If you’ve been intimidated by making donuts at home, this recipe will prove that you absolutely can nail them in your own kitchen.
Why You’ll Love This Recipe
These homemade old fashioned donuts rival anything you’d buy at a bakery, and you’ll know exactly what goes into them. They’re crispy on the outside, tender on the inside, and take just a couple of hours from start to finish.
- Crispy, golden exterior with a soft, cake-like interior
- Simple ingredients you likely already have on hand
- Foolproof technique that delivers consistent results every time
- Customizable toppings and glazes to match your mood
- Homemade taste that absolutely beats store-bought versions
My Experience Making This Recipe
The first time I made old fashioned donuts, I was nervous about the frying part. I thought it would be messy and temperamental, but the dough came together easily, and the frying was actually quite forgiving once I got the oil temperature right.
Pulling those golden-brown donuts out of the oil and watching them cool on a wire rack felt like a small victory. The texture was exactly what I was after: crispy enough to have a satisfying crunch when you bite through, but still tender enough that the donut didn’t feel heavy.
My family demolished a half dozen before they even cooled completely, which tells you everything you need to know about how good these taste fresh. The best part was making a simple glaze while they were still warm and watching it set into a thin, shiny coating.
Recipe Overview
- Recipe Name: Old Fashioned Donuts
- Servings: 12 donuts
- Prep Time: 20 minutes
- Cook Time: 15 minutes plus rising time
- Total Time: 1 hour 45 minutes
- Course: Dessert, Breakfast
- Cuisine: American
- Calories per Serving: 220 calories
Equipment You Will Need
- Large mixing bowl
- Electric mixer or whisk
- Measuring cups and spoons
- Rolling pin
- Donut cutter (3-inch)
- Heavy-bottomed pot or Dutch oven
- Candy or deep-fry thermometer
- Slotted spoon or spider strainer
- Wire cooling rack
- Parchment paper
- Small saucepan for glaze
Ingredients for Old Fashioned Donuts
- All-purpose flour, 2 cups
- Granulated sugar, 1/2 cup
- Baking powder, 2 teaspoons
- Salt, 1/2 teaspoon
- Nutmeg, 1/4 teaspoon
- Eggs, 2 large
- Buttermilk, 1/2 cup
- Vanilla extract, 1 teaspoon
- Butter, 2 tablespoons, melted
- Vegetable oil, 2 quarts for frying
For the Glaze
- Powdered sugar, 2 cups
- Butter, 3 tablespoons, melted
- Vanilla extract, 1/2 teaspoon
- Whole milk, 3 to 4 tablespoons
- Salt, pinch
Ingredient Notes and Substitutions
- Buttermilk: Creates tender donuts with a slightly tangy flavor and helps activate the baking powder. If you don’t have buttermilk, mix 1/2 cup regular milk with 1/2 teaspoon lemon juice and let it sit for 5 minutes.
- Nutmeg: Adds warmth and complexity that makes these taste like a classic bakery donut. You can skip it or use a tiny pinch of cinnamon instead if you prefer.
- All-purpose flour: Provides structure without being too heavy. Cake flour will make donuts slightly more tender, but all-purpose is your best bet for that signature old fashioned texture.
- Vegetable oil: Neutral oil maintains the donut flavor and fries evenly. Canola oil works equally well and is a solid substitute.
- Powdered sugar: Creates a smooth, pourable glaze that sets quickly. You cannot substitute this with granulated sugar without changing the texture completely.
How to Make Old Fashioned Donuts
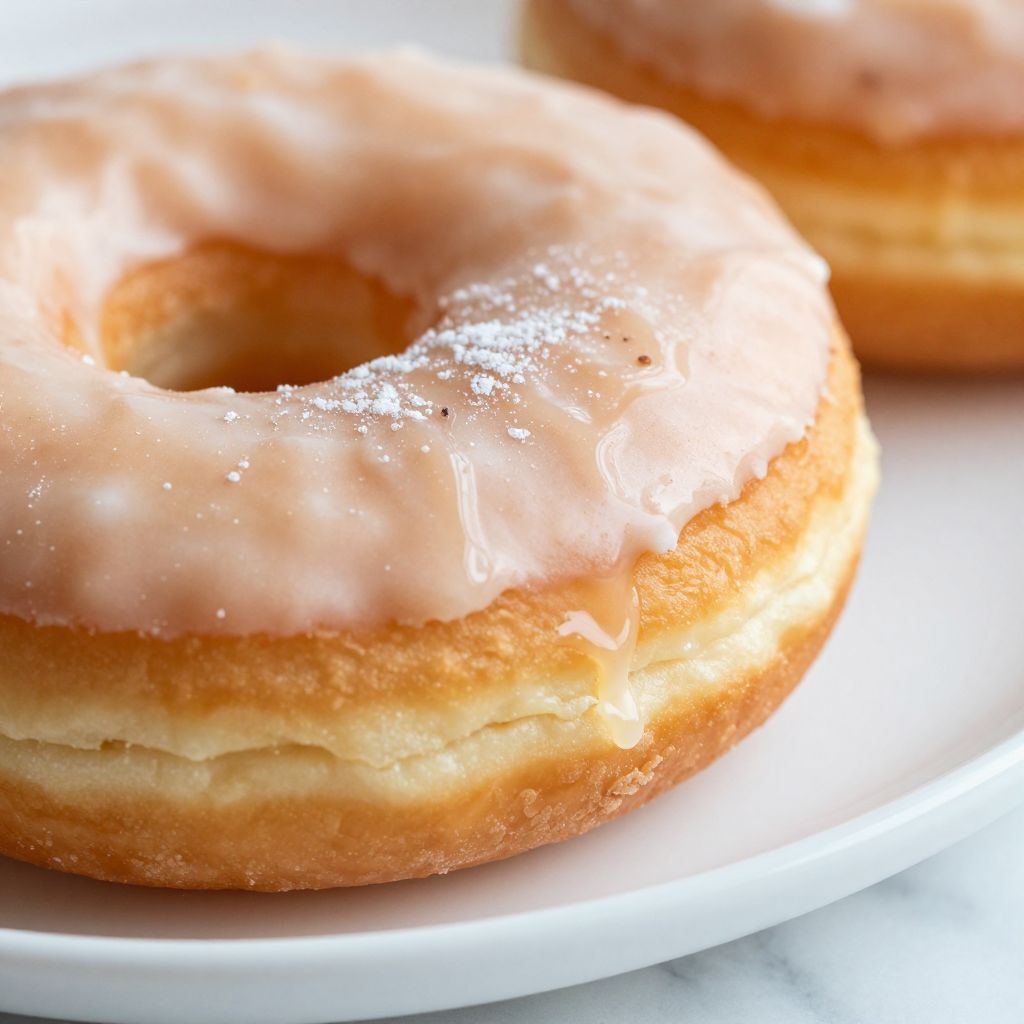
Step 1: Mix Your Dry Ingredients
In a large bowl, whisk together flour, granulated sugar, baking powder, salt, and nutmeg. Whisking these together thoroughly distributes the leavening agent evenly, which ensures your donuts will rise uniformly and have a consistent texture throughout.
Step 2: Combine Your Wet Ingredients
In another bowl, whisk together eggs, buttermilk, vanilla extract, and melted butter until completely combined. This blend of wet ingredients is what gives the donuts their tender crumb and subtle richness without being overly heavy.
Step 3: Bring It All Together
Pour the wet ingredients into the dry ingredients and stir until you have a shaggy dough. Do not overmix; you want just enough stirring to combine everything, as overworking the dough will make your donuts dense and tough instead of light and tender.
Step 4: Chill and Rest the Dough
Cover the dough and refrigerate for at least 30 minutes, or up to 2 hours. Chilling makes the dough easier to handle and helps the flavors develop while preventing the dough from getting too sticky when you roll and cut it.
Step 5: Roll and Cut Your Donuts
Lightly flour a work surface and roll out the dough to about 1/2-inch thickness. Using a 3-inch donut cutter, cut out as many donuts as you can, placing the cut donuts and holes on parchment paper and letting them rest for 10 minutes at room temperature before frying.
Step 6: Heat Your Oil to the Right Temperature
Pour vegetable oil into a heavy pot and heat it to exactly 350 degrees Fahrenheit, checking with a reliable thermometer. This temperature is crucial because oil that’s too cool will produce greasy, dense donuts, while oil that’s too hot will burn the outside before the inside cooks through.
Step 7: Fry Your Donuts
Carefully place 2 or 3 donuts into the hot oil and fry for about 90 seconds per side, until golden brown. You’re looking for a rich golden color, not pale or dark brown, which indicates perfectly fried donuts with a crispy exterior and tender crumb inside.
Step 8: Drain and Cool
Using a slotted spoon or spider strainer, transfer fried donuts to a wire cooling rack set over parchment paper. Let them cool for at least 5 minutes before glazing so the glaze will stick properly and set into a thin coating rather than sliding off.
Step 9: Make Your Glaze
While donuts cool, whisk together powdered sugar, melted butter, vanilla extract, and 3 tablespoons of milk in a small saucepan over low heat. Stir until smooth and pourable, adding more milk one teaspoon at a time if the glaze is too thick.
Step 10: Glaze Your Donuts
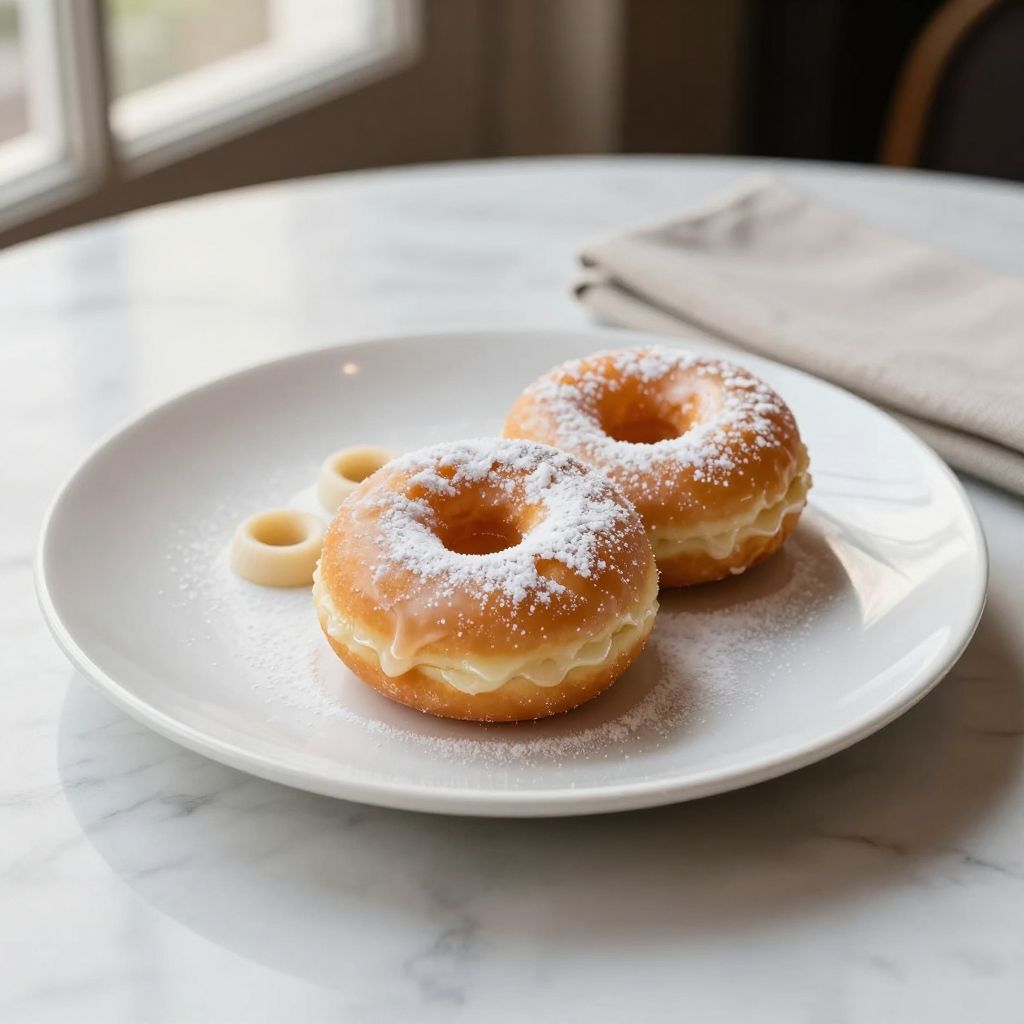
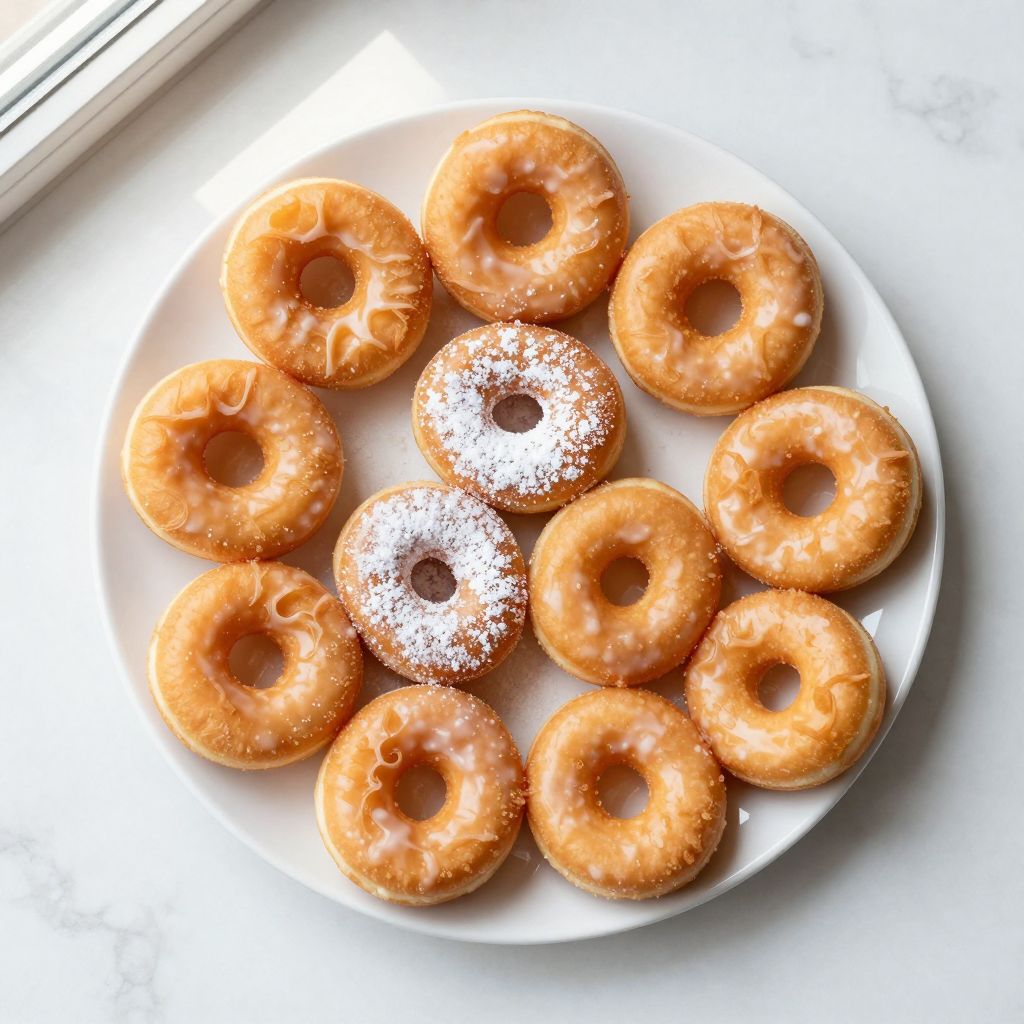
Dip the top of each cooled donut into the warm glaze, allowing excess to drip off, then place it back on the cooling rack. The glaze will set as the donuts finish cooling, creating that beautiful shiny finish you see on bakery donuts.
Pro Tip: Keep your oil temperature steady at 350 degrees Fahrenheit by frying in small batches and allowing the temperature to recover between batches; this one detail makes the difference between crispy-outside donuts and greasy disappointments.
Tips for the Best Old Fashioned Donuts
- Use a reliable thermometer for your oil temperature; eyeballing it will lead to inconsistent results. An inexpensive candy thermometer takes the guesswork out of frying and helps you nail the texture every single time.
- Don’t skip the chilling step; cold dough is much easier to cut and holds its shape better during frying. The texture difference is noticeable and worth the extra time.
- Fry in small batches of 2 or 3 donuts so the oil temperature doesn’t drop dramatically. Large batches cool the oil too much, and your donuts will absorb oil instead of frying quickly and crisply.
- Glaze the donuts while they’re still slightly warm so the glaze adheres and sets properly. Room-temperature donuts won’t accept the glaze as readily, and it may slide right off.
- Let the donuts cool completely before storing them; trapping steam will make them soggy. A wire rack allows air to circulate underneath and keeps them from sitting in condensation.
- Fresh donuts are always best, but if you must store them, keep them in an airtight container at room temperature for up to 2 days. Refrigeration dries them out faster.
Common Mistakes to Avoid
- Overmixing the dough leads to tough, dense donuts instead of light, tender ones. Mix just until the ingredients combine; a few small lumps are perfectly fine.
- Skipping the chilling step makes the dough sticky and difficult to handle, resulting in misshapen donuts. The cold dough is much more forgiving and easier to work with.
- Frying at the wrong temperature is the most common reason donuts turn out greasy or undercooked inside. Invest in a thermometer and check the temperature before you start frying.
- Frying too many donuts at once drops the oil temperature dramatically, causing them to absorb oil. Stick to 2 or 3 at a time and let the oil recover between batches.
- Glazing cold donuts prevents the glaze from sticking and setting properly. Always glaze them while they’re still warm so the glaze flows and adheres beautifully.
Serving Suggestions
Old fashioned donuts pair beautifully with hot coffee or cold milk, and they’re perfect for breakfast, brunch, or an afternoon treat. Serve them fresh from the fryer while they’re still warm for the absolute best experience.
- Alongside fresh-brewed coffee and a simple fruit salad for a weekend breakfast
- With hot chocolate or milk for a cozy afternoon snack
- As part of a donut-and-coffee gathering with friends or family
- Paired with fresh berries and whipped cream for a more indulgent dessert
- Wrapped individually as gifts or for bake sales
Variations to Try
- Maple Glazed: Replace the vanilla glaze with a maple version by using maple syrup instead of milk and adding 1/4 teaspoon of maple extract. This variation brings a warm, earthy sweetness that feels more autumnal and sophisticated.
- Cinnamon Sugar Donuts: Skip the glaze entirely and toss warm donuts in a mixture of cinnamon and granulated sugar mixed with melted butter. This classic coating is simpler but delivers bold flavor and satisfying crunch.
- Chocolate Glazed: Add 2 tablespoons of cocoa powder and 2 tablespoons of melted chocolate to your glaze for a rich chocolate version. The cocoa deepens the sweetness and makes these feel indulgent.
- Old Fashioned with Spice: Add 1/4 teaspoon of cinnamon, 1/8 teaspoon of ginger, and a pinch of cloves to your dry ingredients for a spiced version. This variation works beautifully with a vanilla or maple glaze.
- Mini Old Fashioned Donuts: Use a mini donut cutter and reduce frying time to about 45 seconds per side for bite-sized versions. Mini donuts are perfect for parties and portion control.
Dietary Adaptations
- Gluten-Free: Replace all-purpose flour with a quality gluten-free blend designed for baking, using the same amount. The texture may be slightly different, but a good gluten-free blend will produce donuts that are nearly indistinguishable from the original.
- Dairy-Free: Use dairy-free milk mixed with lemon juice instead of buttermilk, use coconut oil instead of butter, and use a dairy-free milk in the glaze. The donuts will fry the same way, though the flavor will shift slightly without the buttermilk’s tanginess.
- Vegan: Replace eggs with a flax egg (3 tablespoons ground flaxseed mixed with 9 tablespoons water), use dairy-free buttermilk, and replace butter with coconut oil. The texture will be slightly less tender, but the donuts will still fry beautifully.
- Lower-Sugar: Replace granulated sugar with monk fruit sweetener or erythritol in a 1:1 ratio, and use the same substitution in the glaze. The texture remains the same, though the flavor will be slightly different and less caramelized-tasting.
Storage and Reheating
Refrigerator
Store glazed donuts in an airtight container on the counter at room temperature for up to 2 days; refrigeration dries them out significantly. If you must refrigerate them, let them come back to room temperature before eating.
- Airtight container at room temperature is best
- Avoid the refrigerator if possible
- Use within 2 days for optimal texture
Freezer
Unglazed donuts freeze beautifully for up to 3 months in an airtight freezer bag or container. Glazed donuts can be frozen too, but the glaze may crack slightly as it thaws.
- Freeze unglazed donuts for best results
- Use freezer bags or airtight containers
- Label with the date for easy tracking
- Thaw at room temperature before eating
Reheating
Reheat room-temperature donuts in a 300-degree oven for 5 to 7 minutes to restore some of that fresh-fried texture. Avoid the microwave, which makes them rubbery and soggy.
- Oven method: 300 degrees for 5 to 7 minutes
- Toaster oven works perfectly for small batches
- Skip the microwave to preserve texture
Nutrition Information
| Nutrient | Amount |
|---|---|
| Calories | 220 |
| Total Fat | 11g |
| Saturated Fat | 4g |
| Carbohydrates | 28g |
| Fiber | 0g |
| Sugar | 18g |
| Protein | 2g |
| Sodium | 180mg |
| Cholesterol | 35mg |
These values are estimates based on USDA nutrition databases and standard serving sizes. Actual nutrition will vary depending on exact ingredients and preparation methods used.
Frequently Asked Questions
Can I make these donuts ahead of time?
Yes, you can prepare the dough up to 2 days in advance and keep it covered in the refrigerator. Fry them fresh on the day you want to serve them for the best texture and taste.
What’s the difference between old fashioned and cake donuts?
Old fashioned donuts have a denser, slightly heavier crumb with crispy, irregular edges, while cake donuts are lighter and more uniform. Old fashioned donuts are fried longer and often have those characteristic craggy edges from the frying process.
Can I bake these instead of frying them?
Baked versions will not achieve the same crispy exterior that makes old fashioned donuts special. You can make a baked donut version, but the texture will be fundamentally different and not true to this classic recipe.
Why did my donuts turn out greasy?
Greasy donuts almost always mean the oil temperature was too low, which causes them to absorb oil instead of frying quickly. Use a reliable thermometer and keep the temperature between 340 and 360 degrees Fahrenheit for the best results.
How do I get that characteristic hole in the center?
Use a proper donut cutter with the hole punch in the middle, pressing firmly straight down through the dough. You’ll have donut holes left over, which fry up beautifully as bite-sized treats in just 30 to 45 seconds per side.
Can I use a stand mixer to make the dough?
Yes, a stand mixer works perfectly for mixing the dry and wet ingredients. Mix on low speed just until the dough comes together, being careful not to overwork it.
Final Thoughts
Making old fashioned donuts at home is far more achievable than you might think, and the results are absolutely worth the effort. The satisfaction of pulling golden-brown donuts from hot oil and glazing them warm is a feeling that store-bought donuts simply cannot match.
Give this recipe a try this weekend, and I guarantee you’ll find yourself making these again and again. Your family will thank you, and you’ll have discovered a skill that turns ordinary Sunday mornings into something truly special.
Explore More Donut Recipes
If you’ve enjoyed making these classic old fashioned donuts and want to expand your donut-making skills, there are plenty of exciting variations waiting for you. Check out our collection of donut recipes to discover new flavors and techniques that will keep your kitchen smelling amazing.
Looking for something with a bit more sophistication? Try our maple old fashioned recipe for a warm, earthy twist on this classic. And if you’re curious about grown-up versions of donuts, our best old fashioned recipe bourbon takes inspiration from classic cocktail flavors to create something truly unique.
Old Fashioned Donuts
Ingredients
Equipment
Method
- In a large bowl, whisk together 2 cups all-purpose flour, 1/2 cup granulated sugar, 2 teaspoons baking powder, 1/2 teaspoon salt, and 1/4 teaspoon nutmeg.
- In another bowl, whisk together 2 large eggs, 1/2 cup buttermilk, 1 teaspoon vanilla extract, and 2 tablespoons melted butter until combined.
- Pour the wet ingredients into the dry ingredients and stir until a shaggy dough forms, being careful not to overmix.
- Cover the dough and refrigerate for at least 30 minutes to 2 hours to chill.
- On a lightly floured surface, roll the dough to 1/2-inch thickness, then cut with a 3-inch donut cutter.
- Let the cut donuts rest on parchment-lined trays at room temperature for 10 minutes.
- Heat 2 quarts of vegetable oil in a heavy pot to 350°F, monitored with a candy thermometer.
- Fry 2 to 3 donuts at a time for 90 seconds per side until golden brown, then transfer to a wire rack.
- Let the donuts cool for at least 5 minutes before glazing.
- In a small saucepan over low heat, whisk 2 cups powdered sugar, 3 tablespoons melted butter, 1/2 teaspoon vanilla extract, and 3 tablespoons milk until smooth, adding more milk if needed, then dip each donut into the glaze and let set.