
That moment when your coffee hits your lips and tastes like a chocolate-covered espresso bean is pure magic. Mocha creamer transforms your daily cup from ordinary to café-quality, and the best part is you can make it at home in about five minutes.
Forget those shelf-stable creamers loaded with ingredients you can’t pronounce. This homemade version gives you real cream, real cocoa, and real coffee flavor without any mystery additives.
You get silky texture, bold mocha notes, and the satisfaction of knowing exactly what goes into your mug. Plus, it’s cheaper than buying fancy coffee drinks all week long.
Why You’ll Love This Recipe
This creamer strikes the perfect balance between indulgence and simplicity. You control the sweetness, coffee intensity, and chocolate flavor, which means it works for anyone from purists to dessert-in-a-cup enthusiasts.
- Ready in under five minutes with no cooking required
- Uses simple pantry staples you likely already have on hand
- Costs a fraction of store-bought specialty creamers
- Customizable to match your exact taste preferences
- Stays fresh in the fridge for two weeks, perfect for meal prep
My Experience Making This Recipe
I stumbled onto this creamer when I realized I’d spent more on coffee shop lattes in one month than on actual groceries. After my third failed attempt at homemade versions that separated or tasted gritty, I landed on this formula.
The first morning I used it, my husband asked what coffee I’d bought because it smelled so good. That’s when I knew I’d cracked it.
Now I make a batch every Sunday and store it in a glass jar. It’s become my favorite small kitchen win, the kind that makes you feel a little fancy before 8 a.m.
Recipe Overview
- Recipe Name: Homemade Mocha Creamer
- Servings: Makes about 1.5 cups
- Prep Time: 5 minutes
- Cook Time: 0 minutes
- Total Time: 5 minutes
- Course: Beverage
- Cuisine: American
- Calories per Serving: 35 calories per tablespoon
Equipment You Will Need
- Mason jar or airtight glass container
- Measuring cups and spoons
- Whisk or fork
- Blender (optional but recommended for creamiest results)
- Fine mesh strainer
Ingredients for Mocha Creamer
- Heavy cream, 1 cup
- Whole milk, 1/2 cup
- Unsweetened cocoa powder, 3 tablespoons
- Instant espresso powder, 2 teaspoons
- Sweetened condensed milk, 1/4 cup
- Vanilla extract, 1/2 teaspoon
- Sea salt, pinch
Ingredient Notes and Substitutions
- Heavy cream: This creates the silky base that makes the creamer luxurious and prevents a thin, watery texture. You can substitute half-and-half, though it will be slightly less rich and won’t stay emulsified as long.
- Unsweetened cocoa powder: Dutch-process cocoa gives a deeper, smoother chocolate flavor than natural cocoa. If you only have natural cocoa powder, use it, but expect a slightly more acidic chocolate note.
- Instant espresso powder: This dissolves instantly and provides concentrated coffee flavor without grittiness. Finely ground instant coffee works as a backup, though you may need to strain it afterward.
- Sweetened condensed milk: This adds richness and sweetness while helping stabilize the creamer. You can swap it for 1/4 cup of regular milk plus 2 tablespoons of honey or maple syrup, though the texture will be slightly different.
- Vanilla extract: A touch of vanilla rounds out the chocolate and coffee flavors and prevents bitterness. Almond extract works as a substitute if you want a nuttier profile.
How to Make Mocha Creamer
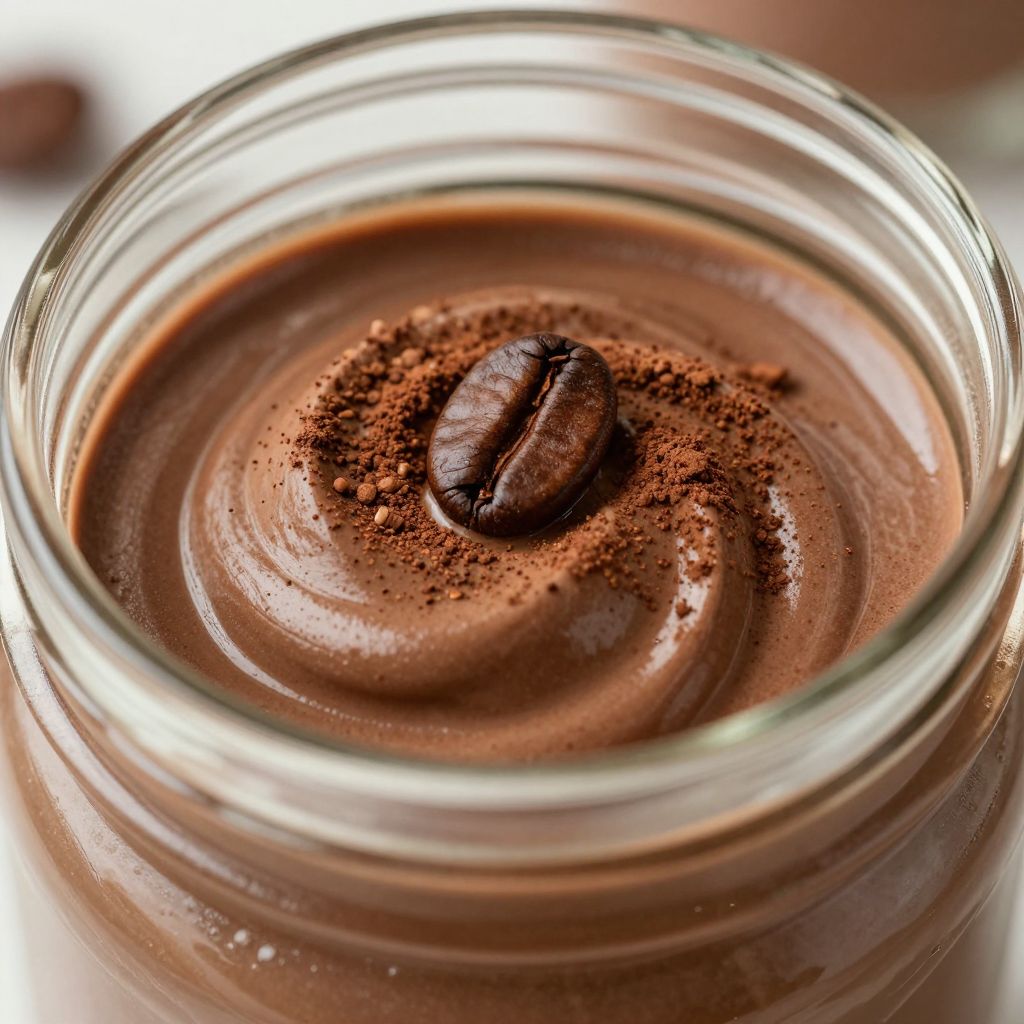
Step 1: Combine Your Wet Ingredients
Pour the heavy cream and whole milk into your mason jar or blender. These two components form the creamy base that makes your coffee feel indulgent and smooth, so don’t skip either one.
Step 2: Add the Cocoa Powder
Sprinkle the unsweetened cocoa powder into the jar and whisk vigorously for about 30 seconds. Cocoa powder can clump easily, so breaking up lumps now prevents grainy creamer later.
Step 3: Dissolve the Espresso Powder
Add the instant espresso powder and whisk until no brown flecks remain visible. The espresso powder should dissolve completely into the liquid, which is why we’re whisking rather than just shaking.
Step 4: Stir in the Sweetened Condensed Milk
Pour in the sweetened condensed milk and whisk for another 15 to 20 seconds. This ingredient adds sweetness and acts like an emulsifier, helping all the flavors stay integrated longer.
Step 5: Add Vanilla and Salt
Stir in the vanilla extract and a tiny pinch of sea salt. Salt sounds odd in a creamer, but it amplifies the chocolate and coffee notes while toning down any bitterness.
Step 6: Blend for Extra Smoothness
If you have a blender, pour the mixture into it and blend on high for about 30 seconds. Blending fully incorporates the cocoa and creates an ultra-smooth texture that feels more like a store-bought creamer.
Step 7: Strain if Necessary
Pour the creamer through a fine mesh strainer back into your jar or directly into a storage container. This step catches any stubborn cocoa particles and guarantees a silky mouthfeel in your coffee.
Step 8: Chill and Shake Before Each Use
Refrigerate the creamer for at least 30 minutes before using it. Shaking well before each pour ensures the cocoa and espresso don’t settle at the bottom.
Pro Tip: Store your mocha creamer in a glass jar rather than plastic because cocoa can stain plastic containers and the flavors stay fresher in glass.
Tips for the Best Mocha Creamer
- Use room temperature ingredients if you’re making this by hand without a blender, as cold cream can thicken and make whisking harder.
- Whisk or blend for the full recommended time even if you think it looks mixed. Extra blending creates a silkier mouthfeel that tastes genuinely creamy.
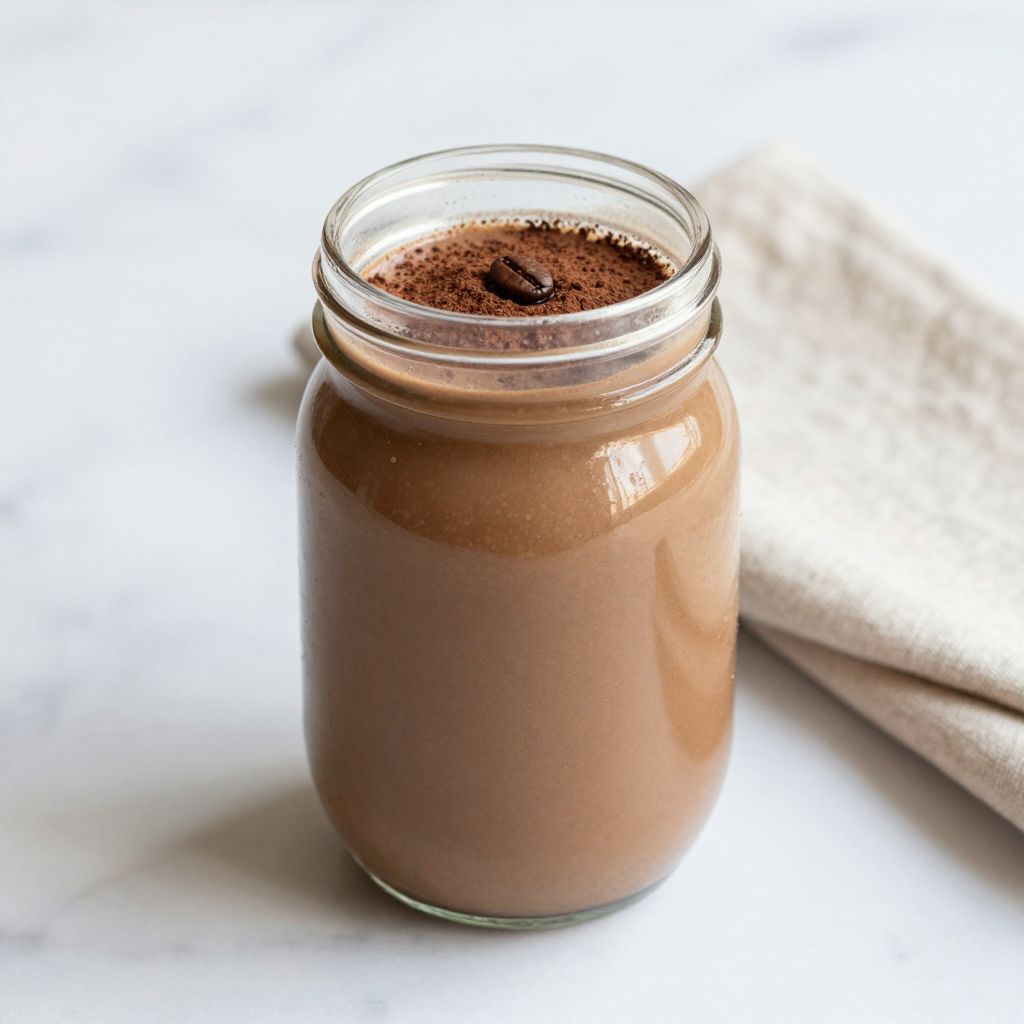
- Store your finished creamer in a glass jar with a tight-sealing lid to keep air and odors out and maintain freshness longer.
- Make a half batch first if you’re not sure about the flavor balance, then adjust sweetness or cocoa intensity next time based on your taste.
- Warm the creamer slightly before adding it to very hot coffee if you want maximum flavor release, though this is optional.
- Keep the jar in the coldest part of your fridge away from the door, where temperature fluctuations can shorten shelf life.
Common Mistakes to Avoid
- Skipping the straining step because you think it looks smooth enough. Tiny cocoa particles you can’t see will still create a grainy texture on your tongue.
- Using hot water to dissolve the cocoa powder instead of cold milk. Hot water breaks down the cocoa’s flavor compounds and creates a thin, watery result.
- Buying sweetened cocoa powder instead of unsweetened because you think it saves a step. Sweetened cocoa contains added sugar and fillers that throw off the flavor balance and sweetness level.
- Forgetting to shake the jar before each use, resulting in creamer that tastes different each time you pour it because ingredients have separated.
- Making too large a batch and storing it for more than two weeks, which allows the cream to break down and the flavor to fade.
Serving Suggestions
This creamer shines in hot coffee, but it also works beautifully in iced coffee, cold brew, and even hot chocolate. A single tablespoon transforms a basic mug of coffee into something you’d order at a specialty café.
- Pour into a steaming cup of black coffee for instant mocha flavor
- Use in iced coffee with a shot of espresso for a cold mocha drink
- Stir into hot chocolate for an extra chocolate-coffee kick
- Add to oatmeal or yogurt as a flavor boost
- Drizzle over vanilla ice cream for a homemade mocha topping
Variations to Try
- Salted Caramel Mocha: Replace the sweetened condensed milk with dulce de leche and add 1/4 teaspoon of sea salt for a sweet-salty twist that plays beautifully with espresso.
- Dark Chocolate Mocha: Use Dutch-process cocoa powder and add 1 tablespoon of melted dark chocolate for deeper, more intense cocoa flavor that appeals to chocolate lovers.
- Cinnamon Mocha: Add 1/2 teaspoon of ground cinnamon to warm spice notes that complement both the chocolate and coffee without overpowering either one.
- White Mocha: Swap the cocoa powder for 3 tablespoons of melted white chocolate and reduce the vanilla to 1/4 teaspoon for a sweeter, less coffee-forward version.
- Hazelnut Mocha: Add 1/2 teaspoon of hazelnut extract and reduce vanilla to 1/4 teaspoon for a nutty café flavor that pairs perfectly with the chocolate and espresso base.
Dietary Adaptations
- Dairy-Free: Substitute heavy cream with oat cream and whole milk with unsweetened oat milk for a creamy texture. The result will be slightly thinner, so add 1 extra tablespoon of sweetened condensed milk alternative.
- Vegan: Use coconut cream instead of heavy cream and plant-based milk of your choice, plus vegan sweetened condensed milk or coconut milk with added sugar. The flavor will be similar but with a subtle coconut undertone.
- Low-Sugar: Replace sweetened condensed milk with 1/4 cup of heavy cream plus 2 tablespoons of stevia or monk fruit sweetener to cut sugar significantly while keeping the texture rich.
- Keto-Friendly: Use full-fat cream and keto-approved sweetened condensed milk alternative or mix cream with erythritol. This version stays very low-carb and keeps you in ketosis.
Storage and Reheating
Refrigerator
Store your mocha creamer in an airtight glass jar in the coldest part of your fridge for up to two weeks. The cold slows down any separation or flavor degradation.
- Always shake well before each use
- Check for any off smell or mold before using after one week
- Keep away from strong-smelling foods that might transfer their flavor
Freezer
You can freeze mocha creamer in an airtight container or even in ice cube trays for up to three months. Freezing the creamer extends shelf life significantly and gives you single-serving portions.
- Thaw frozen creamer in the fridge for 12 hours before using
- The texture may separate slightly after freezing, so shake or blend after thawing
- Frozen cubes can go straight into hot coffee without thawing
Reheating
This creamer doesn’t need reheating since you’re adding it to hot beverages. If separation occurs after thawing, whisk vigorously or blend for a few seconds to restore the smooth texture.
- Never microwave the creamer directly as heat damages the texture and flavor
- Adding hot creamer to hot coffee works better if you warm the creamer first by letting it sit at room temperature for an hour
Nutrition Information
| Nutrient | Amount |
|---|---|
| Calories | 35 |
| Total Fat | 3g |
| Saturated Fat | 2g |
| Carbohydrates | 2g |
| Fiber | 0g |
| Sugar | 2g |
| Protein | 0.5g |
| Sodium | 15mg |
| Cholesterol | 10mg |
These nutritional values are based on one tablespoon of finished creamer. Your actual intake varies depending on how much creamer you use per cup of coffee.
Frequently Asked Questions
Can I use regular coffee instead of espresso powder?
Regular brewed coffee will dilute your creamer and make it thinner, so espresso powder is worth buying. If you only have regular coffee, use two teaspoons of very strong cold brew concentrate instead of espresso powder.
Why does my creamer separate after a day or two?
Separation happens when the cocoa and espresso settle at the bottom because they weren’t fully emulsified. Blending for the full 30 seconds rather than just whisking prevents this, and shaking before each use keeps it smooth.
Can I make this creamer without sweetened condensed milk?
Yes, you can replace it with 1/4 cup of heavy cream plus 2 tablespoons of sugar or honey. The texture will be slightly less stable over time, so you’ll need to shake it more often.
How do I make the creamer less sweet?
Use only 3 tablespoons of sweetened condensed milk instead of 1/4 cup, or replace it entirely with unsweetened milk and adjust sugar separately. Taste after each adjustment and add more cocoa or espresso powder if you want deeper flavor instead of sweetness.
Is this creamer safe for people with nut allergies?
This base recipe contains no nuts, but always check your cocoa powder and espresso powder labels for facility warnings if you’re serving someone with a severe allergy. Some brands process these products in shared facilities with tree nuts.
Can I add protein powder to this creamer?
You can add vanilla or chocolate protein powder, though it may make the creamer thicker and require extra blending to stay smooth. Start with one tablespoon and blend well, then adjust based on your texture preference.
Final Thoughts
Making your own mocha creamer feels like a small act of luxury, but it’s actually one of the easiest ways to upgrade your morning routine. You’ll save money, customize the flavor exactly to your taste, and feel proud every time you open that jar.
Once you make this once, you’ll wonder why you ever bought the store-bought stuff. Give it a try this weekend and taste the difference that fresh ingredients and a five-minute investment can make.
If you loved this creamer, explore more ways to customize your coffee experience with our mocha coffee creamer recipe collection and discover how to make a peppermint mocha latte for seasonal variations that feel café-quality at home.
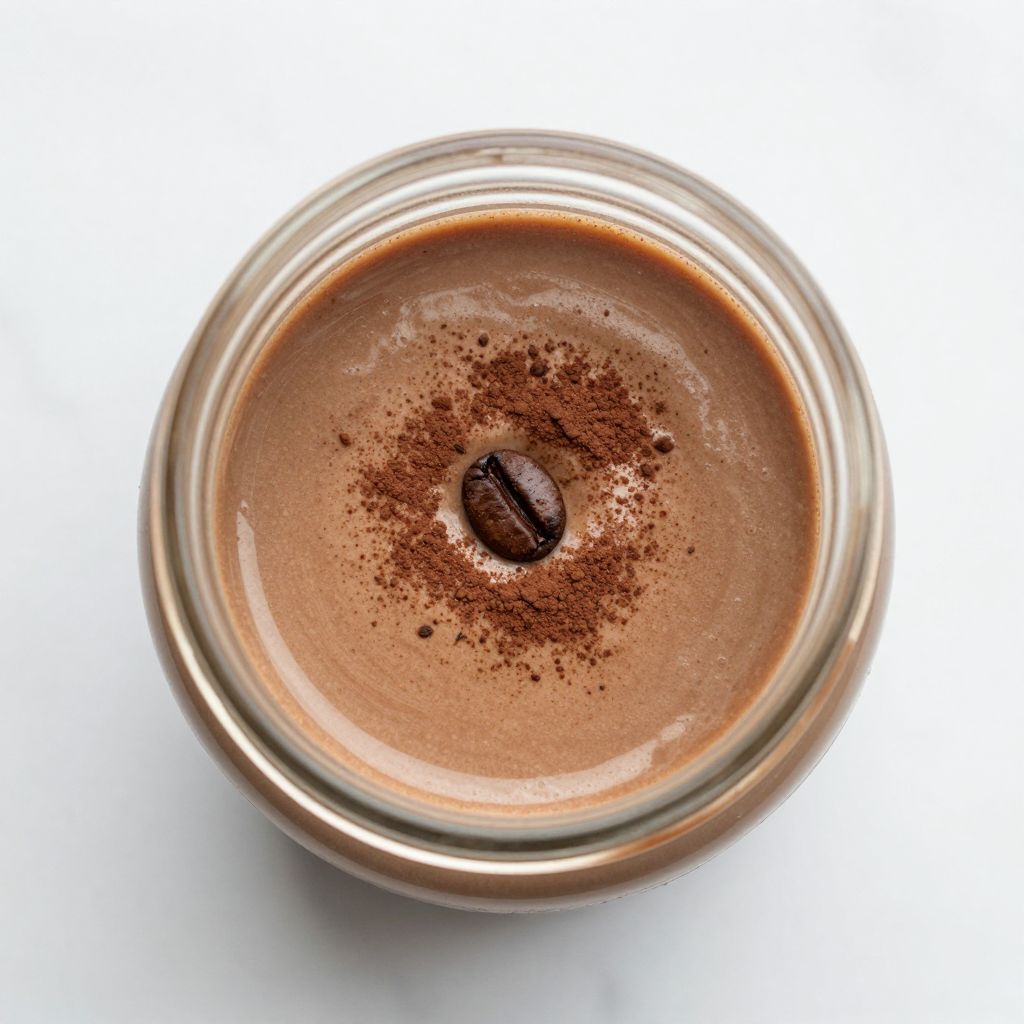
Homemade Mocha Creamer
Ingredients
Equipment
Method
- Pour the heavy cream and whole milk into a mason jar or blender.
- Add the unsweetened cocoa powder and whisk vigorously for about 30 seconds to break up any lumps.
- Add the instant espresso powder and whisk until fully dissolved and no brown flecks remain.
- Stir in the sweetened condensed milk and whisk for another 15 to 20 seconds.
- Add the vanilla extract and a pinch of sea salt and stir to combine.
- If using, transfer the mixture to a blender and blend on high for 30 seconds until ultra-smooth.
- Pour the creamer through a fine mesh strainer back into your jar or storage container to remove any remaining particles.
- Refrigerate for at least 30 minutes before use, and shake well before each pour.