
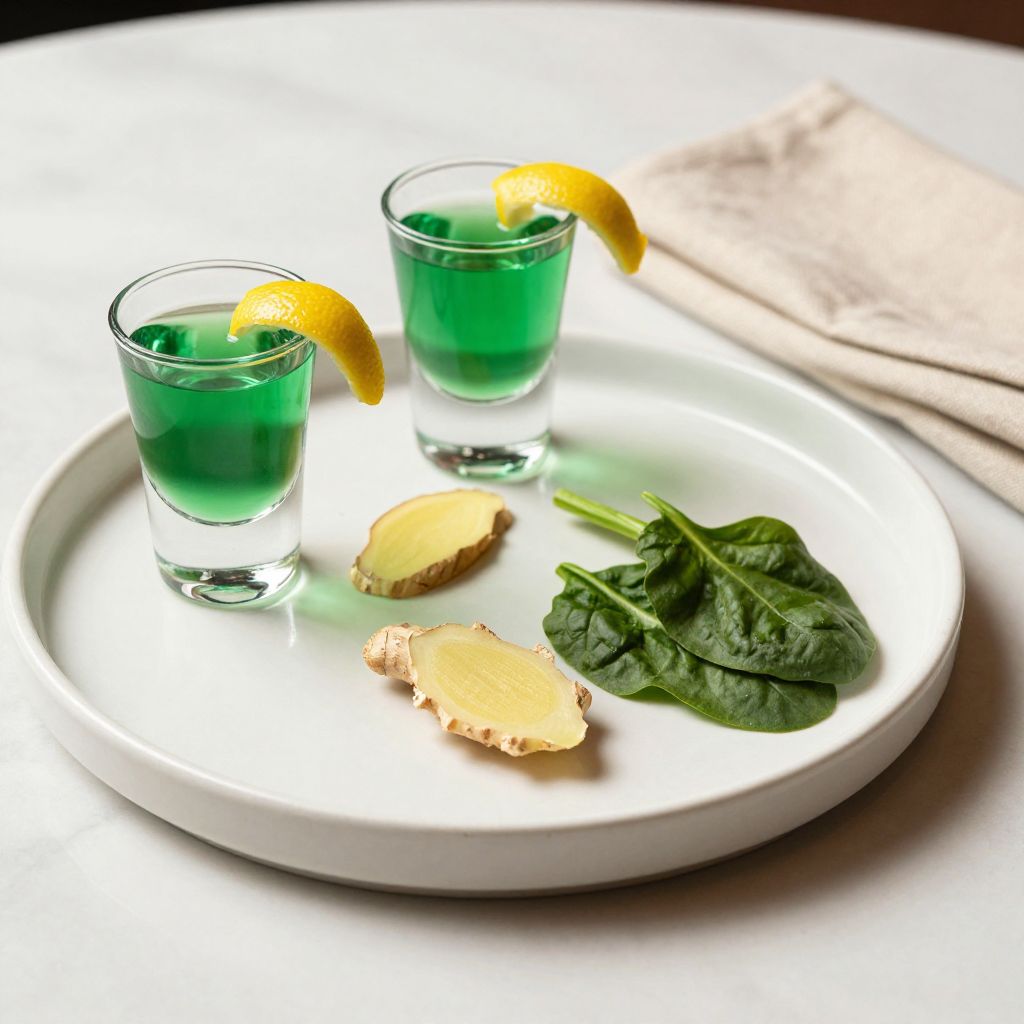
Picture yourself at a juice bar, watching the bartender pour a vibrant emerald liquid into a shot glass, knowing you’re about to get a serious wellness boost in just one gulp. Green shots pack concentrated nutrition from fresh vegetables and fruits into a small, potent serving that tastes way better than you’d expect.
This recipe is special because it cuts through the health-drink monotony with real flavor and a satisfying kick of ginger and lemon. You get the benefits of raw greens, natural sweetness, and invigorating spice all at once, without any weird aftertaste lingering in your mouth.
The best part? You can make these at home in under five minutes, customize them to your taste, and feel genuinely energized rather than like you’re choking down medicine. Let’s get into the details so you can start making your own green shots today.
Why You’ll Love This Recipe
Green shots deliver a concentrated dose of vegetables and fruits in a format that actually tastes good and feels manageable to drink. They’re faster than a full smoothie, more convenient than a juice bar visit, and you know exactly what’s going into your body.
- Quick to make with just a few quality ingredients
- Naturally energizing without the jitters from caffeine
- Perfect for busy mornings or post-workout recovery
- Easily customizable based on what you have on hand
- Impressive to serve at brunch or offer to guests
My Experience Making This Recipe
The first time I made green shots at home, I was skeptical that I could recreate that smooth, almost sweet flavor I loved from my local juice bar. But after my first sip, I realized the secret wasn’t some special technique or exotic ingredient, just really fresh produce and a bit of ginger for warmth.
I’ve made these shots dozens of times now, sometimes in batches for meal prep and sometimes fresh each morning depending on my mood. The texture is clean and bright, with that pleasant tingle from the ginger that makes you feel alive, and my kids have actually started asking for them instead of rolling their eyes at my health kicks.
What surprised me most was how much the quality of your produce matters here. Fresh, crisp apples and celery make all the difference compared to produce that’s been sitting in your fridge for a week.
Recipe Overview
- Recipe Name: Green Shot Recipe
- Servings: 2 shots (about 2 ounces each)
- Prep Time: 3 minutes
- Cook Time: 0 minutes
- Total Time: 3 minutes
- Course: Beverage
- Cuisine: Health-Conscious
- Calories per Serving: 45 calories
Equipment You Will Need
- Cold-press juicer or high-powered blender
- Fine mesh strainer (if using a blender)
- Cutting board
- Sharp knife
- Shot glasses
- Spoon for stirring
Ingredients for Green Shot Recipe
- 2 cups fresh spinach, loosely packed
- 1 green apple, cored and chopped
- 2 celery stalks, chopped into smaller pieces
- 1/2 cucumber, peeled and chopped
- 1/2 inch fresh ginger root, peeled
- 1/2 lemon, peeled
- Ice cubes (optional, for serving)
Ingredient Notes and Substitutions
- Spinach provides a mild base and nutrient density without overpowering the shot. Swap it for kale if you prefer a earthier taste, though kale will make the shot slightly more bitter.
- Green apples add natural sweetness and help balance the veggie flavors. Use Granny Smith apples specifically, as they’re crisp and tart; red apples work but add more sweetness.
- Celery contributes a clean, fresh taste and supports natural detox functions. Fennel or more cucumber can replace it if you want to reduce the celery flavor.
- Cucumber hydrates and adds a cooling effect to the shot. Zucchini can substitute here, though it’s slightly milder and less refreshing.
- Ginger provides warmth and an immune boost while masking any “grassy” flavors from the greens. Start with a smaller piece if you’re new to ginger; you can always add more next time.
- Lemon juice brightens the whole shot and prevents oxidation if you’re making these ahead. Lime works as a substitute for a slightly different citrus note.
How to Make Green Shot Recipe
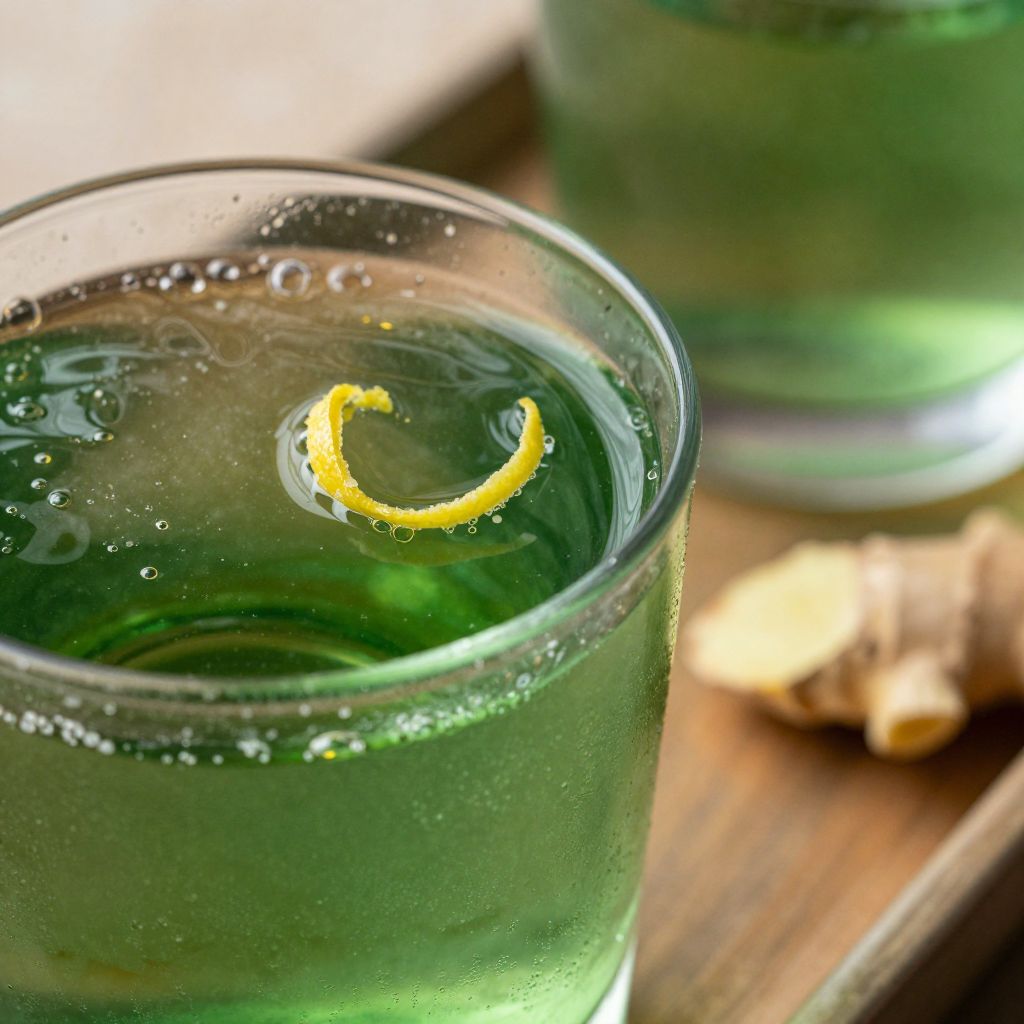
Step 1: Prep Your Produce
Wash all your vegetables and fruit thoroughly under cool running water to remove any dirt or residue. Pat them dry with a clean towel before cutting, as excess moisture can dilute your shot.
Step 2: Core and Chop the Apple
Cut your green apple in half, use a small knife or apple corer to remove the core completely, then chop the flesh into chunks small enough to fit through your juicer feed. Removing the core matters because apple seeds contain compounds that taste bitter when juiced.
Step 3: Prepare the Celery and Cucumber
Chop your celery stalks into 1-inch pieces and peel your cucumber before cutting it into similar-sized chunks. Peeling the cucumber reduces any woody taste and makes the juice cleaner and more palatable.
Step 4: Measure Out Your Spinach
Loosely pack your spinach into a measuring cup until you reach 2 cups, but don’t compress it down as this won’t give you an accurate measure. Spinach compacts considerably during juicing, so 2 cups raw yields just the right amount of juice.
Step 5: Peel the Ginger and Lemon
Use a vegetable peeler or the edge of a spoon to scrape away the thin brown skin of your ginger root, then do the same with your lemon half. You want to remove the bitter white pith from the lemon but keep the ginger skin thin so you don’t lose any flavorful oils.
Step 6: Feed Ingredients Into Your Juicer
Start with the spinach, then alternate between the harder items like celery, apple, and cucumber to keep everything moving smoothly through the juicer. This layering technique prevents the softer greens from clogging your machine and ensures maximum juice extraction.
Step 7: Add Ginger and Lemon Last
Push the ginger and lemon pieces through last, as their firmness helps push out any remaining juice from what came before. The ginger and lemon also come through more concentrated this way, giving you better flavor control.
Step 8: Strain If Using a Blender
If you used a high-powered blender instead of a cold-press juicer, pour your mixture through a fine mesh strainer lined with cheesecloth, pressing gently on the solids to extract as much liquid as possible. This step ensures a smooth shot texture without any fibrous bits that would ruin the experience.
Step 9: Pour and Serve Immediately
Divide your juice between two shot glasses right away, as freshly made juice starts to oxidize and lose nutrients within minutes. Serve at room temperature or add a single ice cube if you prefer it chilled, then drink immediately for maximum freshness and nutrient content.
Pro Tip: Make your shots fresh each time rather than storing the juice, since raw vegetable juice loses potency quickly once the cell walls are broken down by the juicer.
Tips for the Best Green Shot Recipe
- Invest in a quality cold-press juicer if you’re making shots regularly, as it extracts more juice and nutrients compared to centrifugal models. Cold-press juicers work more slowly but generate less heat, which preserves the vitamins and enzymes in your greens.
- Buy your produce from a farmers market or quality grocery store where you can inspect freshness directly. Wilted or soft produce will yield watery, weak-tasting shots, so prioritize crisp vegetables and firm apples.
- Cut your produce into uniform-sized chunks so everything processes at the same rate and you get consistent extraction. Uneven pieces mean some ingredients get over-processed while others barely give up their juice.
- Taste your shot before drinking and adjust flavors on the next batch if needed. If it’s too strong in ginger or too tart, you now know to back off those ingredients next time.
- Make shots in the morning when you’re most likely to actually drink them, rather than prepping ingredients the night before. The fresher the juice, the more invigorating it feels and the better it tastes.
- Keep your juicer parts assembled and ready to go, as a clean machine is much more likely to get used regularly. Store your cored apple pieces in a small bowl so you can quickly feed them through without hunting around for your knife.
Common Mistakes to Avoid
- Using old or wilted produce defeats the whole purpose of drinking a green shot. If your spinach looks yellowed or your celery feels bendy, you’ll end up with a watery, disappointing juice instead of something invigorating.
- Forgetting to core your apple leaves you with a bitter shot that tastes like you’re drinking medicine. Apple seeds release compounds during juicing that quickly overwhelm all the other flavors.
- Overloading on ginger makes your shot spicy-hot rather than warmly spiced, and many people find themselves unable to drink it. Start with a half-inch piece and increase next time if you want more punch.
- Peeling your cucumber before juicing is non-negotiable if you want a pleasant texture. Unpeeled cucumber skin adds a woody, slightly bitter taste that clashes with the other ingredients.
- Storing your juice for more than a few hours dramatically reduces its nutritional value and freshness. Make shots immediately before drinking them to get the full benefit and best flavor.
Serving Suggestions
Green shots work best as a morning ritual or post-workout recovery drink when your body is ready to absorb nutrients quickly. They pair beautifully with a light breakfast or alone as a refreshing pick-me-up between meals.
- Serve alongside a bowl of oatmeal with fresh berries for a complete breakfast
- Follow your shot with a protein-rich smoothie bowl for a more substantial meal
- Pair with a fresh salad for a light lunch that feels refreshing and energizing
- Offer as a welcome drink at a brunch gathering or wellness event
- Combine with a piece of whole grain toast and almond butter for sustained energy
Variations to Try
- Add a small handful of fresh parsley or cilantro for extra detox support and a more herbaceous flavor profile. These herbs add complexity without overwhelming the shot’s natural sweetness.
- Include a single beet to create a more vibrant pink-hued shot with an earthy sweetness that complements the other vegetables. Use just one small beet since beets are potent and can easily overpower everything else.
- Swap the green apple for a pear to make the shot slightly sweeter and softer in flavor, perfect if you find regular green shots too tart. Pear juice also feels more refreshing in warm weather.
- Add a small piece of turmeric root along with the ginger for an anti-inflammatory boost and a warm, slightly bitter note. Turmeric tastes earthy and peppery, so start small and adjust based on your preference.
- Create a “spicy green shot” by adding a thin slice of jalapeño to the mix for heat lovers who want their juice to have real kick. The spice from jalapeño lingers pleasantly and makes the shot feel more adventurous.
Dietary Adaptations
- Gluten-Free: Green shots are naturally gluten-free since they’re made from whole vegetables and fruit. Just verify your juicer hasn’t been used with gluten-containing products if you have celiac disease.
- Dairy-Free: This recipe contains zero dairy ingredients, so it works perfectly for anyone avoiding milk products. All nutrients come directly from the plants you’re juicing.
- Vegan and Vegetarian: Green shots are completely plant-based and appeal to anyone following a vegan or vegetarian diet. The protein content is low, so pair your shot with other protein sources throughout the day.
- Low-Carb or Keto: This recipe is naturally low in carbs since it uses mostly non-starchy vegetables and minimal apple. If you want to reduce carbs further, skip the apple entirely and add more celery and cucumber instead.
Storage and Reheating
Refrigerator
Store fresh green juice in an airtight glass container with as little air space as possible at the top. Juice keeps in the refrigerator for up to 24 hours, though it loses potency after about 12 hours.
- Use a glass container rather than plastic to prevent the juice from absorbing odors or staining
- Fill the container nearly to the brim to minimize oxygen exposure and slow oxidation
- Keep juice in the coldest part of your fridge, typically the back of the bottom shelf
Freezer
Frozen green juice loses some nutritional value and the taste changes slightly, but it works in a pinch for up to 2 months. Freeze juice in ice cube trays so you can thaw individual portions rather than the whole batch.
- Pour juice into silicone ice cube trays for easy portion control
- Once frozen solid, pop cubes into a freezer bag to save space
- Thaw in the refrigerator overnight before drinking, or blend frozen cubes into smoothies
Reheating
Green juice is meant to be consumed cold and fresh, so heating it isn’t recommended as this destroys nutrients and alters flavor. If you absolutely must warm it, heat very gently over low heat and never to a simmer, though the result won’t be as good as fresh juice.
- Serve cold or at room temperature for the best nutrient retention
- Add ice if you prefer an ice-cold shot rather than room temperature
- Blend frozen juice cubes with a bit of water or coconut milk if you want a different consistency
Nutrition Information
| Nutrient | Amount |
|---|---|
| Calories | 45 |
| Total Fat | 0.3g |
| Saturated Fat | 0.05g |
| Carbohydrates | 10g |
| Fiber | 1g |
| Sugar | 6g |
| Protein | 1.2g |
| Sodium | 85mg |
| Cholesterol | 0mg |
These nutritional values are estimates based on USDA data for the raw ingredients listed in the recipe. Values may vary slightly based on your specific produce and how thoroughly you extract the juice.
Frequently Asked Questions
Can I make green shots without a juicer?
Yes, you can use a high-powered blender if a juicer isn’t available, then strain the mixture through fine cheesecloth or a nut milk bag. The texture will be slightly thicker and more fibrous, but the flavor and nutrition remain excellent.
How long can I store green shot ingredients prepped ahead?
Prep your vegetables the morning of and keep them in airtight containers in the refrigerator until you’re ready to juice. Don’t prep more than a few hours ahead, as cut produce starts to oxidize and lose nutrients once exposed to air.
Is it okay to drink green shots every day?
Green shots are safe to consume daily and many people do so as part of a health routine. However, rotating your greens and vegetables prevents nutrient imbalances and boredom, so vary your ingredients throughout the week if possible.
Why does my green shot separate or get cloudy?
Separation happens naturally as juice sits and heavier particles settle to the bottom, while cloudiness indicates pulp that passed through the strainer. Simply stir before drinking to recombine the ingredients, or strain again through a finer cloth if you want perfectly clear juice.
Can I use frozen vegetables for green shots?
Frozen produce works in a blended green shot but performs poorly in a cold-press juicer since freezing changes the vegetable structure and makes extraction difficult. If using frozen ingredients in a blender, thaw them first and expect a slightly different texture and flavor.
What’s the difference between a green shot and a green juice?
A green shot is a concentrated 2-ounce serving meant to be consumed quickly as a wellness boost, while green juice is a larger quantity you sip more slowly throughout the day. Green shots have a more intense flavor and nutrient density per ounce compared to diluted green juice.
Final Thoughts
Making green shots at home gives you complete control over ingredients and flavor, transforming a simple juice into a personalized wellness ritual. Once you make your first batch and taste the difference fresh juice makes, you’ll understand why this became such a popular health habit.
Start with this basic recipe and don’t be afraid to experiment with variations once you know what you like. Your body will thank you for the nutrients, and you might just find yourself looking forward to that morning shot more than your coffee.
If you’re looking to expand your green drink repertoire, explore a refreshing green juice recipe for larger servings, or try a delightful green cocktail recipe when you want to turn your healthy habits into something more festive. Both options showcase how versatile green beverages can be across different occasions and preferences.
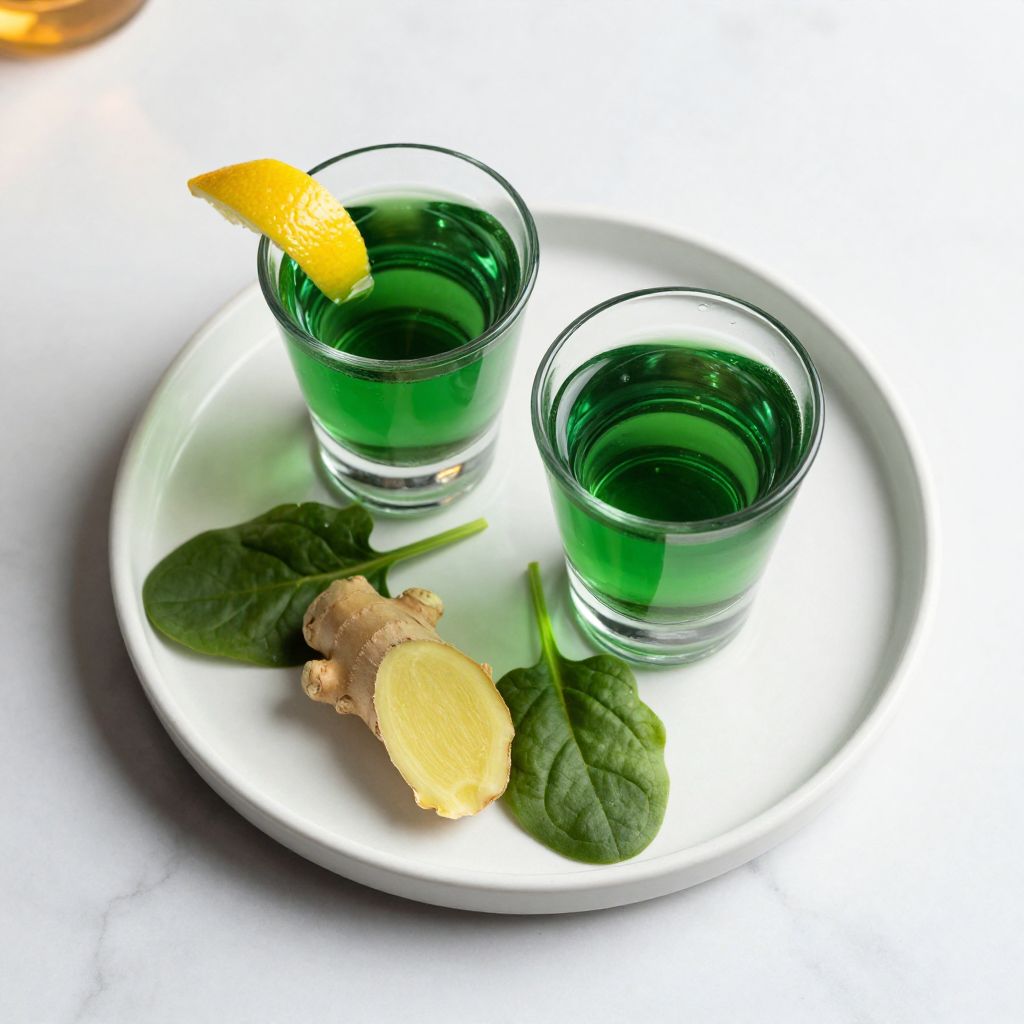
Green Shot Recipe
Ingredients
Equipment
Method
- Wash all produce under cool running water and pat dry before cutting.
- Core and chop the green apple into small pieces to fit through the juicer.
- Chop celery stalks into 1-inch pieces and peel and chop the cucumber.
- Measure 2 cups of loosely packed spinach without compressing for accurate yield.
- Peel the ginger root and lemon half, removing bitter pith from the lemon.
- Feed spinach into the juicer first, then alternate harder ingredients: apple, celery, and cucumber.
- Add ginger and lemon to the juicer last to push out remaining juice and concentrate their flavors.
- If using a blender, blend all ingredients until smooth, then strain through a fine mesh strainer or cheesecloth, pressing to extract juice.
- Divide the juice into two shot glasses, add ice if desired, and serve immediately.