
As the chill of winter settles in, nothing warms the soul quite like a cozy cup of homemade egg nog. This classic drink brings back fond memories of holiday gatherings, laughter, and a little indulgence that feels just right.
With its creamy texture and rich flavor, this Basic Egg Nog Recipe is a crowd-pleaser and surprisingly straightforward to make. Whether you’re sipping it by the fire or serving it at a festive party, it’s sure to become a cherished tradition.
Why You’ll Love This Recipe
This egg nog is a perfect blend of nostalgia and comfort. Its creamy sweetness is irresistible.
- Quick to whip up with everyday ingredients.
- Customizable with various spices and spirits.
- Perfectly rich and satisfying.
- Great for holiday gatherings or cozy nights in.
My Experience Making This Recipe
When I first made this egg nog, the aroma of nutmeg and vanilla filled my kitchen, instantly transporting me back to childhood holidays. Each sip brought a wave of warmth, and I was reminded of how simple ingredients can create such joy.
My friends couldn’t believe I made it from scratch! Watching their faces light up as they tasted it was the best reward.
Recipe Overview
- Recipe Name: Basic Egg Nog
- Servings: 6-8
- Prep Time: 10 minutes
- Cook Time: 5 minutes
- Total Time: 15 minutes
- Course: Beverage
- Cuisine: American
- Calories per Serving: 250
Equipment You Will Need
- Mixing bowl
- Whisk or electric mixer
- saucepan
- Measuring cups and spoons
- Strainer
- Serving pitcher
Ingredients for Basic Egg Nog
- 4 large eggs
- 1/2 cup granulated sugar
- 2 cups whole milk
- 1 cup heavy cream
- 1 teaspoon vanilla extract
- 1 teaspoon ground nutmeg
- Optional: 1 cup bourbon or rum
Ingredient Notes and Substitutions
- Eggs: They provide richness and a beautiful texture. You can use pasteurized eggs for safety.
- Sugar: Regular granulated sugar is perfect for sweetness. Try brown sugar for a deeper flavor.
- Whole milk: It gives creaminess. Almond or oat milk can work for a dairy-free version.
- Heavy cream: It adds luxurious texture. Light cream can be a lighter substitute.
- Nutmeg: A classic spice that enhances flavor. Ground cinnamon can also be delightful.
How to Make Basic Egg Nog
Step 1: Whisk the Eggs and Sugar
In a mixing bowl, whisk together the eggs and sugar until the mixture is smooth and slightly pale. This step helps to dissolve the sugar and aerate the eggs for a lighter texture.
Step 2: Heat the Milk and Cream
In a saucepan, combine the milk and heavy cream over medium heat. Stir occasionally until the mixture is warm, but not boiling, to prevent curdling.
Step 3: Temper the Egg Mixture
Slowly pour the warm milk mixture into the egg and sugar mixture while whisking constantly. This gradual process prevents the eggs from scrambling.
Step 4: Return to the Saucepan
Pour the combined mixture back into the saucepan. Cook over low heat, stirring constantly until it thickens slightly and coats the back of a spoon, about 5 minutes.
Step 5: Add Flavorings
Remove from the heat and stir in the vanilla extract and ground nutmeg. This adds depth and warmth to your egg nog.
Step 6: Cool the Mixture
Let the egg nog cool to room temperature, then refrigerate for at least 2 hours. Chilling helps the flavors meld beautifully.
Step 7: Serve and Garnish
Once chilled, give the egg nog a good stir and pour it into glasses. Garnish with a sprinkle of nutmeg or cinnamon for that festive touch.
Step 8: Enjoy Responsibly
If you’d like, add bourbon or rum to taste. Just remember to enjoy responsibly, especially if serving to guests.
Pro Tip: Always taste and adjust sweetness or spices to your preference before serving.
Tips for the Best Basic Egg Nog
- Use fresh eggs for the best flavor and creaminess.
- Don’t rush the heating process; low and slow is key to avoid curdling.
- Chill the egg nog overnight for richer flavors.
- Experiment with different spices like cinnamon or cloves for a unique twist.
- Serve in chilled glasses to keep your egg nog extra refreshing.
Common Mistakes to Avoid
- Boiling the milk: This can lead to curdled eggs and ruin the texture.
- Skipping the chilling step: Warm egg nog just isn’t the same.
- Not whisking enough: Proper aeration creates a light consistency.
- Using low-fat milk: It lacks the creaminess that makes egg nog delicious.
Serving Suggestions
This egg nog pairs beautifully with sweet and savory treats. Here are some ideas to elevate your holiday spread.
- Gingerbread cookies
- Spiced pumpkin pie
- Chocolate truffles
- Cheese platter with sharp cheddar
Variations to Try
- Almond milk egg nog: Use almond milk for a nutty flavor and dairy-free option.
- Dark chocolate egg nog: Melt dark chocolate into the mixture for a rich twist.
- Spiked egg nog: Add flavored liqueurs like hazelnut or coffee for a fun kick.
- Vegan egg nog: Substitute eggs with silken tofu and use plant-based milk.
Dietary Adaptations
- Gluten-free: This recipe is naturally gluten-free.
- Dairy-free: Substitute dairy with almond or coconut milk.
- Vegan: Use silken tofu instead of eggs and plant-based milk.
- Low-carb/Keto: Use sugar substitutes like erythritol for a low-carb version.
Storage and Reheating
Refrigerator
Store leftover egg nog in an airtight container in the fridge for up to 3 days.
- Ensure it is well chilled before serving again.
- Give it a good stir as ingredients may settle.
Freezer
Egg nog can be frozen for up to 2 months. However, it may change in texture.
- Pour it into freezer-safe containers, leaving space for expansion.
- Thaw in the fridge before consuming.
Reheating
Reheat gently on the stove over low heat, stirring constantly.
- Avoid boiling to maintain the creamy texture.
- Serve warm or chilled, depending on preference.
Nutrition Information
| Nutrient | Amount |
|---|---|
| Calories | 250 |
| Total Fat | 15g |
| Saturated Fat | 9g |
| Carbohydrates | 25g |
| Fiber | 0g |
| Sugar | 22g |
| Protein | 4g |
| Sodium | 60mg |
| Cholesterol | 100mg |
Nutrition values are approximate and can vary based on ingredients used.
Frequently Asked Questions
Can I make egg nog ahead of time?
Yes, egg nog can be made a day or two in advance, which actually enhances the flavors.
What can I substitute for sugar?
You can use sugar alternatives like honey, maple syrup, or a sugar substitute for a different sweetness.
How long can I store egg nog?
Homemade egg nog can be stored in the fridge for up to three days or frozen for two months.
Why is my egg nog not thickening?
If it’s not thickening, it may need more cooking time over low heat to reach the right consistency.
Can I make a non-alcoholic version?
Absolutely! Just leave out the alcohol for a delicious family-friendly drink.
Final Thoughts
This homemade egg nog is not just a drink; it’s a warm hug in a cup. I encourage you to try making this classic recipe and share it with loved ones.
As you savor each sip, take a moment to enjoy the simple pleasures of the season. For more delightful variations, check out this spiked egg nog recipe or this almond milk egg nog recipe for a twist on the classic!
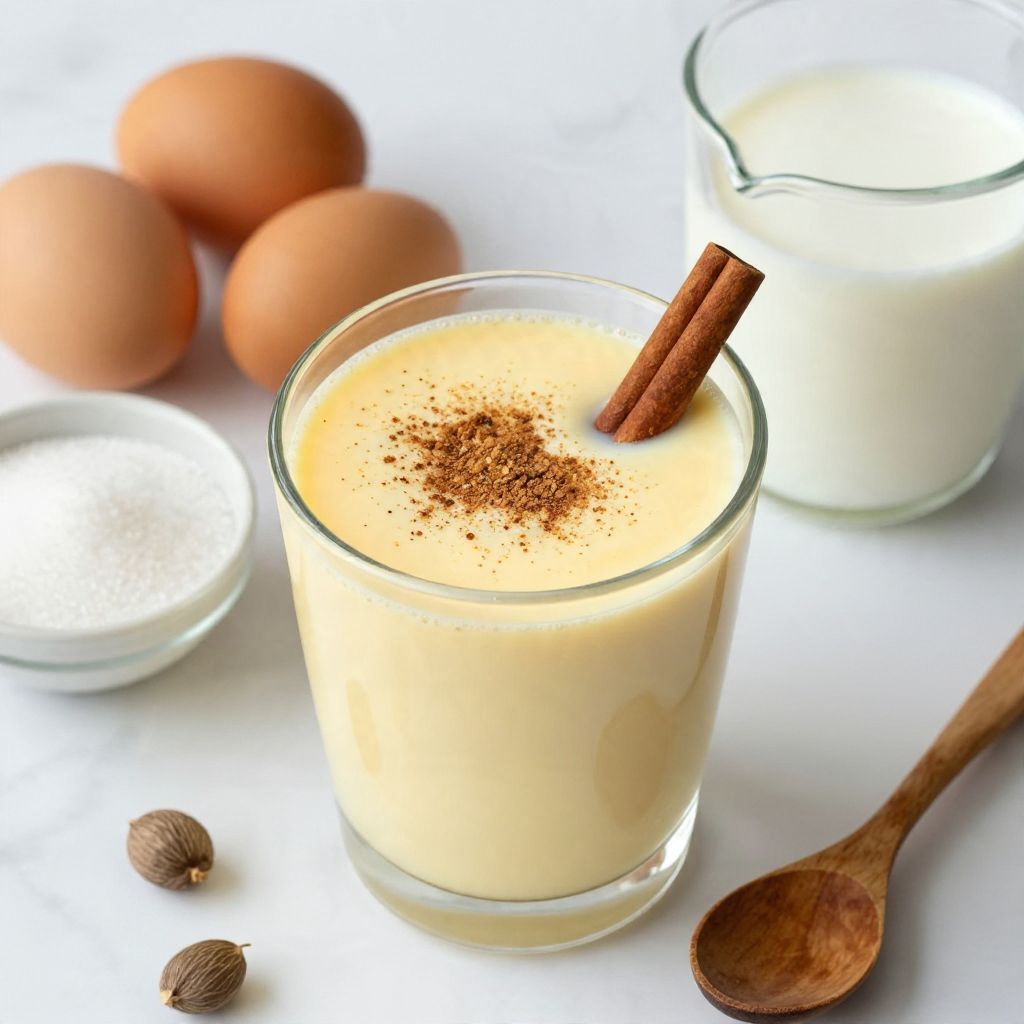
Basic Egg Nog
Ingredients
Equipment
Method
- In a mixing bowl, whisk together the eggs and sugar until smooth and slightly pale.
- In a saucepan, combine the milk and heavy cream over medium heat; stir occasionally until warm but not boiling.
- Slowly pour the warm milk mixture into the egg and sugar mixture while whisking constantly.
- Pour the combined mixture back into the saucepan and cook over low heat, stirring constantly until it thickens slightly and coats the back of a spoon, about 5 minutes.
- Remove from heat and stir in vanilla extract and ground nutmeg.
- Let the egg nog cool to room temperature, then refrigerate for at least 2 hours.
- Once chilled, stir and pour into glasses. Garnish with a sprinkle of nutmeg or cinnamon.
- Add bourbon or rum if desired and enjoy responsibly.