
There’s something almost magical about watching honey transform into liquid gold over the course of weeks, filling your kitchen with the gentle smell of fermentation and possibility. Mead, the world’s oldest fermented beverage, deserves a comeback in your home, and this recipe makes it genuinely achievable.
This isn’t some mysterious alchemy reserved for bearded meadmakers in medieval villages. The best mead recipe balances simplicity with thoughtful technique, producing a smooth, honeyed drink that tastes far more refined than the effort required. You’ll need patience, clean equipment, and quality honey, but the payoff is a craft beverage you made yourself.
Whether you’re a fermentation novice or a seasoned homebrewer, this traditional mead formula yields consistent, delicious results every single time. Ready to join the mead revolution?
Why You’ll Love This Recipe
This recipe strips away the intimidation factor while delivering authentic, professional-quality mead. You control the flavor profile, skip the additives found in commercial versions, and end up with a beverage that improves with age.
- Simple ingredient list: just honey, water, yeast, and optional nutrients
- Forgiving fermentation process that tolerates minor temperature fluctuations
- Customizable sweetness and flavor based on your preferences and aging time
- Produces a full batch (5 gallons) at a fraction of craft mead pricing
- Beautiful presentation for gifts or special occasions
My Experience Making This Recipe
I started my first batch on a chilly October morning, skeptical that honey and yeast could produce something truly special. Six months later, I opened that first bottle to find a silky, complex drink that tasted nothing like the overly sweet mead myths I’d heard.
My friends were shocked when I told them I’d made it at home. The color deepened from golden to amber as it aged, and each bottle revealed subtle nuances I hadn’t expected—hints of floral notes, a whisper of wine-like complexity, and a finish that stayed pleasant rather than cloying.
The best part? After the initial setup, I barely touched it for months. Mead works on its own timeline, rewarding patience with flavor that improves year after year.
Recipe Overview
- Recipe Name: Traditional Honey Mead
- Servings: 20 servings (5-gallon batch, 12 oz per serving)
- Prep Time: 30 minutes
- Fermentation Time: 6 to 12 months
- Total Time: 6 to 12 months plus 30 minutes active prep
- Course: Beverage
- Cuisine: Traditional/Medieval
- Alcohol Content: 10% to 14% ABV
Equipment You Will Need
- 5-gallon glass carboy or food-grade plastic fermenter
- Airlock and rubber stopper (size 6.5 or 7)
- Large stainless steel pot (10-quart minimum)
- Thermometer (0 to 220 degrees Fahrenheit)
- Hydrometer for measuring specific gravity
- Wine thief or turkey baster for sampling
- Large stainless steel spoon for stirring
- Funnel (wide-mouth, stainless steel or plastic)
- Sanitizer (Star San or similar)
- Cheesecloth or fine mesh strainer
- Siphon and racking cane for transfers
- Bottles and caps or corks for aging
- Bottle capper or corking tool
Ingredients for Traditional Honey Mead
- Raw or unpasteurized honey: 15 pounds (the backbone of your mead)
- Filtered water: 4 gallons (room temperature preferred)
- Dried wine yeast: 1 packet (Lalvin D-47 or Nottingham recommended)
- Yeast nutrient: 1 teaspoon (fuels fermentation, prevents stuck batches)
- Yeast energizer: 1/2 teaspoon (optional but recommended)
Ingredient Notes and Substitutions
- Raw Honey: Raw honey contains natural yeasts and enzymes that contribute complexity. Substitute with pasteurized honey if raw is unavailable, though the flavor profile shifts slightly and fermentation takes longer.
- Filtered Water: Chlorine in tap water can inhibit yeast and create off-flavors. Substitute with bottled water if your tap water is heavily chlorinated, though most water works fine if you leave it sitting overnight to let chlorine evaporate.
- Wine Yeast: Lalvin D-47 produces dry mead with fruity notes; Nottingham creates slightly sweeter results. Substitute with champagne yeast (K1V-1116) for faster fermentation, though this creates a drier finish that needs longer aging.
- Yeast Nutrient: This feeds yeast and prevents sluggish fermentation. Skip it only if you want a slower fermentation; you’ll need an extra month or two to complete fermentation.
How to Make Traditional Honey Mead
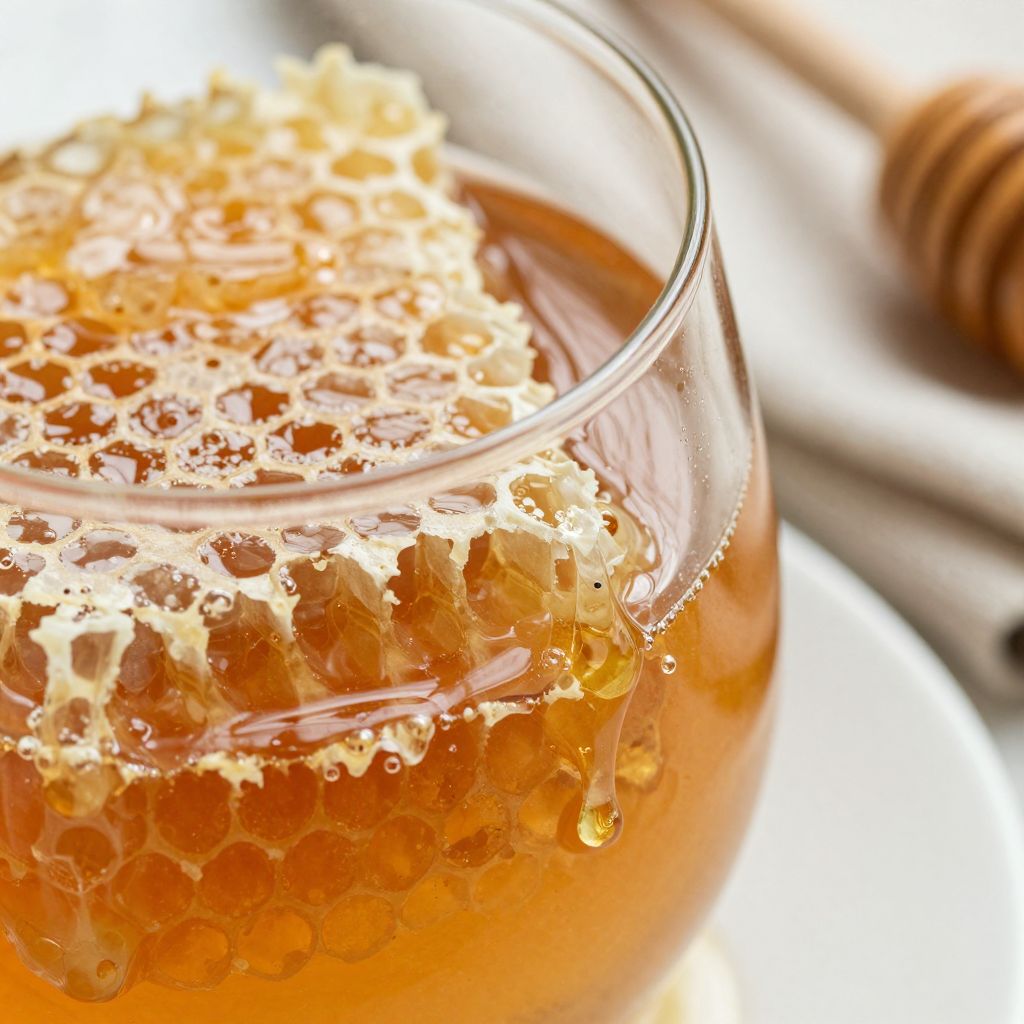
Step 1: Sanitize All Equipment
Before you start, sanitize your carboy, airlock, stopper, spoon, funnel, and any other equipment that will touch your mead. Use your sanitizer according to package directions, typically mixing with water and letting equipment soak for 1 to 2 minutes, then air-drying without rinsing.
This step prevents unwanted bacteria or wild yeasts from competing with your cultured yeast and creating off-flavors or spoilage. Skip this and you’re gambling with months of fermentation time.
Step 2: Heat the Water
Pour your 4 gallons of water into a large stainless steel pot and heat to 130 degrees Fahrenheit. You’re not boiling here because excessive heat can strip honey of delicate aromatic compounds and drive off volatile compounds that add complexity.
Use your thermometer to verify the temperature. This warm water will help the honey dissolve evenly and make the yeast’s job easier during fermentation.
Step 3: Dissolve the Honey
Add your 15 pounds of honey to the warm water slowly, stirring gently with your stainless steel spoon until it’s fully dissolved. The warm water prevents the honey from clumping and makes mixing easier without aggressive agitation that introduces excess oxygen too early.
Once fully dissolved, let the honey mixture cool to room temperature (68 to 72 degrees Fahrenheit). This typically takes 2 to 4 hours depending on room temperature, though you can speed this by placing the pot in a cool water bath and changing the water every 15 minutes.
Step 4: Measure the Specific Gravity
Using your wine thief or turkey baster, draw up a sample of your honey water and place it in a test tube or clean glass. Float your hydrometer and record the starting specific gravity (OG). This baseline measurement lets you track fermentation progress and calculate final alcohol content.
A typical OG for this recipe falls between 1.100 and 1.120. If your OG is significantly lower, you may not have enough honey for adequate alcohol production and shelf stability.
Step 5: Rehydrate and Pitch Your Yeast
While the honey water cools, rehydrate your yeast by sprinkling the packet into 1/4 cup of room temperature water. Let it sit for 15 minutes without stirring, then stir gently to activate the yeast.
Once your honey mixture reaches room temperature, pour it into your sanitized carboy using the funnel. Then pour your activated yeast into the carboy and stir gently but thoroughly for about 1 minute to aerate and distribute yeast evenly.
Step 6: Add Yeast Nutrient and Energizer
Dissolve your 1 teaspoon of yeast nutrient and 1/2 teaspoon of yeast energizer in a small amount of warm water, then add to the carboy. Stir gently to distribute these nutrients throughout the must (the name for fermenting honey mixture).
These nutrients provide nitrogen and other micronutrients that yeast needs to ferment vigorously and completely. Without them, fermentation may stall, leaving your mead stuck at higher gravity with unwanted residual sweetness.
Step 7: Attach Your Airlock and Begin Fermentation
Insert your rubber stopper into the carboy opening, then insert your airlock into the stopper. Fill the airlock with water or sanitizer to the fill line specified on your airlock model.
Place your carboy in a cool, dark location away from direct sunlight and temperature swings. Ideal fermentation temperature ranges from 65 to 72 degrees Fahrenheit; fluctuations above 75 degrees can stress yeast and create off-flavors.
Step 8: Monitor Fermentation Progress
Within 24 to 48 hours, you should see bubbles passing through the airlock as CO2 escapes from active fermentation. Vigorous fermentation typically continues for 2 to 4 weeks, then gradually slows as yeast consumes available sugars and alcohol content rises.
After 4 weeks, use your wine thief to draw a sample and measure the gravity again. When gravity stabilizes at the same reading for 3 consecutive days (typically between 0.990 and 1.010), fermentation is complete.
Step 9: Rack Your Mead to Secondary Fermentation
Once fermentation completes, siphon your clear mead off the yeast sediment (called lees) into a sanitized secondary carboy, leaving behind the sediment layer at the bottom. This transfer, called racking, removes mead from spent yeast that can create off-flavors if left too long.
Insert a clean airlock into the secondary carboy and return it to your cool, dark location. This secondary fermentation stage continues for 3 to 6 months as yeast settles and flavors meld together.
Step 10: Age and Stabilize
After 6 months in secondary fermentation, your mead should look clear or slightly golden. At this point, rack again into a tertiary carboy if sediment has accumulated, or proceed directly to bottling if the mead is crystal clear.
Mead is best consumed after a minimum of 6 months total aging, though 1 to 2 years of bottle age produces noticeably smoother, more integrated flavors. Some people age quality mead for 5, 10, or even 20 years, and it continues improving.
Pro Tip: The most important factor for success is patience and cleanliness. Rush the process or skip sanitization and you’ll regret it. Give mead time and respect, and it rewards you with a drink that tastes far more sophisticated than your effort suggests.
Tips for the Best Traditional Honey Mead
- Use quality honey from a trusted source. Raw or local honey often produces more complex mead than grocery store blends, which may contain added sugars or processing that flattens flavor.
- Keep your fermentation area consistently cool and dark. Temperature swings stress yeast and can produce unpleasant solvent-like or vinegary notes.
- Avoid excess oxygen after fermentation begins. Aerate only during initial yeast activation, then keep air out by ensuring proper airlock function.
- Use a hydrometer religiously to track progress rather than guessing. This prevents you from bottling prematurely and dealing with explosions or bottle bombs.
- Consider sulfites at bottling if you want archival stability for years of storage. A crushed Campden tablet per gallon prevents oxidation and off-flavors during extended aging.
- Bottle in dark glass to protect mead from light oxidation. Clear glass looks pretty but accelerates flavor degradation, especially if stored in warm locations.
Common Mistakes to Avoid
- Boiling the honey mixture: High heat drives off aromatic compounds and creates a flat-tasting mead. Heat only to dissolve honey, staying below 140 degrees Fahrenheit.
- Bottling before fermentation completes: Residual yeast continues fermenting in sealed bottles, creating pressure and potentially exploding bottles. Wait for gravity to stabilize completely.
- Using honey past its prime: Old honey or honey stored improperly oxidizes and creates musty, off-flavors in finished mead. Source fresh honey annually.
- Neglecting sanitation: Wild yeasts or bacteria create vinegar, off-flavors, or complete spoilage. Treat sanitation as seriously as you would in a professional brewery.
- Storing mead in warm, bright locations: Light and heat rapidly oxidize mead and create sherry-like or vinegary notes within months. Keep bottles in cool, dark conditions.
Serving Suggestions
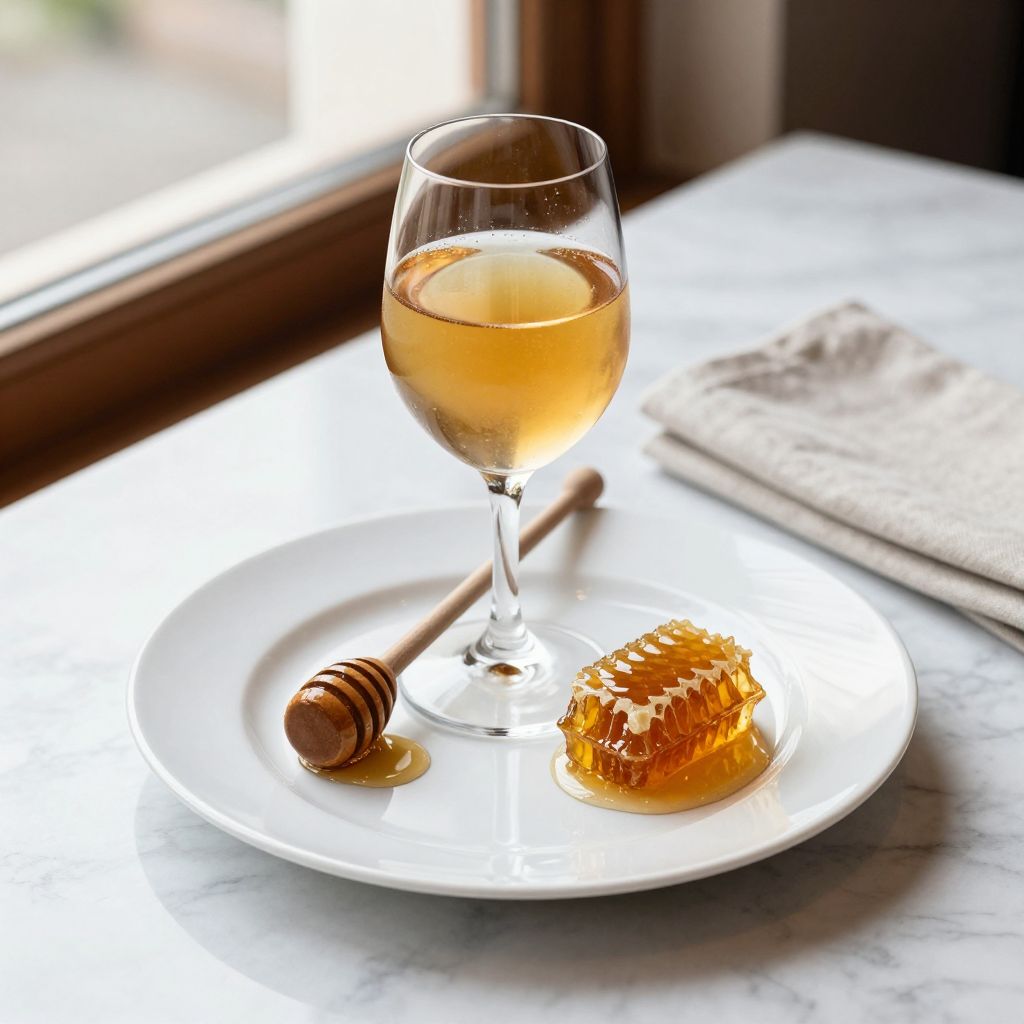
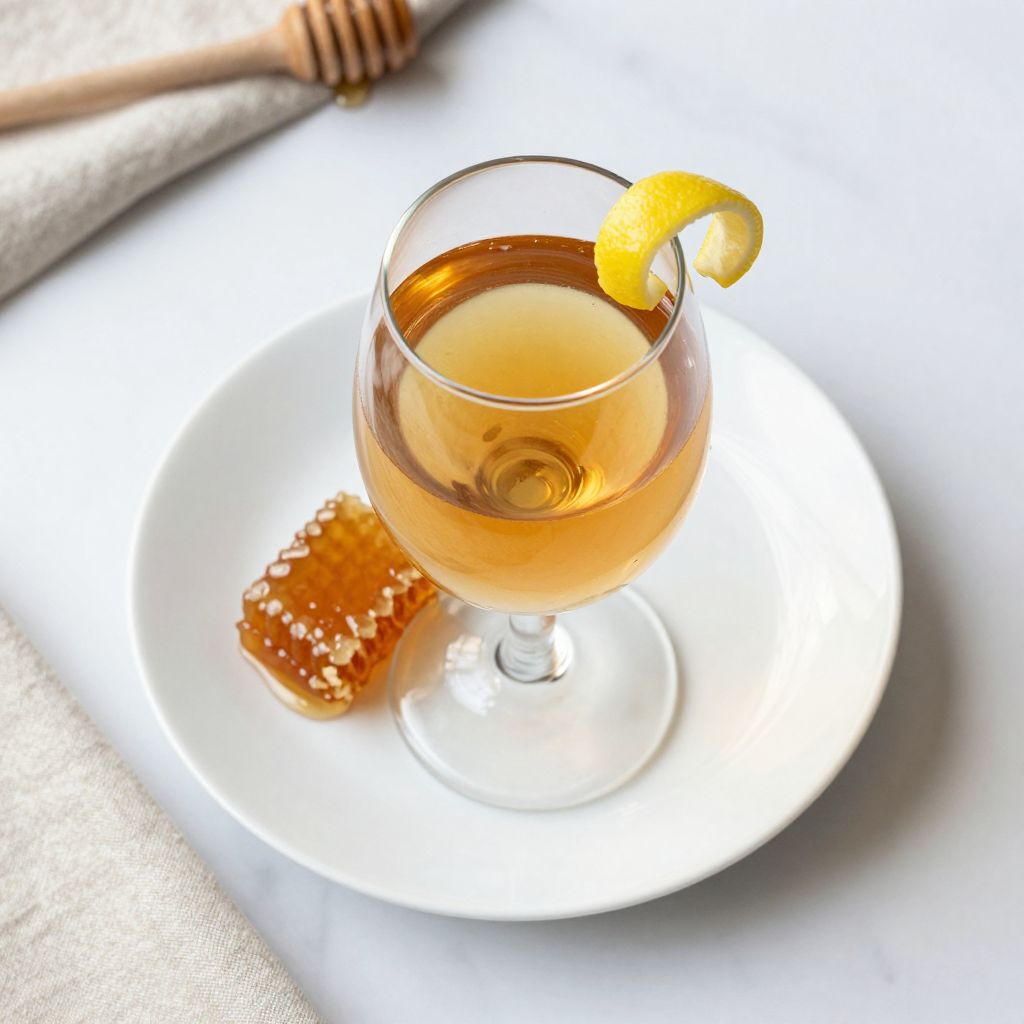
Serve your finished mead slightly chilled (50 to 55 degrees Fahrenheit) in wine glasses to appreciate its color and aroma. The chill rounds out any remaining harshness while cold temperatures mute excess sweetness, letting complexity shine.
- Pair with aged cheeses, cured meats, and charcuterie boards for a sophisticated appetizer spread
- Serve alongside honey desserts, baklava, or walnut-based pastries that echo mead’s honeyed character
- Warm gently for winter sipping with cinnamon sticks and star anise for a spiced variation
- Gift in wine bottles with custom labels to friends or family who appreciate craft beverages
- Use as a base for mead cocktails mixed with citrus, herbs, or other spirits
Variations to Try
- Fruit Mead (Melomel): Add 5 to 10 pounds of fresh or frozen fruit (berries, stone fruits, or apples) to secondary fermentation for additional flavor complexity. Fruit adds tartness, tannins, and natural color while yeast consumes the fruit sugars.
- Spiced Mead (Metheglin): Add 1 to 2 teaspoons of spices (cloves, cinnamon, nutmeg, ginger) during the last month of primary fermentation. Spices integrate better with extended contact time and create a warming, medieval drinking experience.
- Herbal Mead: Add 1/2 to 1 ounce of dried herbs like chamomile, linden, or hibiscus to secondary fermentation for a lighter, more delicate flavor profile. Herbs steep for 1 to 2 weeks, then strain before bottling.
- High-Proof Mead: Increase honey to 18 to 20 pounds and ferment slightly longer to reach 15 to 16% alcohol by volume. Higher alcohol creates a richer, wine-like mead with greater aging potential and shelf stability.
- Short Mead: Reduce honey to 10 to 12 pounds and use champagne yeast for a lighter, faster-fermenting version ready to drink in 3 to 4 months rather than waiting over a year.
Dietary Adaptations
- Gluten-Free: This recipe is naturally gluten-free since honey and wine yeast contain no gluten. Use gluten-free sanitizer if concerned, though most commercial sanitizers are already gluten-free.
- Vegan: Traditional mead is vegan, but some recipes use isinglass (fish bladder) as a fining agent for clarity. Use pea protein powder or other plant-based fining agents instead if you prefer.
- Lower Alcohol: Reduce honey to 12 pounds and ferment at cooler temperatures (65 degrees Fahrenheit) to produce mead closer to 8 to 10% ABV, which drinks lighter and faster.
- Keto/Low-Carb: Ferment to complete dryness (gravity below 0.990) to minimize residual sugar, producing a keto-friendly beverage with less than 1 gram of carbs per serving.
Storage and Reheating
Refrigerator
Store finished mead bottles upright in the refrigerator for up to 1 year once opened. The cold slows oxidation, preserving flavor and preventing spoilage from light exposure.
- Keep bottles capped or corked tightly between servings
- Mead develops a thin layer of sediment over time; decant carefully when pouring if desired
Freezer
Mead does not freeze solid due to its alcohol content, but you can store unopened bottles in a freezer set to 0 degrees Fahrenheit for 5 to 10 years with minimal flavor degradation. Thaw in the refrigerator overnight before opening.
- Keep bottles upright to prevent cork deterioration from pressure
- Inspect corks for mold or discoloration before consuming after extended freezer storage
Reheating
Mead is served chilled, not heated in normal circumstances. However, if you want to create a hot spiced variation, gently warm mead to 140 to 160 degrees Fahrenheit without boiling, which drives off alcohol and delicate aromatics.
- Add spices or citrus to warm mead rather than heating already-spiced versions
- Never microwave mead in the bottle; pour into a heatproof glass and warm on the stovetop instead
Nutrition Information
| Nutrient | Amount |
|---|---|
| Calories | 110 per 5 oz serving |
| Total Fat | 0 g |
| Saturated Fat | 0 g |
| Carbohydrates | 5 g |
| Fiber | 0 g |
| Sugar | 0 to 3 g (varies by fermentation completeness) |
| Protein | 0 g |
| Sodium | 10 mg |
| Cholesterol | 0 mg |
Nutritional values are estimates based on complete fermentation to dryness with 12% ABV. Values vary based on final gravity and residual sugar content; sweeter meads contain higher residual sugars and calories.
Frequently Asked Questions
Can I use table sugar instead of honey?
You technically can, but the result isn’t mead anymore; it’s basically wine or a generic fermented beverage. Honey provides the flavor compounds, body, and character that make mead special, so substituting it defeats the purpose entirely.
How do I know if my mead is infected or spoiled?
Look for visible mold on the surface, vinegar-like aromas, or cloudy appearance accompanied by foul smells. Taste is your final judge: if it tastes like vinegar, has solvent-like notes, or smells like nail polish, it’s infected and should be discarded.
Can I bottle mead before 6 months?
Not safely if fermentation hasn’t completed. Bottling too early risks bottle bombs from continued fermentation. However, you can bottle after 6 months even if you plan to age further; the bottle simply ages the mead instead of the carboy.
What if my fermentation stalls and won’t finish?
Stuck fermentation usually results from temperature too cold, yeast stressed by alcohol, or insufficient nutrients. Gradually warm your carboy to 72 degrees, aerate gently by swirling, or add more yeast nutrient and repitch fresh yeast if these steps don’t restart fermentation within a week.
How long can I age mead?
Quality mead ages beautifully for 10, 20, or even 50+ years if stored properly in cool, dark conditions. Most meads are drinkable after 1 year but improve noticeably for the first 3 to 5 years before stabilizing.
Is homebrewing mead legal?
In the United States, homebrewing mead is legal for personal consumption up to 100 gallons per person annually, with a maximum of 200 gallons per household. Check local and regional laws in your location, as regulations vary.
Final Thoughts
Making mead at home transforms your perception of what fermented beverages can be. You’re not just combining ingredients; you’re partnering with yeast to create something that improves with patience and intention.
Start this batch today and you’ll have a finished product ready to celebrate 6 to 12 months from now. The journey teaches you about fermentation, flavor development, and the rewarding experience of crafting something genuinely special.
Ready to explore more fermented beverages beyond traditional mead? Check out our cyser recipe for a fruit-forward honey fermentation, or dive deeper into the craft with our homemade wine recipe to expand your fermentation toolkit. Your kitchen is about to become a personal brewery.
Traditional Honey Mead
Ingredients
Equipment
Method
- Sanitize all equipment by soaking in sanitizer solution for 1 to 2 minutes and allow to air-dry.
- Heat 4 gallons of filtered water to 130°F (54°C) in a 10-quart pot to preserve honey aromatics.
- Add 15 pounds of honey to the warm water and stir gently until fully dissolved, then cool the must to 68–72°F (20–22°C).
- Draw a sample with a wine thief, measure the original gravity with a hydrometer (target OG 1.100–1.120).
- Rehydrate the wine yeast in 1/4 cup lukewarm water for 15 minutes, then gently stir to activate.
- Transfer the cooled honey must to the sanitized fermenter using a funnel and pitch the rehydrated yeast, stirring for 1 minute to aerate.
- Dissolve 1 teaspoon yeast nutrient and 1/2 teaspoon yeast energizer in a small amount of water and add to the fermenter, stirring gently.
- Insert the stopper and airlock, fill the airlock to the fill line, and place the fermenter in a dark area at 65–72°F (18–22°C).
- Allow primary fermentation for 2 to 4 weeks, monitoring airlock activity and checking gravity until stable at 0.990–1.010 over 3 days.
- Rack the mead off the lees into a secondary fermenter, attach an airlock, and age for 3 to 6 months in cool, dark conditions.
- After aging, rack again if needed, then bottle the clear mead and age bottles for at least 6 months before drinking.