
Picture this: the rich aroma of malt mingling with a slight hop bitterness, all while you revel in the delightful process of brewing your own gluten-free beer at home. This Gluten Free Beer Recipe Kit brings together the joy of crafting your own beverage with the satisfaction of enjoying a cold one that caters to your dietary needs. It’s not just about the taste; it’s about the experience, the creativity, and the pride of saying you made it yourself. Ready to embark on this brewing adventure? Let’s get started!
Why You’ll Love This Recipe
This recipe kit is a must-try for anyone who loves beer and needs a gluten-free option.
- Perfectly crisp and refreshing flavor.
- Customizable to suit your taste preferences.
- Simple process, even for beginners.
- Great for sharing with friends and family.
- A fun way to explore home brewing.
My Experience Making This Recipe
When I first tried the Gluten Free Beer Recipe Kit, I was pleasantly surprised by how straightforward the brewing process was. The aroma that filled my kitchen was intoxicating, and watching the ingredients transform into something delicious was incredibly rewarding.
After a week of fermentation, the moment of truth arrived. The first sip was a revelation; it was light, refreshing, and packed with flavor. I couldn’t wait to share it with friends, who were equally impressed.
Recipe Overview
- Recipe Name: Gluten Free Beer Recipe Kit
- Servings: 5 gallons
- Prep Time: 30 minutes
- Cook Time: 1 hour
- Total Time: 2 weeks (including fermentation)
- Course: Beverage
- Cuisine: Craft Beer
- Calories per Serving: Approximately 150
Equipment You Will Need
- Large brew pot (at least 5 gallons)
- Fermentation vessel with airlock
- Brewing thermometer
- Hydrometer for measuring specific gravity
- Bottling bucket and bottles
- Sanitizer solution
Ingredients for Gluten Free Beer Recipe Kit
- Gluten-free malt extract (6 lbs)
- Gluten-free grains (1 lb, such as rice or sorghum)
- Hops (1 oz, any variety you prefer)
- Yeast (1 packet of gluten-free brewing yeast)
- Priming sugar (for carbonation, about 3/4 cup)
- Water (enough to fill the brew pot)
Ingredient Notes and Substitutions
- Gluten-free malt extract: This provides the sugars needed for fermentation. You can substitute with a different gluten-free malt extract if desired.
- Gluten-free grains: These add texture and flavor. You can use a mix of grains for a more complex taste.
- Hops: They add bitterness and aroma. Choose your favorite variety to customize the flavor profile.
- Yeast: Essential for fermentation. Any gluten-free brewing yeast will work well.
- Priming sugar: This is needed for carbonation. You can use corn sugar or table sugar as a substitute.
How to Make Gluten Free Beer Recipe Kit
Step 1: Sanitize Your Equipment
Start by sanitizing all your brewing equipment. This prevents any unwanted bacteria from ruining your beer. A clean setup is key to a successful brew.
Step 2: Prepare the Grain
In a pot, heat about 2 gallons of water to 150°F (65°C). Add your gluten-free grains and steep for 30 minutes. This extracts flavors and sugars from the grains.
Step 3: Boil the Wort
After steeping, remove the grains and bring the liquid (now called wort) to a boil. Add in your hops and boil for about 60 minutes. The boiling process is crucial for flavor development and sterilization.
Step 4: Cool the Wort
After boiling, cool the wort quickly to around room temperature. You can use an immersion chiller or an ice bath. This helps yeast thrive during fermentation.
Step 5: Transfer to Fermentation Vessel
Pour the cooled wort into your fermentation vessel. Make sure to leave some space for the fermentation process. This is where the magic will happen!
Step 6: Add Yeast
Sprinkle the yeast over the wort and seal the fermentation vessel with an airlock. Yeast needs oxygen to start fermenting, so make sure it’s not too tight at first.
Step 7: Ferment
Let the beer ferment for about one to two weeks. Keep it in a dark, cool place. You’ll know it’s ready when bubbling has slowed significantly.
Step 8: Bottle Your Beer
After fermentation, prepare a priming sugar solution and mix it into your beer. Then bottle your beer, cap it tightly, and let it carbonate for another week or so. This step adds that bubbly texture we all love.
Pro Tip: Always taste your beer after fermentation to see if the flavors developed as you wanted.
Tips for the Best Gluten Free Beer
- Use a good quality gluten-free malt extract for the best flavor.
- Experiment with different hops to find your favorite combination.
- Temperature control during fermentation is crucial for flavor development.
- Be patient; good beer takes time to develop its character.
- Keep everything sanitized to prevent off-flavors.
Common Mistakes to Avoid
- Not sanitizing equipment: This can lead to spoilage.
- Using water that is too hot for steeping: This can extract unwanted bitterness.
- Rushing fermentation: Good beer needs time to develop.
- Overcarbonating bottles: This can cause explosions; use the right amount of priming sugar.
- Not tasting during the process: Regular tasting can help you adjust flavors.
Serving Suggestions
This gluten-free beer pairs well with a variety of dishes and snacks. Here are a few ideas:
- Grilled meats and vegetables.
- Spicy foods like buffalo wings or tacos.
- Cheese platters featuring sharp or creamy cheeses.
- Light salads and seafood dishes.
- Classic bar snacks like pretzels and nuts.
Variations to Try
- Add fruit puree during fermentation for a fruity twist.
- Introduce spices like ginger or coriander for unique flavors.
- Experiment with different hop varieties for distinct bitterness.
- Try adding coffee or chocolate for a stout-like flavor.
- Use different gluten-free grains for varied texture and taste.
Dietary Adaptations
- Gluten-free: This recipe is naturally gluten-free.
- Dairy-free: No dairy is used in this brewing process.
- Vegan: All ingredients are plant-based.
- Low-carb/keto: Consider using fewer sugars for a lower-carb option.
Storage and Reheating
Refrigerator
Store your bottled beer in a cool, dark place. Proper storage keeps it fresh longer.
- Keep bottles upright to avoid sediment disturbance.
- Consume within a few months for the best flavor.
Freezer
Avoid freezing your beer as it can alter the texture and flavor. If you must, only freeze for brief periods.
- Store bottles upright to prevent breakage.
- Thaw slowly in the refrigerator when ready to drink.
Reheating
Reheating beer is not recommended. Enjoy it chilled straight from the bottle.
- Consider warming it slightly for certain styles, like stouts.
- Do not microwave; it ruins the flavor.
Nutrition Information
| Nutrient | Amount |
|---|---|
| Calories | 150 |
| Total Fat | 0g |
| Saturated Fat | 0g |
| Carbohydrates | 12g |
| Fiber | 0g |
| Sugar | 2g |
| Protein | 1g |
| Sodium | 5mg |
| Cholesterol | 0mg |
This nutritional information is an estimate and may vary based on specific ingredients used.
Frequently Asked Questions
Can I substitute the gluten-free malt extract?
Yes, you can use a different brand or type of gluten-free malt extract, but it may affect flavor.
Can I make this beer ahead of time?
Absolutely! Just ensure proper storage to maintain freshness.
How should I store my beer?
Keep your beer in a cool, dark place, preferably in the refrigerator.
What should I do if my beer is too bitter?
Consider using less hops next time or adding a bit of sweetness during fermentation.
What is the best way to carbonate my beer?
Using priming sugar before bottling is the best method for achieving carbonation.
Final Thoughts
Creating your own Gluten Free Beer Recipe Kit is not just about making a drink; it’s an experience that connects you to the art of brewing. Give it a try, and you might just find yourself brewing batch after batch.
If you enjoyed this recipe, you might be interested in trying your hand at a homemade fermented ginger beer or a hazy IPA recipe. Happy brewing!
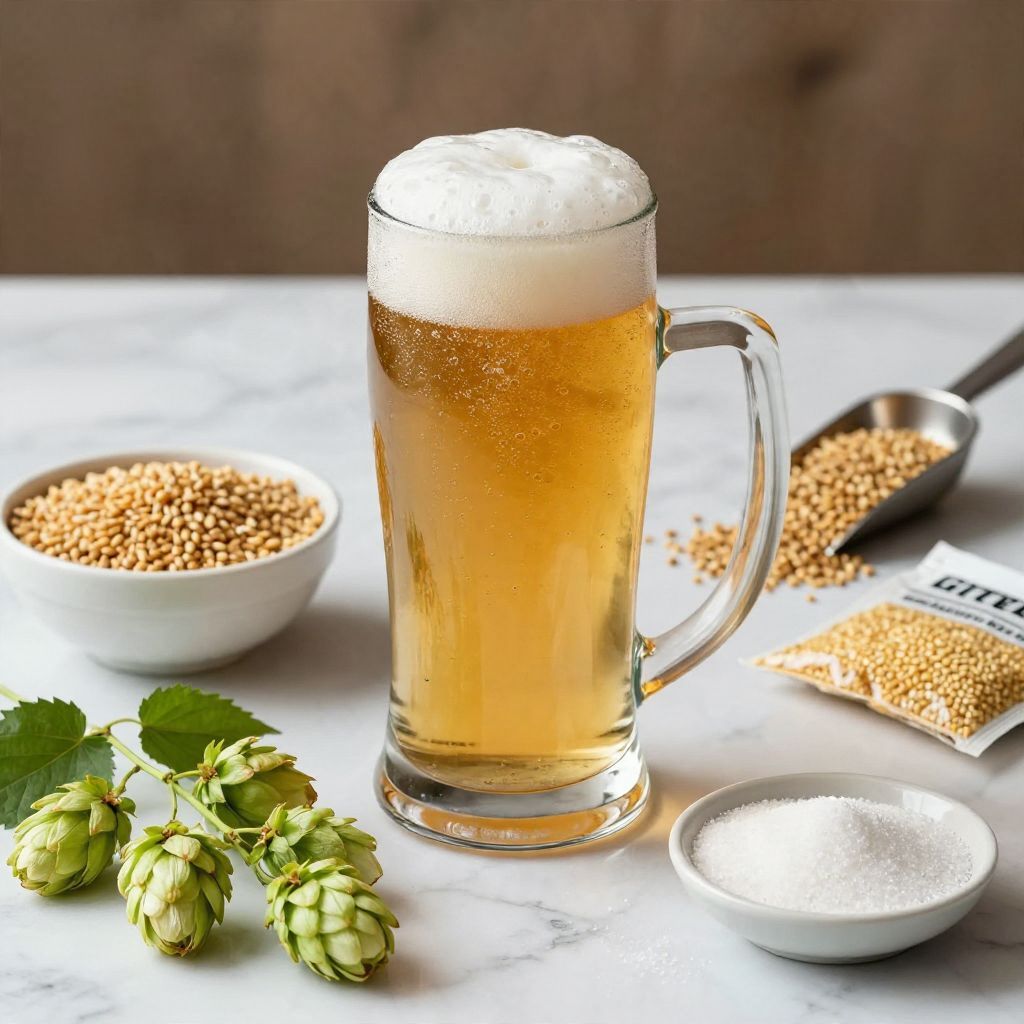
Gluten Free Beer Recipe Kit
Ingredients
Equipment
Method
- Sanitize all your brewing equipment.
- In a pot, heat about 2 gallons of water to 150°F (65°C).
- Add the gluten-free grains and steep for 30 minutes.
- Remove the grains and bring the liquid (wort) to a boil.
- Add in the hops and boil for about 60 minutes.
- Cool the wort quickly to around room temperature.
- Pour the cooled wort into your fermentation vessel.
- Sprinkle the yeast over the wort and seal the fermentation vessel with an airlock.
- Let the beer ferment for about one to two weeks.
- Prepare a priming sugar solution and mix it into your beer.
- Bottle your beer, cap it tightly, and let it carbonate for another week.