
Picture this: a refreshing glass of vibrant green juice, bursting with nutrients and flavor. This Cold Pressed Green Juice is not just a drink; it’s an invigorating experience that can brighten your morning or revitalize your afternoon.
What makes this recipe special is its ability to deliver a powerhouse of vitamins in a delicious way. With its fresh, crisp flavor and the satisfying crunch of greens, this juice is both nourishing and energizing.
Let’s jump into the ingredients you’ll need to whip up this healthful elixir!
Why You’ll Love This Recipe
This cold pressed green juice is a delightful way to boost your daily veggie intake. It’s refreshing, easy to make, and perfect for busy mornings.
- Rich in vitamins and minerals.
- Customizable with your favorite greens.
- Quick to prepare, taking just minutes.
- Deliciously hydrating and energizing.
- Great for detoxifying your body.
My Experience Making This Recipe
Making this juice has become a refreshing ritual for me. Each time I blend up this green goodness, the fresh aroma fills my kitchen, making me feel like I’m in a trendy juice bar.
My family gets excited when I whip up a batch, and they love the vibrant color. It’s amazing how something so simple can feel so rewarding!
Recipe Overview
- Recipe Name: Cold Pressed Green Juice
- Servings: 2
- Prep Time: 10 minutes
- Cook Time: 0 minutes
- Total Time: 10 minutes
- Course: Beverage
- Cuisine: Juice
- Calories per Serving: 80
Equipment You Will Need
- Cold press juicer
- Cutting board
- Knife
- Measuring cups
- Container for juice
Ingredients for Cold Pressed Green Juice
- 2 cups spinach
- 1 cup kale
- 1 medium cucumber
- 2 green apples
- 1 lemon (juiced)
- 1 inch piece of ginger
- 1-2 cups water (optional, for thinning)
Ingredient Notes and Substitutions
- Spinach: This leafy green is packed with nutrients. You can substitute it with Swiss chard or romaine lettuce.
- Kale: A fiber-rich superfood. If kale isn’t your thing, try collard greens.
- Cucumber: Adds hydration and a light flavor. Zucchini can work in a pinch.
- Green Apples: They provide a sweet and tart balance. You could use pears for a different flavor profile.
- Ginger: Offers a spicy kick and health benefits. Turmeric is a nice alternative.
How to Make Cold Pressed Green Juice
Step 1: Prepare the Ingredients
Wash all the ingredients thoroughly to remove any dirt or pesticides. Fresh produce ensures the best flavor and nutrition.
Step 2: Chop the Greens
Roughly chop the spinach and kale before juicing. Smaller pieces help the juicer extract more juice efficiently.
Step 3: Cut the Cucumber and Apples
Slice the cucumber and core the apples, then chop them into manageable pieces. This makes it easier for the juicer to process them.
Step 4: Juice the Ingredients
Begin juicing by alternating between the greens and the fruits. This method helps to ensure that everything gets well blended and extracted.
Step 5: Add Lemon Juice
Once juiced, mix in the fresh lemon juice. It brightens the flavor and adds a hint of acidity.
Step 6: Incorporate Ginger
Add the ginger piece into the juicer. This little root packs a lot of flavor and health benefits!
Step 7: Thin the Juice (Optional)
If the juice is too thick for your liking, add water to achieve your preferred consistency. This step is all about personal preference.
Step 8: Serve and Enjoy
Pour the juice into glasses and enjoy immediately. Fresh is best, as nutrients begin to degrade after juicing.
Pro Tip: For maximum freshness, drink your juice within 20 minutes of making it!
Tips for the Best Cold Pressed Green Juice
- Use organic produce when possible to avoid pesticides.
- Experiment with different greens for varied flavors.
- Chill your ingredients beforehand for a refreshing drink.
- Clean your juicer immediately after use to make cleanup easier.
- Try adding a pinch of sea salt to enhance the flavors.
Common Mistakes to Avoid
- Skipping the washing step can lead to gritty juice. Always clean produce thoroughly.
- Not alternating ingredients in the juicer can cause clogs. Juicing in layers helps everything flow smoothly.
- Using overripe fruits can lead to a mushy texture. Fresh ingredients yield better juice.
- Failing to drink the juice quickly means losing nutrients. Fresh juice is best enjoyed right away.
Serving Suggestions
This cold pressed green juice pairs well with many foods. Here are some tasty ideas.
- Serve with a light salad for a refreshing meal.
- Pair with whole grain toast and avocado for a filling breakfast.
- Enjoy alongside a smoothie bowl for extra nutrition.
- Complement with a protein-rich snack like nuts or yogurt.
Variations to Try
- Add a handful of parsley for a fresh herbal note.
- Include carrots for a sweeter taste and added color.
- Mix in some beets for an earthy flavor and vibrant hue.
- Try adding pineapple for a tropical twist.
- Experiment with different citrus fruits like lime or orange.
Dietary Adaptations
- This recipe is naturally gluten-free, perfect for those with dietary restrictions.
- It is dairy-free, making it suitable for vegans and lactose intolerant individuals.
- For a low-carb option, reduce the amount of fruit used.
- Can be made vegetarian by simply omitting any non-vegan ingredients.
Storage and Reheating
Refrigerator
Store any leftover juice in an airtight container in the fridge.
- Consume within 24 hours for the best flavor and nutrients.
Freezer
You can freeze the juice if you have leftovers.
- Use ice cube trays for portioning and easy thawing.
Reheating
Reheating is not recommended for juice, as it can destroy nutrients.
- Best enjoyed cold or at room temperature.
Nutrition Information
| Nutrient | Amount |
|---|---|
| Calories | 80 |
| Total Fat | 1g |
| Saturated Fat | 0g |
| Carbohydrates | 18g |
| Fiber | 4g |
| Sugar | 10g |
| Protein | 3g |
| Sodium | 30mg |
| Cholesterol | 0mg |
This nutrition information is an estimate and will vary based on specific ingredients used.
Frequently Asked Questions
Can I substitute the greens?
Absolutely! You can use any leafy greens you prefer, like Swiss chard or collard greens.
Can I make this juice ahead of time?
Yes, but it’s best enjoyed fresh. If you must make it ahead, store it in the fridge and consume within 24 hours.
How should I store leftovers?
Store leftovers in an airtight container in the refrigerator for up to 24 hours.
What if my juice is too thick?
Add water to thin it out to your desired consistency.
Can I use a regular juicer instead of a cold press?
Yes, but a cold press juicer extracts more nutrients and juice than a traditional juicer.
Final Thoughts
Making your own cold pressed green juice is such a rewarding experience. It’s not only delicious but also a convenient way to boost your health.
So why not give this recipe a try? You might just find your new favorite morning ritual!
For more delicious juice ideas, check out this Mexican Green Juice Recipe or another refreshing Green Juice Recipe.
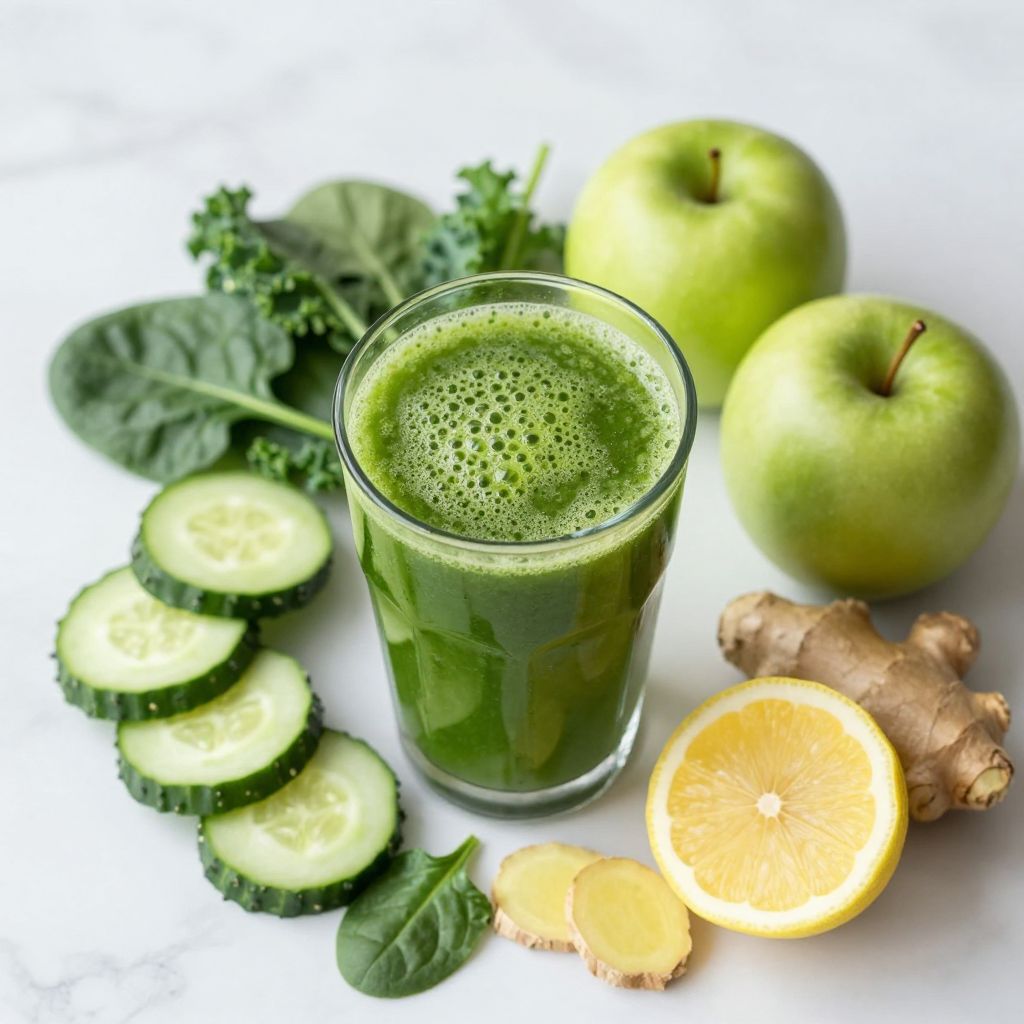
Cold Pressed Green Juice
Ingredients
Equipment
Method
- Wash all the ingredients thoroughly to remove any dirt or pesticides.
- Roughly chop the spinach and kale before juicing.
- Slice the cucumber and core the apples, then chop them into manageable pieces.
- Begin juicing by alternating between the greens and the fruits.
- Once juiced, mix in the fresh lemon juice.
- Add the ginger piece into the juicer.
- If the juice is too thick for your liking, add water to achieve your preferred consistency.
- Pour the juice into glasses and enjoy immediately.