
Picture the aroma of hops wafting through your kitchen as you brew your own Session IPA. This recipe is special because it delivers a hoppy, refreshing flavor without the heaviness, making it perfect for warm days or gatherings. With a light body and a crisp finish, it’s an approachable beer for both seasoned craft enthusiasts and beginners alike. Plus, brewing at home allows you to customize flavors to your heart’s content. Ready to jump into the brewing process?
Why You’ll Love This Recipe
This Session IPA is a delight for several reasons.
- Hoppy yet light, perfect for any occasion.
- Easy to brew with accessible ingredients.
- Customizable to match your taste preferences.
- Quick fermentation time, so you won’t wait long.
- Great for sharing with friends and family.
My Experience Making This Recipe
When I first decided to brew a Session IPA, I was eager to experiment with flavors. The smell of the hops alone had me dreaming of summer days and backyard barbecues.
As I watched the brew bubble away, I couldn’t help but think of all the friends who would enjoy this creation. It transformed my kitchen into a cozy brewery, filling it with warmth and anticipation.
Recipe Overview
- Recipe Name: Session IPA
- Servings: 5 gallons
- Prep Time: 30 minutes
- Cook Time: 60 minutes
- Total Time: 2-3 weeks (including fermentation)
- Course: Beverage
- Cuisine: American
- Calories per Serving: 150
Equipment You Will Need
- Brew kettle (at least 5 gallons)
- Fermentation vessel with airlock
- Hydrometer
- Thermometer
- Bottling bucket and bottles
- Siphon and tubing
- Sanitizer
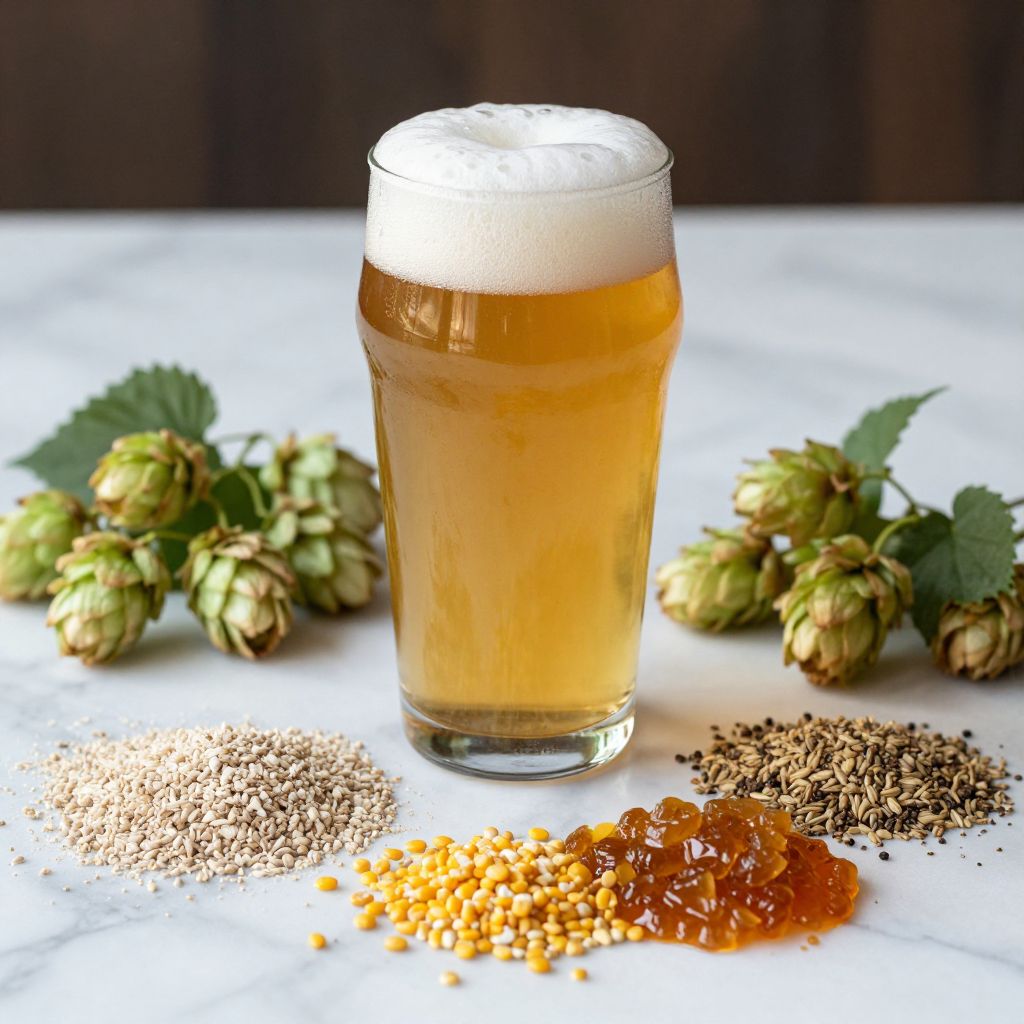
Ingredients for Session IPA
- 10 lbs Pale Malt (2-row)
- 1 lb Caramel/Crystal Malt (40L)
- 1 lb Flaked Corn
- 1 oz Cascade Hops (bittering)
- 1 oz Citra Hops (flavor)
- 1 oz Mosaic Hops (aroma)
- 1 pack American Ale Yeast (like Safale US-05)
- 5 oz Priming sugar (for bottling)
Ingredient Notes and Substitutions
- Pale Malt: This is the base malt that provides the sugars needed for fermentation. You can substitute with any light malt.
- Caramel/Crystal Malt: Adds sweetness and color. Use any light caramel malt if you prefer a different flavor profile.
- Flaked Corn: It lightens the body and adds crispness. Substitute with flaked rice for a similar effect.
- Cascade Hops: Known for their floral and citrus notes. You could swap for Centennial hops for a different twist.
- American Ale Yeast: This yeast helps achieve a clean finish. Any American ale yeast will work well.
How to Make Session IPA
Step 1: Prepare Your Equipment
Start by sanitizing all equipment to prevent any contamination. A clean brewing environment is crucial for a successful batch.
Step 2: Heat the Water
Fill your brew kettle with 3 gallons of water and heat it to around 165°F. This temperature is ideal for mashing the grains effectively.
Step 3: Mash the Grains
Add the crushed grains to the heated water and maintain the temperature at about 152°F for 60 minutes. This step converts the starches in the grains into fermentable sugars.
Step 4: Sparge the Grains
After mashing, sparge the grains with 170°F water to extract more sugars. This ensures you get the most out of your grains.
Step 5: Boil the Wort
Bring the collected wort to a boil and add the Cascade hops. Boil for 60 minutes to extract bitterness from the hops.
Step 6: Add Flavor and Aroma Hops
With 15 minutes left in the boil, add the Citra hops. This enhances the flavor profile without overwhelming the bitterness.
Step 7: Cool the Wort
Once the boil is complete, cool the wort quickly using a wort chiller or an ice bath. Rapid cooling helps avoid off-flavors from forming.
Step 8: Ferment the Beer
Transfer the cooled wort to your fermentation vessel and pitch the yeast. Seal it with an airlock and place it in a dark, cool area to ferment for about two weeks.
Pro Tip: Always check your sanitation practices; cleanliness is key in brewing!
Tips for the Best Session IPA
- Use fresh hops for the best flavor; they make a noticeable difference.
- Consider dry hopping in the fermenter for added aroma.
- Monitor fermentation temperature closely to avoid off-flavors.
- Be patient; allowing the beer to condition will improve its overall taste.
- Experiment with different hop varieties to find your favorite blend.
Common Mistakes to Avoid
- Skipping the sanitization process can lead to contamination, ruining your batch.
- Not monitoring temperatures can cause fermentation issues, affecting flavor.
- Rushing the fermentation process can result in unwanted flavors.
- Overbittering by adding hops too early can mask the beer’s subtleties.
- Using stale or old ingredients can lead to a flat or uninteresting beer.
Serving Suggestions
This Session IPA pairs beautifully with a variety of foods.
- Spicy tacos for a flavor explosion.
- Grilled chicken with citrus marinade.
- Cheesy nachos for a classic pairing.
- Salads with light vinaigrettes.
- Seafood dishes like shrimp or fish tacos.
Variations to Try
- Add fruit like orange or grapefruit during fermentation for a citrus twist.
- Use a different base malt like Vienna for a toasty flavor.
- Try a Belgian yeast strain for a unique profile.
- Experiment with roasted malts for a darker version.
- Incorporate herbs like rosemary for an aromatic experience.
Dietary Adaptations
- Gluten-free: Use gluten-free grains like sorghum or rice.
- Dairy-free: This recipe is naturally dairy-free.
- Vegan: All ingredients are plant-based.
- Low-carb/keto: Limit malt and use more flaked corn or rice.
Storage and Reheating
Refrigerator
Store your brewed Session IPA in a cool, dark place. It should last for several months if properly bottled.
- Keep bottles upright to prevent sediment from mixing.
- Avoid exposing it to light to prevent skunky flavors.
Freezer
It’s not recommended to freeze beer as it can alter the taste and texture. Instead, store it in the fridge.
- If you must, freeze in a plastic bottle to allow for expansion.
Reheating
Reheating beer is not necessary, but if you want to warm it slightly, do so gently. Avoid boiling to keep flavors intact.
- Warm in a glass, not in the microwave.
- Enjoy slightly chilled for the best flavors.
Nutrition Information
| Nutrient | Amount |
|---|---|
| Calories | 150 |
| Total Fat | 0 g |
| Saturated Fat | 0 g |
| Carbohydrates | 12 g |
| Fiber | 0 g |
| Sugar | 0 g |
| Protein | 1 g |
| Sodium | 5 mg |
| Cholesterol | 0 mg |
This nutritional information is based on standard brewing practices and may vary based on specific ingredients.
Frequently Asked Questions
Can I use extract instead of grains?
Yes, you can use malt extract, but you will miss out on some depth of flavor.
How long can I store my beer?
Properly bottled beer can be stored for several months, but freshness is key.
What if my beer is too bitter?
If your beer turns out too bitter, try adding a sweetener or serving it with sweeter foods.
Can I make this recipe a week ahead?
Yes, you can brew it ahead of time, just ensure it’s stored properly after fermentation.
What can I do if the fermentation is slow?
Check the temperature; it may be too cold for the yeast to work effectively.
Final Thoughts
Brewing your own Session IPA can be a rewarding and enjoyable experience. With the right ingredients and a little patience, you’ll create a refreshing beer that impresses everyone.
So, roll up your sleeves and give this recipe a try. And while you’re at it, check out this Hazy IPA recipe or this Stout recipe for more brewing inspiration!
Session IPA
Ingredients
Equipment
Method
- Start by sanitizing all equipment to prevent any contamination.
- Fill your brew kettle with 3 gallons of water and heat it to around 165°F.
- Add the crushed grains to the heated water and maintain the temperature at about 152°F for 60 minutes.
- After mashing, sparge the grains with 170°F water to extract more sugars.
- Bring the collected wort to a boil and add the Cascade hops. Boil for 60 minutes.
- With 15 minutes left in the boil, add the Citra hops.
- Once the boil is complete, cool the wort quickly using a wort chiller or an ice bath.
- Transfer the cooled wort to your fermentation vessel and pitch the yeast.
- Seal with an airlock and place it in a dark, cool area to ferment for about two weeks.