
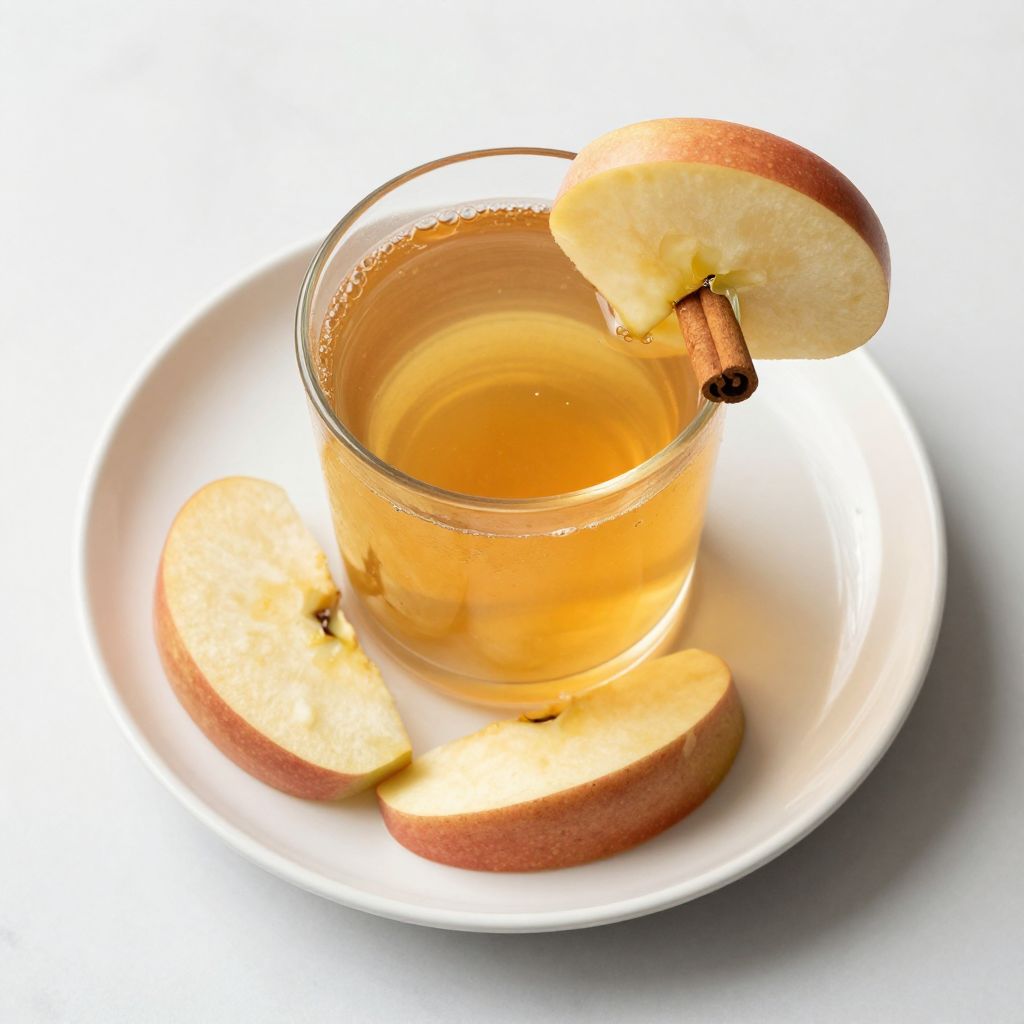
There’s something magical about biting into a crisp apple and tasting pure, sweet juice that explodes on your tongue. Making homemade apple juice captures that same magic in a glass, and it’s far simpler than you’d think.
This recipe delivers fresh, vibrant juice without any additives, preservatives, or mystery ingredients hiding on a label. You control the sweetness, the apple varieties, and everything that goes into your cup.
The best part? You’ll taste the difference immediately when you compare it side by side with store-bought versions.
Why You’ll Love This Recipe
Homemade apple juice offers unbeatable freshness and flavor that bottled juice simply can’t match. You’ll know exactly what’s in every sip, and you can customize it to your taste preferences.
- Pure, fresh apple flavor with no added sugars or preservatives
- Budget-friendly when apples are in season
- Takes less than 30 minutes from start to finish
- Works with any apple variety you have on hand
- Perfect way to use up bruised or slightly soft apples
My Experience Making This Recipe
I first made homemade apple juice on a crisp fall morning when a local orchard delivered a box of mixed apples to my door. I had no idea what I’d do with them until I remembered my grandmother talking about pressing apples as a kid.
The process felt almost meditative: washing apples, chopping them down, watching the juicer work its magic as golden liquid streamed into my pitcher. The smell was intoxicating, like concentrated autumn in my kitchen.
My family gathered around for a taste test and went silent for a moment before someone said “This tastes like actual apples.” That’s when I knew I’d never buy bottled juice again.
Recipe Overview
- Recipe Name: Homemade Apple Juice
- Servings: 4 servings (about 4 cups total)
- Prep Time: 15 minutes
- Cook Time: 0 minutes
- Total Time: 15 minutes
- Course: Beverage
- Cuisine: American
- Calories per Serving: 95
Equipment You Will Need
- Juicer (centrifugal, masticating, or cold-press)
- Large sharp knife
- Cutting board
- Colander or fine mesh strainer
- Large pitcher or bowl
- Cheesecloth (optional, for extra filtering)
- Glass storage bottles or mason jars
- Produce brush or clean cloth
Ingredients for Homemade Apple Juice
- 8 to 10 medium apples (about 3 pounds total, any variety)
- 1/2 cup water (if using a centrifugal juicer)
- Optional: 1/2 teaspoon fresh lemon juice per serving (for brightness)
Ingredient Notes and Substitutions
- Medium apples work best because they balance yield with juice quality. You can substitute with smaller or larger apples, though you may need to adjust quantities by 1 to 2 apples.
- Water helps centrifugal juicers process apples smoothly and prevents pulp buildup. If using a cold-press juicer, skip the water entirely.
- Lemon juice brightens the flavor and adds a subtle tang that lifts the natural sweetness. You can omit it if you prefer pure apple flavor without acidity.
How to Make Homemade Apple Juice
Step 1: Select and Inspect Your Apples
Choose apples that are firm and free from major bruises or rot. You can use a mix of sweet apples like Gala and Fuji with tart varieties like Granny Smith to create balanced, complex flavor.
Step 2: Wash the Apples Thoroughly
Run each apple under cool running water while gently scrubbing with a produce brush or clean cloth to remove dirt, pesticide residue, and any debris. Pat them dry with a clean kitchen towel.
Step 3: Core and Cut the Apples
Using a sharp knife, cut each apple into quarters, removing the core and seeds as you go. Leave the skin on, as it contains valuable nutrients and fiber that contribute to the juice’s color and flavor.
Step 4: Prepare Your Juicer
Set up your juicer according to its specific instructions and place a large pitcher or bowl underneath to catch the juice. If you’re using a centrifugal juicer, have your water ready nearby.
Step 5: Feed Apples Into the Juicer
Begin feeding apple pieces into your juicer slowly and steadily, pushing them through the chute with the plunger or using light hand pressure. Centrifugal juicers work fastest but generate more heat; cold-press juicers work slower but extract more juice and preserve nutrients.
Step 6: Add Water if Using a Centrifugal Juicer
If you notice the juicer is struggling or producing thick pulp rather than liquid, add water a little at a time to help the process along. This keeps the machine from overheating and helps push drier pulp through more efficiently.
Step 7: Strain the Juice
Pour the fresh juice through a fine mesh strainer or cheesecloth into a clean pitcher to remove any remaining pulp and sediment. This step is optional if you enjoy pulpy juice, but most people prefer a smoother texture.
Step 8: Chill and Serve Immediately
Transfer the juice to glass bottles or mason jars and refrigerate until cold, which takes about 30 minutes. Fresh apple juice is best consumed within 2 to 3 days for maximum flavor and nutritional content.
Pro Tip: Make juice in the early morning when apples are coldest from storage, as this preserves more nutrients and creates a naturally crisp, refreshing taste without additional chilling time.
Tips for the Best Homemade Apple Juice
- Mix apple varieties for complexity: combine sweet apples with tart ones to create juice that’s balanced rather than one-dimensional and boring.
- Don’t waste pulp: save it for applesauce, baked goods, or compost rather than throwing it away.
- Chill your apples and pitcher before juicing to keep the liquid crisp and fresh-tasting.
- Make juice just before serving or storing for maximum nutritional value and flavor intensity.
- Use organic apples when possible to avoid processing pesticides into your juice.
- Drink fresh juice within a few days or freeze it in ice cube trays for smoothies and cooking.
Common Mistakes to Avoid
- Using only one apple variety creates flat, one-note juice that lacks depth and interest.
- Skipping the washing step introduces dirt and chemicals that muddy the clean apple flavor.
- Over-processing apples in a blender instead of a juicer creates a thick drink rather than true juice.
- Storing juice in plastic containers allows flavors to absorb plastic and degrade faster than glass storage would.
- Adding sugar negates the point of making fresh juice and hides the true apple flavor you worked to extract.
Serving Suggestions
Serve your fresh apple juice ice-cold as a refreshing breakfast drink or afternoon pick-me-up. It pairs beautifully with light meals and works as a base for smoothies and cocktails.
- Pour over ice with a cinnamon stick for a warm-spiced fall drink
- Mix with sparkling water for a light, refreshing spritzer
- Blend into smoothies with yogurt, banana, and oats for breakfast
- Serve alongside cheese and crackers at brunch
- Use as a base for homemade apple cider by adding cinnamon, nutmeg, and cloves and gently heating
Variations to Try
- Green juice variation: use mostly Granny Smith apples with a handful of spinach or kale added to the juicer for an earthy, nutrient-dense drink.
- Spiced apple juice: add cinnamon sticks, fresh ginger slices, and cloves to your juice after pressing for warm, holiday-inspired flavor.
- Apple and beet juice: blend one medium raw beet with your apples for natural sweetness and vibrant color that looks stunning.
- Apple and celery juice: combine equal parts apple and fresh celery for a crisp, mineral-rich drink that aids digestion.
Dietary Adaptations
- Gluten-free: this recipe is naturally gluten-free as written with no substitutions needed.
- Dairy-free: this recipe contains no dairy ingredients and requires no changes.
- Vegan: this recipe is completely vegan and plant-based with no modifications necessary.
- Low-carb or keto: fresh apple juice is higher in natural sugars, so it’s not ideal for strict keto diets, though you could substitute green juice made mostly from celery and leafy greens.
Storage and Reheating
Refrigerator
Store fresh apple juice in glass bottles or mason jars with airtight lids on the coldest shelf of your refrigerator. Fresh juice keeps for 3 to 5 days depending on your juicer type and storage conditions.
- Cold-pressed juice lasts longer than centrifugal juice
- Keep juice in the back of the fridge where it stays coldest
- Check for any sign of fermentation before drinking older batches
Freezer
Freeze extra juice in ice cube trays for easy portioning, or pour into freezer bags for longer storage. Frozen juice keeps for up to 3 months and works well in smoothies and cooked applications.
- Leave 1 inch of headspace in containers before freezing to allow for expansion
- Label containers with the date made for easy tracking
- Thaw in the refrigerator overnight rather than at room temperature
Reheating
Fresh apple juice doesn’t require reheating unless you’re making warm spiced cider. Simply pour over ice or drink directly from the refrigerator.
- To warm for cider, heat gently over low heat with spices rather than boiling
- Never microwave juice, as high heat destroys nutrients and flavor
Nutrition Information
| Nutrient | Amount |
|---|---|
| Calories | 95 |
| Total Fat | 0.3g |
| Saturated Fat | 0.05g |
| Carbohydrates | 23g |
| Fiber | 0.5g |
| Sugar | 21g |
| Protein | 0.3g |
| Sodium | 2mg |
| Cholesterol | 0mg |
Nutritional values are approximate and based on medium-sized apples with skin included. Values may vary based on apple variety and juicer type used.
Frequently Asked Questions
Can I make apple juice without a juicer?
Yes, you can blend apples in a food processor or blender, then strain the mixture through cheesecloth or a fine mesh strainer. The result will be thicker and pulpier than traditional juice, but it’s still delicious and packed with fiber.
Why is my homemade juice different in color and taste each time I make it?
Apple varieties, ripeness, and growing conditions affect juice color, sweetness, and flavor significantly. Using a consistent mix of the same apple varieties helps create more uniform results batch to batch.
Can I add sugar or honey to my juice?
You can add sweetener, but it defeats the purpose of making fresh juice and masks the true apple flavor you worked to extract. Try it unsweetened first; you may find it naturally sweet enough.
How do I prevent the juice from oxidizing and turning brown?
Store juice in airtight glass containers that limit air exposure, keep it refrigerated immediately, and drink it within a few days. Adding a small squeeze of lemon juice also slows oxidation slightly.
What’s the difference between apple juice and apple cider?
Apple juice is filtered and pasteurized for longer shelf life, while fresh cider is unfiltered and unpasteurized for a richer, more rustic taste. Fresh homemade juice falls somewhere between the two in texture and flavor.
Can I use canned or pre-cut apples?
Fresh, whole apples produce the best juice with maximum flavor and nutrition. Pre-cut apples oxidize quickly and lose quality, while canned apples are processed and won’t yield fresh juice.
Final Thoughts
Making fresh apple juice at home is one of those simple pleasures that transforms ordinary fruit into something extraordinary. You’ll never look at a glass of bottled juice the same way again once you taste what you can make in your own kitchen.
Grab some apples this week and give this recipe a try. Your taste buds will thank you, and your family will be asking for seconds before you know it.
If you love fresh fruit beverages, explore our apple cider slushie recipe for a frozen twist on this classic drink. You might also enjoy our apple cider vinegar spritz recipe for a tangy, refreshing option.
Homemade Apple Juice
Ingredients
Equipment
Method
- Step 1: Select and inspect 8 to 10 firm apples, free from major bruises or rot, mixing sweet and tart varieties for balanced flavor.
- Step 2: Wash the apples thoroughly under cool running water, scrubbing with a produce brush or clean cloth, then pat dry.
- Step 3: Core and cut each apple into quarters, removing seeds but leaving the skin intact for color and nutrients.
- Step 4: Assemble and prepare your juicer according to the manufacturer’s instructions, placing a pitcher or bowl underneath the spout.
- Step 5: Feed apple pieces into the juicer slowly, using the plunger or light hand pressure to extract the juice.
- Step 6: If using a centrifugal juicer and the pulp is too dry, add water a little at a time to help the machine process the apples efficiently.
- Step 7: Strain the fresh juice through a fine mesh strainer or cheesecloth into a clean pitcher to remove any remaining pulp.
- Step 8: Transfer the juice to glass bottles or mason jars and chill in the refrigerator for about 30 minutes before serving.