
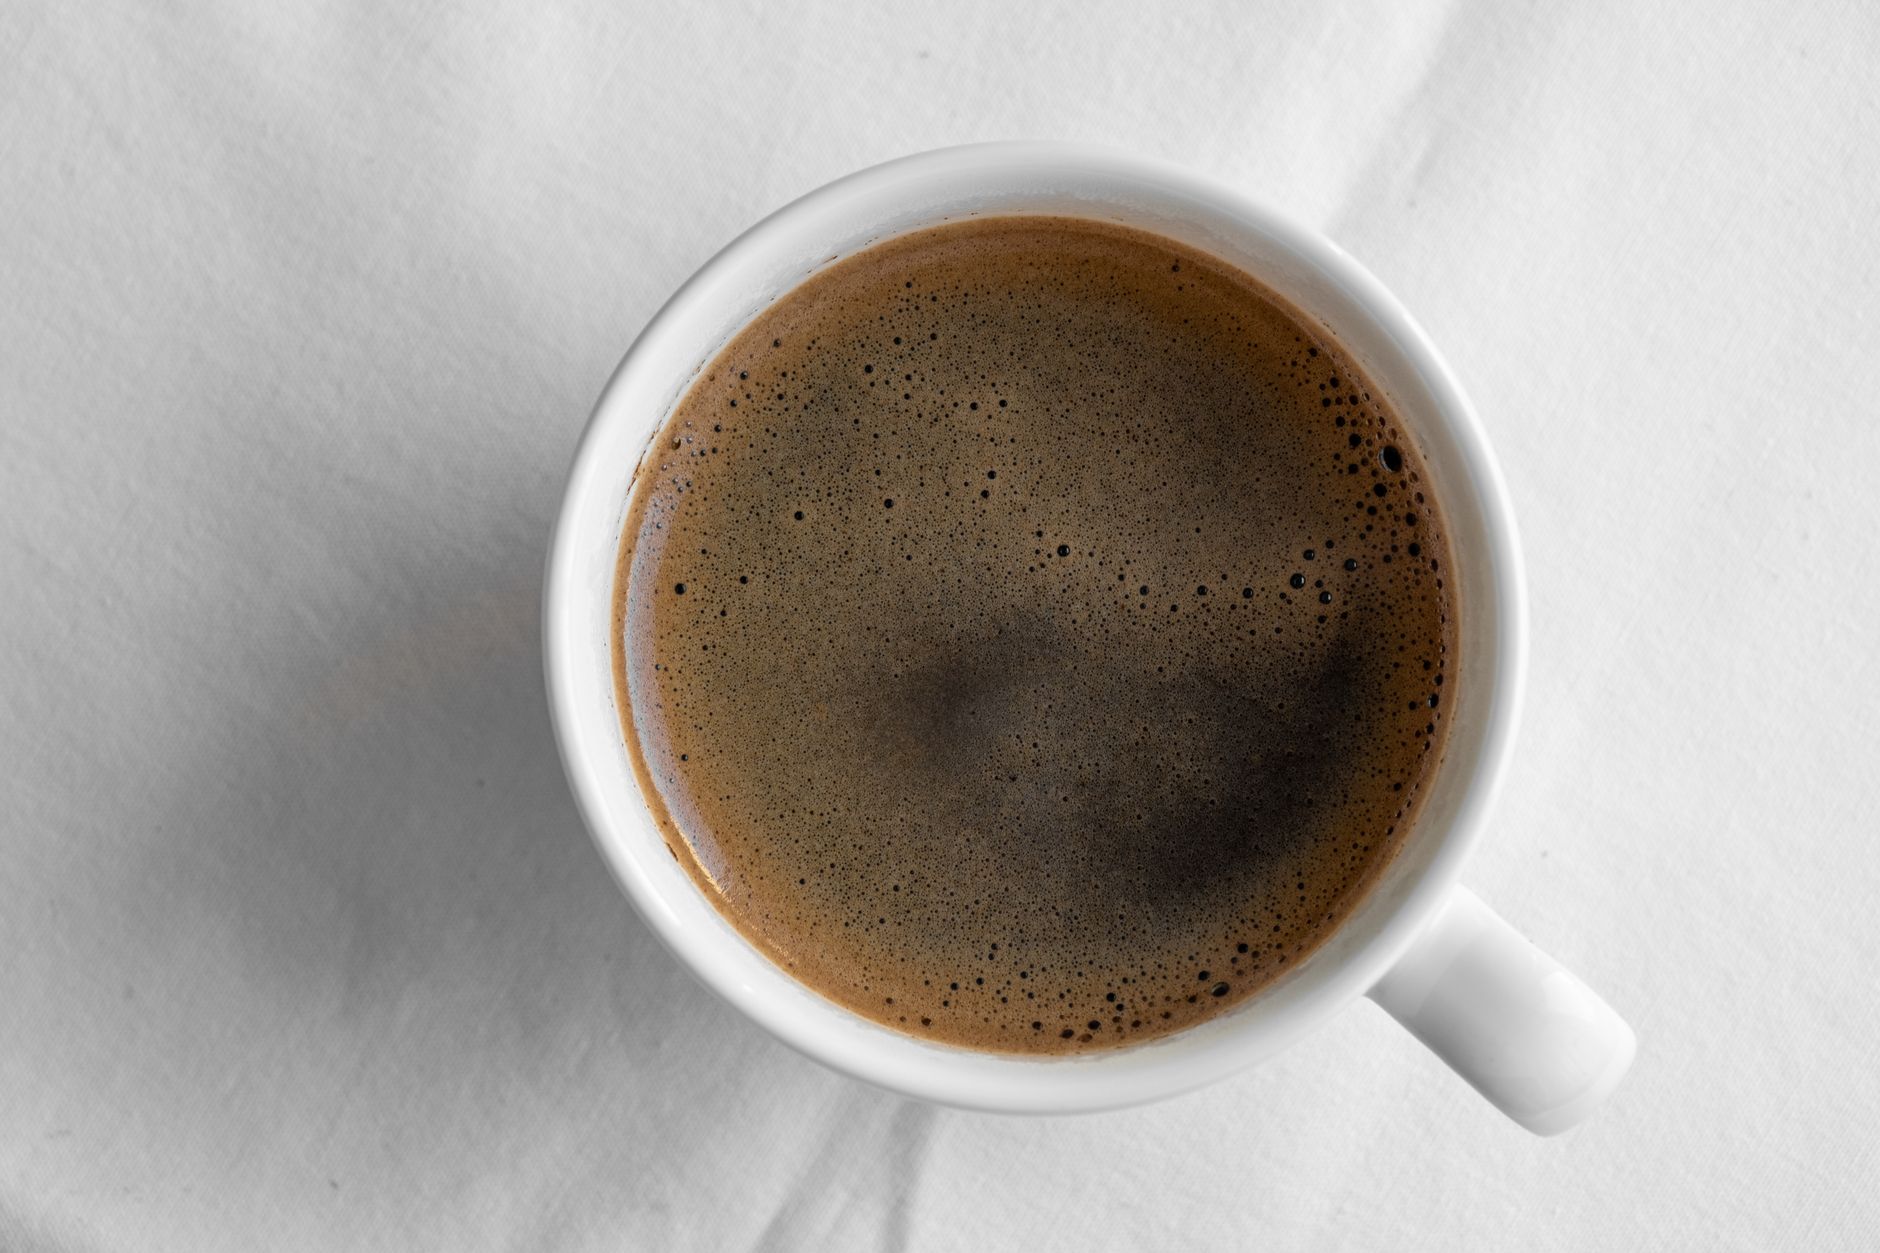
Coffee brewing has evolved significantly, with numerous methods available to satisfy every coffee lover’s palate. One classic technique that stands the test of time is coffee percolation. This method delivers a rich, bold flavor, making it a favorite among many enthusiasts. Learning how to percolate coffee efficiently can enhance your morning routine and impress your guests.
This guide will walk you through the percolation process step by step, offering tips, troubleshooting advice, and everything you need to achieve the perfect cup of coffee. Whether you’re a novice or looking to refine your skills, this comprehensive guide is designed to help you master the art of coffee percolation.
How To Percolate Coffee?
To percolate coffee, brew ground coffee using a dedicated percolator. This method allows hot water to circulate through coffee grounds repeatedly, extracting rich flavors. The result is a robust cup of coffee with a distinctive taste. Follow the steps outlined in this article for a successful brewing experience.
What You Will Need
Before diving into the brewing process, gather the necessary tools and ingredients:
- Coffee percolator
- Coarsely ground coffee (about 1 to 2 tablespoons per 6 ounces of water)
- Filtered water
- Stovetop or electric heat source
- Cup or carafe for serving
Understanding the Percolation Process
Percolation involves a cycle where water is heated and forced through coffee grounds, filtering back down for rejuvenation. Here’s a breakdown of how it works:
- Water in the bottom chamber heats to a boil.
- Boiling water is pushed up the tube into the coffee grounds.
- As the hot water percolates through the grounds, it extracts flavor and oils, returning to the bottom chamber.
- This cycle continues until the coffee reaches your desired strength.
Step-by-Step Guide to Percolating Coffee
Now that you have everything ready, follow these steps to brew your coffee:
- Prepare the Percolator: Disassemble your coffee percolator. Ensure it’s clean and dry before use.
- Measure Coffee Grounds: Determine how strong you want your coffee. Use about 1 to 2 tablespoons of coarsely ground coffee for every 6 ounces of water. Adjust to taste.
- Add Water: Fill the bottom chamber of the percolator with filtered water. Ensure you have enough to accommodate the amount of coffee and adjust based on how many servings you intend to make.
- Add Coffee Grounds: Place the coffee grounds in the filter basket and secure it in position within the percolator.
- Heat the Percolator: If using a stovetop percolator, place it on medium heat. For an electric percolator, simply plug it in and turn it on.
- Watch for Percolation: You will notice bubbling and hear a gurgling sound as the coffee begins to brew. It usually takes about 8-10 minutes for the brewing process to complete. Keep an eye on the color of the liquid in the top glass knob; it should turn a rich brown hue.
- Remove from Heat: Once the coffee has reached the desired strength, remove the percolator from the heat. Avoid over-extraction, which can lead to a bitter taste.
- Serve and Enjoy: Pour the freshly brewed coffee into cups or a carafe. Enjoy it black or with additions like milk, sugar, or flavored creamers!
Practical Tips for Brewing Coffee with a Percolator
- Choose Quality Beans: Start with high-quality, fresh coffee beans. The flavor of your coffee largely depends on the quality of the coffee used.
- Grind Size Matters: Use coarsely ground coffee to prevent over-extraction and sediment in your cup. Fine grounds can lead to bitterness and clog the filter.
- Experiment with Ratios: Adjust the coffee-to-water ratio based on your taste. A standard ratio is 1 to 2 tablespoons of coffee per 6 ounces of water.
- Keep It Clean: Regularly clean your percolator after each use to avoid buildup of oils and coffee residues that can impact flavor.
- Temperature Control: Heat the water just enough to facilitate percolation. Too high a temperature can scald the coffee, leading to unpleasant flavors.
Common Mistakes When Percolating Coffee
Avoiding mistakes can greatly enhance your brewing experience. Here are some common pitfalls:
- Using Fine Coffee Grounds: Fine grounds can clog the percolator, leading to under-extraction or bitterness.
- Overheating the Coffee: Prolonged cooking can result in a bitter brew. Monitor the brewing time closely.
- Not Preheating the Water: While this is not mandatory, preheating the water speeds up the brewing process.
- Neglecting Cleaning: Failing to clean your percolator can lead to off-flavors from buildup.
Flavor and Texture Insights
Percolated coffee tends to be bolder and stronger in flavor compared to other brewing techniques like drip brewing or French press. The consistent cycling of water through the coffee grounds creates a full-bodied experience, with an earthy aroma and slightly oily texture.
As the brewing process is repeated, certain intricate flavors may be accentuated while others may diminish. The longer the percolation, the more robust and sometimes even bitter the coffee becomes. Experimenting with different brewing times will allow you to discover your preferred flavor profile.
Adjusting Strength and Flavor
Every coffee drinker has unique preferences when it comes to strength and flavor. Here’s how to adjust your percolated coffee to suit your taste:
- Increase Coffee Grounds: For a stronger brew, increase the amount of coffee used.
- Decrease Brewing Time: If your coffee is too bold or bitter, reduce the brewing time by one to two minutes.
- Change the Water Temperature: Experiment with different temperatures to find what achieves the flavor you like best.
Storing Leftover Coffee
In case you have leftover percolated coffee, storing it properly can help maintain its flavor:
- Cooled Storage: Allow leftover coffee to cool to room temperature before refrigerating. Store it in an airtight container to prevent it from picking up odors from other foods.
- Limit Reheating: Reheating brewed coffee can cause it to lose flavor. Instead, consider using it in recipes that call for coffee or as an ingredient in baked goods.
Cleaning Your Percolator
For optimal taste and performance, regular cleaning of your percolator is essential:
- Disassemble the Percolator: Carefully take apart all components, including the filter basket, tube, and carafe.
- Wash with Mild Soap: Clean all parts with warm, soapy water. Avoid using abrasive scrubbers to prevent scratches.
- Rinse Thoroughly: Ensure that all soap is washed away, as it can adversely affect the flavor of subsequent brews.
- Dry Completely: Allow all pieces to air dry completely before reassembling.
Health and Safety Considerations
When preparing coffee, practicing safe techniques is important:
- Be cautious of hot surfaces and liquids during the brewing process.
- Always inspect your percolator for leaks or damage before use.
- Follow general food safety practices, such as ensuring that your coffee is stored in clean, dry conditions.
Conclusion
Learning how to percolate coffee is a rewarding endeavor that can significantly elevate your coffee experience. Understanding the brewing process, mastering the right techniques, and experimenting with flavors ensures that each cup is tailored to your taste. Whether you’re warming up on a chilly morning or serving friends after dinner, percolated coffee is always a delightful choice.
As you embark on your coffee percolation journey, consider exploring related recipes and techniques. Check out our long black coffee recipe at long black coffee recipe, or learn about making iced coffee concentrate with our guide at iced coffee concentrate recipe.