
There’s something magical about the aroma of simmering apples and spices that instantly fills your home with warmth and nostalgia. The Homemade Apple Cider recipe is a cherished tradition, perfect for cozy gatherings or enjoying alone with a good book on a chilly evening.
Why You’ll Love This Recipe
This recipe is a delightful way to celebrate fall flavors right in your kitchen.
- Rich, comforting flavors that evoke memories of autumn.
- Customizable sweetness and spice levels to suit your taste.
- Simple ingredients and straightforward steps make it easy to create.
- Perfect for sharing with family and friends during the holidays.
- Can be made in large batches and stored for later enjoyment.
My Experience Making This Recipe
Every fall, I eagerly await the moment I can make this cider. As the apples simmer, the entire house fills with an irresistible scent that sparks joy and a sense of home.
My friends and family often gather around, drawn in by the warmth and inviting aroma. It’s a simple pleasure that brings everyone together, creating moments I’ll cherish for years to come.
Recipe Overview
- Recipe Name: Homemade Apple Cider
- Servings: 8
- Prep Time: 15 minutes
- Cook Time: 2 hours
- Total Time: 2 hours 15 minutes
- Course: Beverage
- Cuisine: American
- Calories per Serving: 120
Equipment You Will Need
- Large pot or stockpot
- Strainer or cheesecloth
- Wooden spoon
- Measuring cups and spoons
- Knife and cutting board
- Slow cooker (optional)
Ingredients for Homemade Apple Cider
- 8 medium apples (a mix of sweet and tart varieties like Fuji and Granny Smith)
- 1 cup brown sugar (adds depth and richness)
- 1 tablespoon cinnamon (for that warm spice flavor)
- 1 teaspoon whole cloves (adds aromatic notes)
- 1 teaspoon allspice (for a hint of warmth)
- 1 orange (sliced, for citrusy brightness)
- Water (enough to cover the apples)
Ingredient Notes and Substitutions
- Apples: Different varieties create a layered flavor profile. You can substitute with pears or other fruits for a twist.
- Brown sugar: Contributes to the cider’s sweetness. Use honey or maple syrup for a natural alternative.
- Cinnamon: A key spice that brings warmth. If you’re short on cinnamon, nutmeg can work in a pinch.
- Whole cloves: These add a strong flavor. Ground cloves can be used but reduce the amount.
- Allspice: Adds complexity. You can skip it or use a mix of cinnamon and nutmeg.
How to Make Homemade Apple Cider
Step 1: Prepare the Apples
Start by washing the apples thoroughly. This removes any residue and helps achieve a clean flavor.
Step 2: Cut the Apples
Core and quarter the apples, leaving the skins on for added flavor and nutrients. The skins release pectin, which helps thicken the cider.
Step 3: Combine Ingredients
In your large pot, add the apple quarters, brown sugar, cinnamon, cloves, allspice, and orange slices. This combination creates a delightful aroma as it cooks.
Step 4: Add Water
Pour in enough water to cover the apples completely. This ensures even cooking and extraction of flavors.
Step 5: Bring to a Boil
Heat the mixture over medium-high heat until it reaches a boil. Boiling helps infuse the spices and sweeten the apples.
Step 6: Simmer the Cider
Reduce the heat and let the mixture simmer for about 2 hours. This slow cooking process deepens the flavors and allows the apples to break down.
Step 7: Strain the Mixture
Once the cider has simmered and the apples are soft, use a strainer or cheesecloth to separate the liquid from the solids. This step gives you that smooth cider texture.
Step 8: Serve and Enjoy
Pour the warm cider into mugs and enjoy it as is, or add a cinnamon stick for an extra touch. It’s perfect for sipping while wrapped in a cozy blanket.
Pro Tip: For a deeper flavor, let the cider sit overnight in the fridge and reheat before serving. The flavors will meld beautifully!
Tips for the Best Homemade Apple Cider
- Mix different apple varieties for a more complex flavor profile.
- Adjust the sugar to taste; some apples are sweeter than others.
- Don’t rush the simmering; the longer it cooks, the richer the flavor.
- Experiment with spices like nutmeg or ginger for a unique twist.
- Always strain thoroughly to avoid a gritty texture in your cider.
Common Mistakes to Avoid
- Using only one type of apple: It limits the flavor complexity.
- Not simmering long enough: Short cooking times can result in a bland cider.
- Adding too much sugar at once: Start with less and adjust to taste.
- Skipping the straining step: Leaving solids can lead to an unappealing texture.
Serving Suggestions
Homemade apple cider is delightful on its own, but it pairs beautifully with various foods. Enjoy it alongside:
- Freshly baked apple pie
- Cinnamon rolls
- Cheese platters featuring sharp cheddar
- Roasted nuts for a savory contrast
- Spiced cookies for a sweet treat
Variations to Try
- Add a splash of bourbon or rum for an adult version.
- Incorporate ginger slices for a zesty kick.
- Use pear or cranberry juice for a different base flavor.
- Add vanilla extract for a sweet, comforting aroma.
Dietary Adaptations
- Gluten-free: This recipe is naturally gluten-free.
- Dairy-free: No dairy ingredients are used, so it’s suitable for all.
- Vegan: Completely plant-based ingredients make it vegan-friendly.
- Low-carb/keto: Reduce or omit sugar for a low-carb option.
Storage and Reheating
Refrigerator
Store leftover cider in an airtight container in the fridge. It will keep well for about a week.
- Make sure to let it cool before refrigerating.
- Always reheat on the stove for best flavor.
Freezer
Cider can also be frozen for longer storage. Just ensure it is in a freezer-safe container.
- Leave some space at the top of the container for expansion.
- Thaw in the refrigerator or reheat directly from frozen.
Reheating
Gently reheat the cider on the stove or in the microwave until warm. Avoid boiling to preserve the flavors.
- Stir occasionally to heat evenly.
- Add additional spices if desired during reheating.
Nutrition Information
| Nutrient | Amount |
|---|---|
| Calories | 120 |
| Total Fat | 0g |
| Saturated Fat | 0g |
| Carbohydrates | 31g |
| Fiber | 1g |
| Sugar | 24g |
| Protein | 0g |
| Sodium | 2mg |
| Cholesterol | 0mg |
This information is an estimate and can vary based on specific ingredients used.
Frequently Asked Questions
Can I make this cider ahead of time?
Yes, you can make it a day or two in advance and store it in the refrigerator until you’re ready to serve.
What if I don’t have all the spices?
Feel free to adjust the spices based on what you have. A simple cinnamon and sugar combo works well.
How do I store leftover cider?
Store it in an airtight container in the fridge for up to a week or freeze for longer storage.
Can I use a slow cooker for this recipe?
Absolutely! Just follow the same steps, cooking on low for 6-8 hours instead of on the stove.
Why is my cider cloudy?
Cloudiness is normal and comes from the apple pulp. Straining well will help reduce this.
Final Thoughts
Making Homemade Apple Cider is a delightful way to embrace the season. With just a few simple ingredients and some patience, you can create a warm, comforting drink that warms the heart and fills the home with joy.
So gather your apples and get simmering! And if you’re feeling adventurous, try your hand at an apple cider martini or a refreshing apple cider slushie for a fun twist!
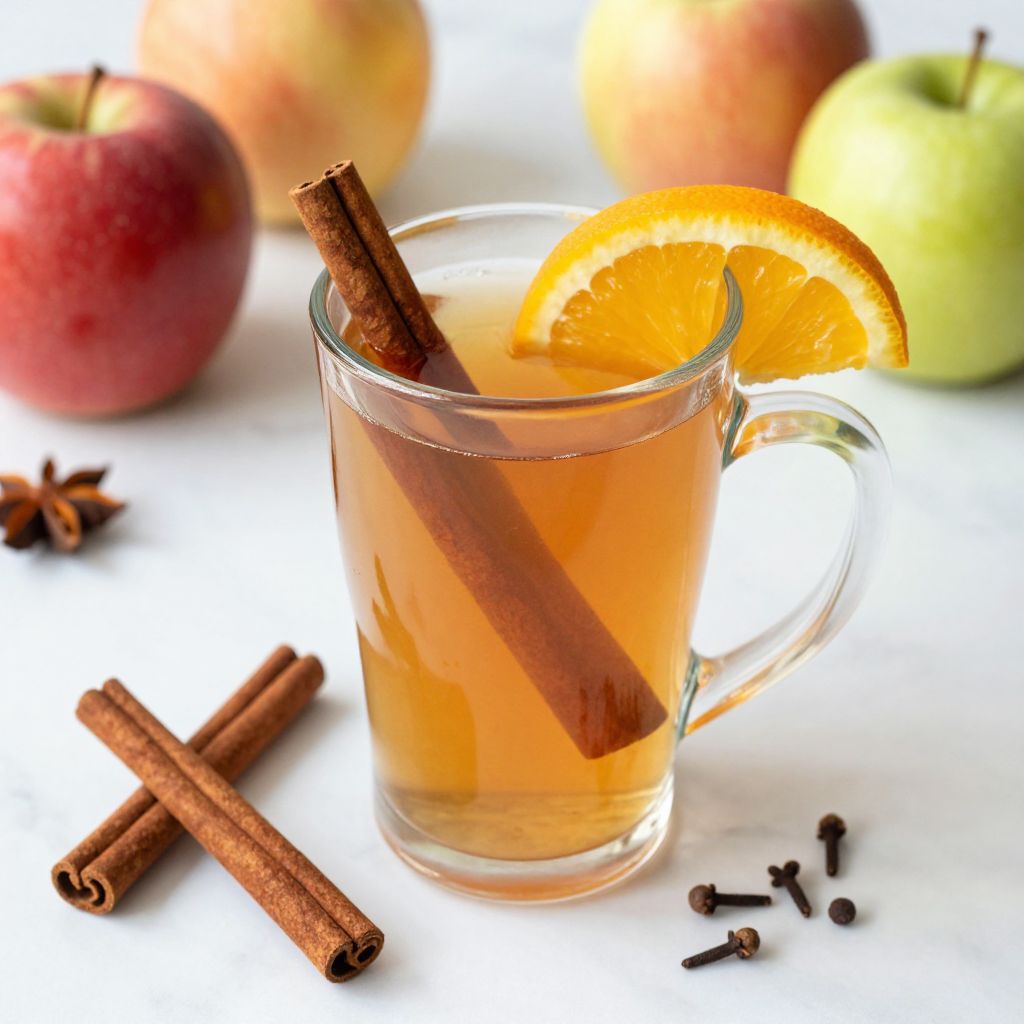
Homemade Apple Cider
Ingredients
Equipment
Method
- Wash the apples thoroughly.
- Core and quarter the apples, leaving the skins on.
- In a large pot, add the apple quarters, brown sugar, cinnamon, cloves, allspice, and orange slices.
- Pour in enough water to cover the apples completely.
- Heat the mixture over medium-high heat until it reaches a boil.
- Reduce the heat and let the mixture simmer for about 2 hours.
- Once the cider has simmered and the apples are soft, use a strainer or cheesecloth to separate the liquid from the solids.
- Pour the warm cider into mugs and enjoy it as is, or add a cinnamon stick.