
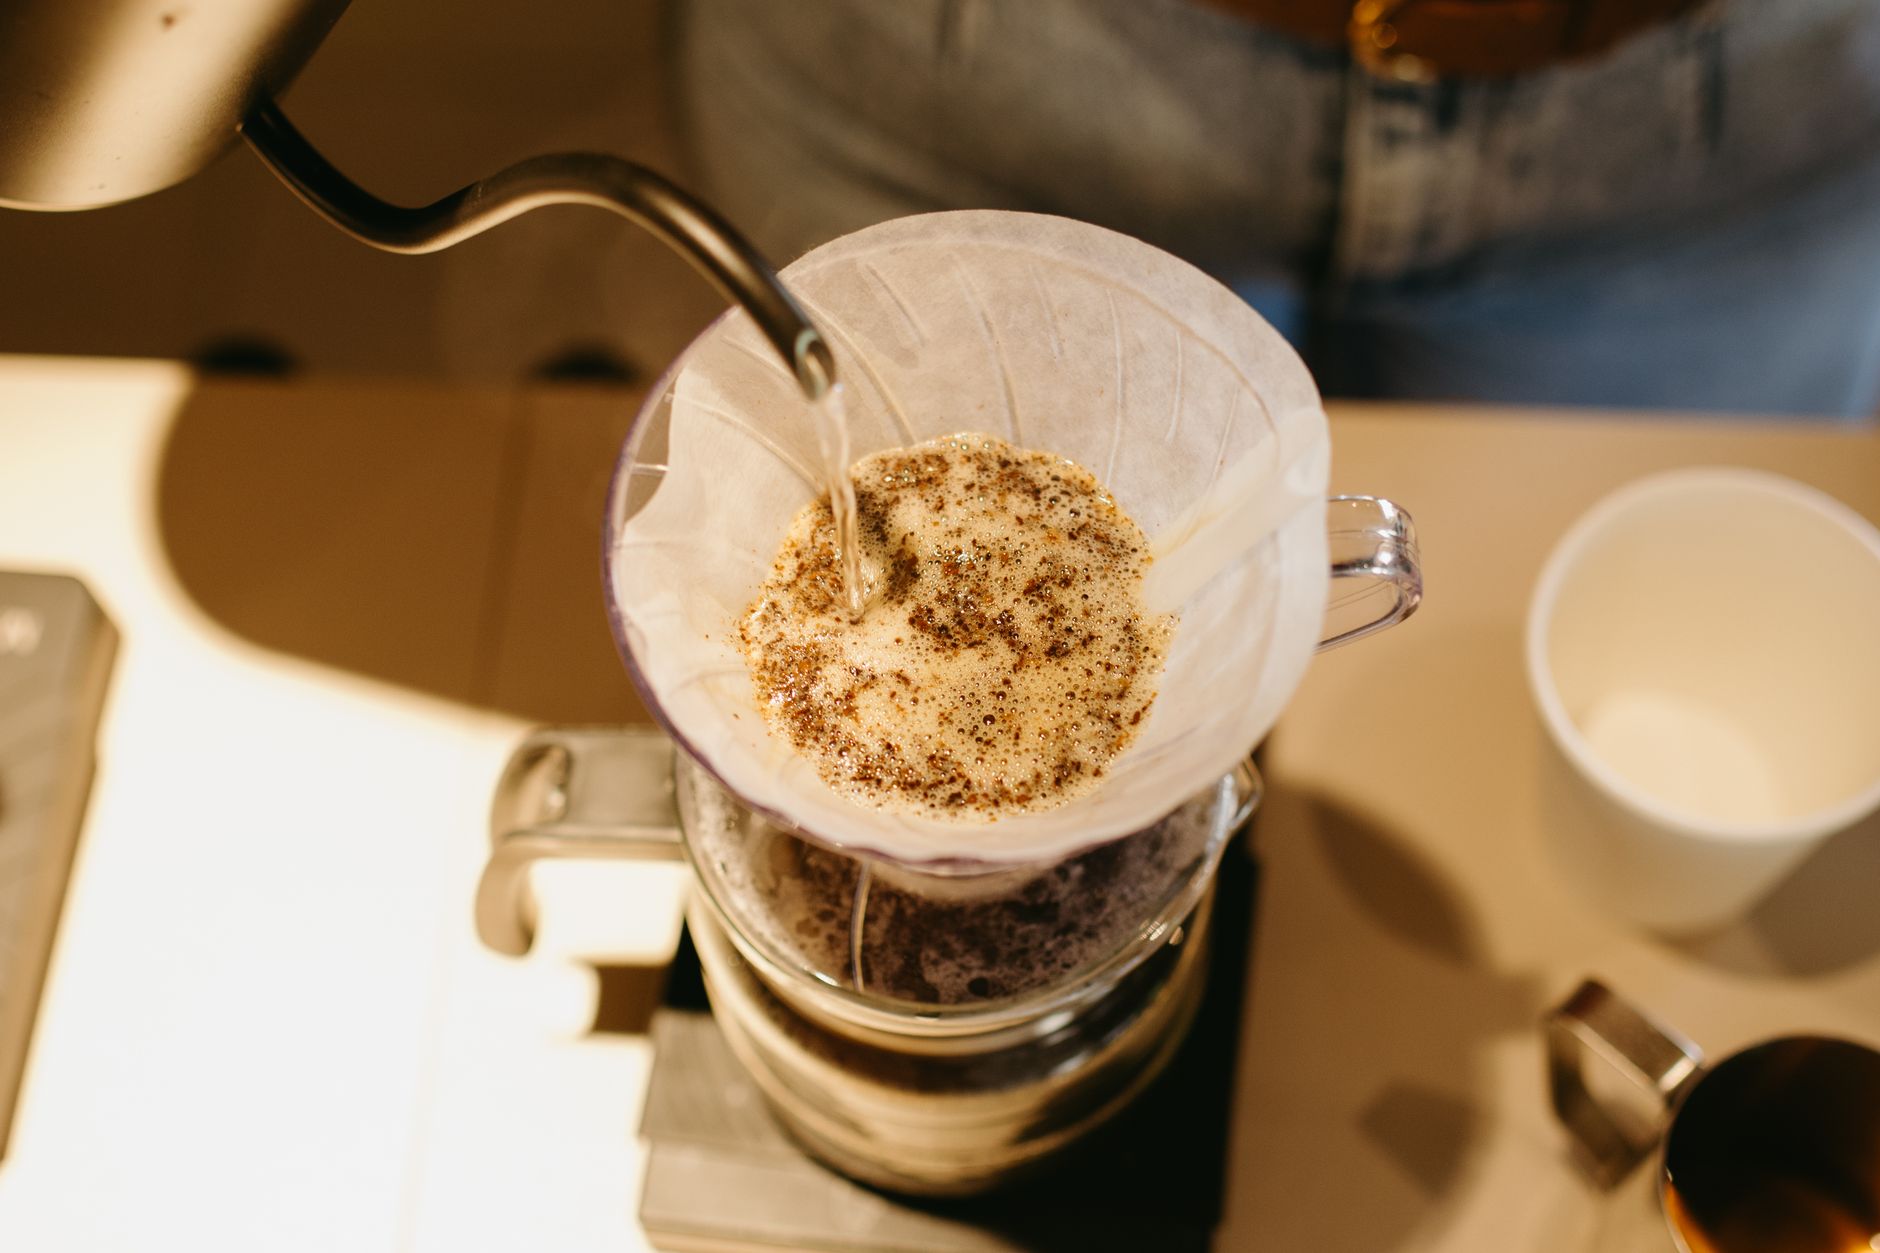
Coffee percolation is a classic brewing method that produces bold, flavorful coffee. Though it has fallen out of favor to more modern methods, like drip brewing or single-serve machines, many coffee enthusiasts appreciate the unique taste that a percolator can deliver. Understanding how long to let your coffee percolate is crucial for brewing the perfect cup.
This article explores the percolation process, the ideal timing for brewing coffee, and various tips for enhancing flavor. Whether you are a newcomer to coffee or a seasoned aficionado, learning the nuances of percolation will deepen your appreciation for this time-honored brewing technique.
How Long Do You Let Coffee Percolate?
The optimal time to let coffee percolate typically lasts between 5 to 10 minutes. This timing ensures that the water extracts the right amount of flavors from the coffee grounds without becoming bitter. Factors such as the grind size, coffee variety, and personal preference can affect this duration.
Understanding the Percolation Process
Percolation is a brewing method that relies on gravity and heat to extract flavors from coffee grounds. Here’s how it works:
- Water is heated in a lower chamber of the percolator.
- As the water boils, it rises through a tube and onto the coffee grounds in the upper chamber.
- The brewed coffee then drains back down into the lower chamber, where it can heat again, continuing the extraction process.
- This cycle repeats until the desired flavor strength is achieved.
Unlike other brewing methods, percolation allows you to control the strength of the coffee by adjusting the brewing time. The longer the coffee percolates, the stronger and more concentrated it becomes, but over-extraction can lead to undesirable bitterness.
Factors That Affect Brewing Time
Several factors will influence how long you should let your coffee percolate:
1. Grind Size
The grind size of your coffee beans plays a significant role in the brewing time. Finer grinds extract flavors more quickly, potentially resulting in over-extraction if brewed for too long. Coarser grinds take longer to extract flavors, which may require a longer brewing time.
2. Coffee Type
Different coffee varieties have unique flavor profiles and strengths. A lighter roast may require less brewing time compared to a darker roast, as the latter often has bolder flavors that require longer extraction periods.
3. Equipment
The type of percolator can also affect the brewing process. Electric percolators maintain a steady temperature and consistent brewing environment, while stove-top models may vary in heat application, impacting the time required to achieve the desired flavors.
4. Personal Preference
Your personal taste preference is ultimately the most crucial factor. Some people incline toward milder coffee, while others prefer a stronger brew. Adjusting the timing to suit your taste buds can elevate your coffee experience.
Step-by-Step Guide to Brewing Coffee in a Percolator
Here’s a detailed guide to brewing coffee using a percolator:
Ingredients
- Water (enough to fill the lower chamber of the percolator)
- Coffee beans (coarsely ground or ground to your preference — 1 tablespoon per 6 ounces of water is a good starting point)
Essential Equipment
- Percolator (electric or stove-top)
- Coffee grinder (if using whole beans)
- Measuring spoon or scale
- Cup for serving
Method
- Begin by measuring out your water. A standard guideline is 6 ounces of water per 1 tablespoon of coffee grounds.
- If using whole beans, grind them to your desired size; coarser grinds work well for percolators.
- Fill the lower chamber of the percolator with water, then place the coffee grounds in the filter basket.
- Assemble the percolator according to the manufacturer’s instructions.
- If using a stove-top model, place the percolator on medium heat. For electric models, turn them on and set to brew.
- Start a timer; let the coffee brew for 5 to 10 minutes, depending on your preference.
- Watch the coffee as it brews. It should bubble up through the top section and gradually change color.
- When your timer goes off, or when the coffee has developed to your liking, turn off the heat (if using a stove-top) or let the electric model cool down automatically.
- Carefully pour the coffee into a cup and enjoy!
Troubleshooting Common Percolation Issues
If your coffee doesn’t turn out as expected, consider the following troubleshooting tips:
Over-Extraction
Results in a bitter taste. To avoid this, reduce your brewing time or coarsen your grind size.
Under-Extraction
If your coffee tastes weak or sour, you may not have brewed it long enough. Increase the brewing time and ensure your grind size is appropriate.
Unbalanced Flavor Profile
If certain flavors dominate, try adjusting the coffee-to-water ratio. Balancing the amount of coffee grounds to water can help achieve a more harmonious flavor.
Enhancing Your Percolated Coffee Experience
There are several ways to customize your percolated coffee for a more enjoyable experience:
1. Infuse Flavors
You can add spices like cinnamon or nutmeg to your coffee grounds before brewing for added dimensions of flavor. Experiment with vanilla extract or flavored syrups after brewing as well.
2. Experiment with Brew Times
The beauty of percolation is the ability to trial different brew times. Try cutting brewing time down for a lighter cup or extending it for a stronger taste. Find what fits your palate.
3. Serve with Complementary Ingredients
Pair your coffee with milk, cream, or a sweetener that elevates its natural flavors. Explore plant-based options such as almond or oat milk for unique flavors that complement your brew.
4. Choose Quality Beans
The quality of your coffee beans significantly affects the end result. Consider sourcing freshly roasted coffee from local roasters or specialty stores. Look for single-origin beans to explore diverse flavors.
Storage and Maintenance of Your Percolator
Proper maintenance of your percolation equipment can enhance the longevity and the quality of your brews.
Cleaning
Ensure to clean your percolator after each use. Rinse all parts with warm water, avoiding soap, which can leave harsh residues. For stubborn stains, soak the chambers in a mixture of vinegar and water.
Storage
Store your percolator in a dry place. Keep it assembled to maintain its integrity unless you need to save space; ensure all parts are completely dry before storing them to prevent rusting.
Common Mistakes to Avoid When Percolating Coffee
Avoiding common pitfalls will improve your coffee experience.
Skipping the Grinding Step
Using pre-ground coffee may save time, but freshly ground beans provide a richer flavor profile. Invest in a quality grinder for the best results.
Ignoring Temperature Control
Too high of a heat setting can lead to constant boiling, which can over-extract flavors quickly. Maintain a moderate flame or heat setting to regulate the brewing process.
Not Timing Your Brew
Failing to keep track of your brew time can result in poor flavor. Use a timer to ensure consistency in your coffee-making process.
Conclusion
Understanding how long to let coffee percolate is essential for enjoying a flavorful cup of coffee. With a brewing time of 5 to 10 minutes, you can craft the perfect brew tailored to your preferences. Experiment with different factors, such as grind size and coffee types, to enhance your coffee experience further.
If you’re interested in branching out from percolated coffee, explore our guides on making a Long Black Coffee or a Long Beach Iced Coffee. These variations can also help you expand your coffee repertoire and find your perfect brew.