
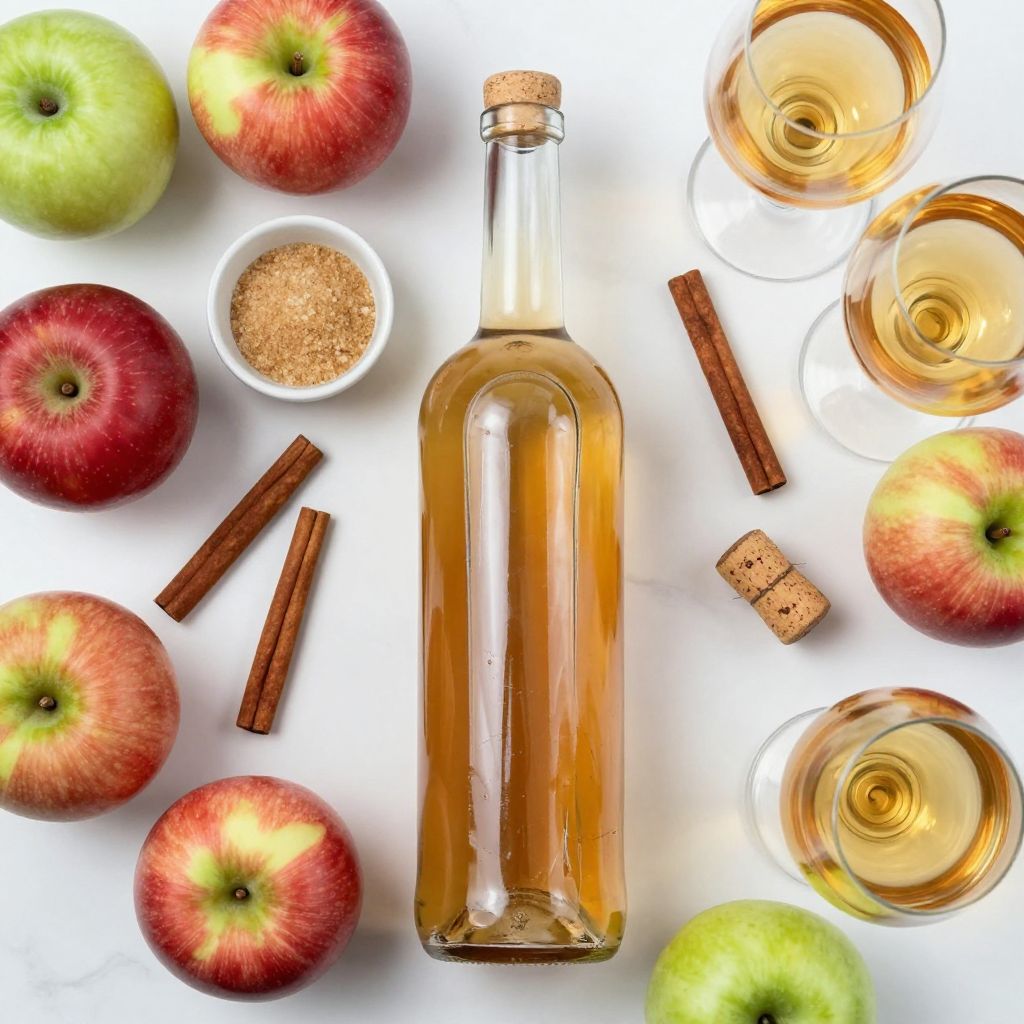
Picture this: a crisp autumn afternoon, the scent of ripe apples filling the air, and a bubbling cauldron of homemade apple wine transforming your kitchen into a cozy haven. This Apple Wine Recipe is not just about sipping; it’s about crafting a delightful drink that warms the heart and brings friends together. With its sweet, fruity notes and a hint of spice, this wine is perfect for gatherings or simply enjoying on your porch as the leaves turn. So roll up your sleeves and let’s get started, because making your own apple wine is easier than you might think!
Why You’ll Love This Recipe
This apple wine is a delightful project that rewards your patience with a delicious outcome. You’ll enjoy the satisfaction of homemade wine without complicated techniques.
- Deliciously fruity and aromatic.
- Perfect for sharing at gatherings.
- Customizable to suit your taste.
- Cost-effective compared to store-bought options.
- A fun activity for wine enthusiasts and beginners alike.
My Experience Making This Recipe
When I first made this Apple Wine, I was surprised by how the simple ingredients transformed into something so flavorful. The aroma during fermentation filled my home, making it hard to resist sneaking a taste.
After a few weeks of waiting, the first sip was nothing short of a revelation. It was crisp, refreshing, and packed with apple goodness, making it clear that this recipe would become a staple in my seasonal traditions.
Recipe Overview
- Recipe Name: Apple Wine Recipe
- Servings: 40
- Prep Time: 30 minutes
- Cook Time: 30 minutes
- Total Time: 6 weeks
- Course: Beverage
- Cuisine: American
- Calories per Serving: 120
Equipment You Will Need
- Fermentation vessel (5-gallon carboy or bucket)
- Airlock and stopper
- Siphon or racking cane
- Hydrometer
- Large pot for boiling
- Measuring cups and spoons
- Clean bottles for storage
- Funnel
Ingredients for Apple Wine Recipe
- 5 gallons of fresh apple juice
- 2 cups of granulated sugar
- 1 packet of wine yeast (Champagne or white wine yeast)
- 1 teaspoon of yeast nutrient
- 1 teaspoon of acid blend
- 1/4 teaspoon of potassium metabisulfite (optional for preservation)
- Water (if needed to adjust juice quantity)
Ingredient Notes and Substitutions
- Fresh apple juice: Provides the base flavor; bottled juice can be used, but ensure it is 100% juice without preservatives.
- Granulated sugar: Helps boost fermentation; brown sugar or honey can be used for a different flavor profile.
- Wine yeast: Essential for fermentation; baker’s yeast is a substitute, but the flavor may differ.
- Yeast nutrient: Supports yeast health; it can be omitted if you’re using high-quality juice.
- Potassium metabisulfite: Acts as a preservative; can be skipped if you plan to consume the wine quickly.
How to Make Apple Wine Recipe
Step 1: Prepare the Equipment
Start by cleaning all your equipment. Sanitizing prevents unwanted bacteria from ruining your wine.
Step 2: Heat the Apple Juice
Pour the apple juice into a large pot and heat it gently. This helps dissolve the sugar and sterilizes the juice.
Step 3: Add Sugar and Nutrients
Stir in the granulated sugar and yeast nutrient until fully dissolved. This boosts fermentation and ensures a balanced flavor.
Step 4: Cool the Mixture
Remove the pot from heat and let the mixture cool to room temperature. Yeast can be killed by high temperatures, so patience here is key.
Step 5: Add the Yeast
Once cooled, sprinkle the yeast over the surface of the juice. Do not stir; the yeast will activate and sink on its own.
Step 6: Transfer to Fermentation Vessel
Carefully pour the mixture into your fermentation vessel. Use a funnel to avoid spills and ensure a clean transfer.
Step 7: Fit the Airlock
Seal your fermentation vessel with an airlock. This allows gases to escape while keeping contaminants out.
Step 8: Ferment the Wine
Place the vessel in a cool, dark area and let it ferment for about 4 to 6 weeks. Check periodically for bubbling, which indicates fermentation is active.
Pro Tip: Be patient; the longer you let it ferment, the better the flavor will develop.
Tips for the Best Apple Wine
- Use fresh, high-quality apple juice for the best flavor.
- Keep the fermentation area at a consistent temperature, ideally around 65-75°F.
- Make sure all equipment is sanitized to avoid contamination.
- Monitor fermentation regularly, but avoid excessive opening of the vessel.
- Consider aging the wine for a few months for enhanced flavors and complexity.
Common Mistakes to Avoid
- Skipping sanitization can lead to spoiled wine; always clean your gear.
- Using juice with preservatives can hinder fermentation; opt for pure juice.
- Rushing the fermentation process often results in off-flavors; patience is key.
- Not checking for bubbles can cause concern; fermentation isn’t always visually obvious.
- Over-sweetening can make your wine cloying; taste as you go.
Serving Suggestions
This apple wine pairs beautifully with a variety of foods and occasions. Serve it chilled or at room temperature for the best experience.
- Cheese platters with sharp cheddar or brie.
- Charcuterie boards featuring cured meats.
- Spicy dishes like barbecue for a sweet contrast.
- Light desserts such as apple pie or tarts.
- As a refreshing aperitif on its own.
Variations to Try
- Add spices like cinnamon or cloves for a warm, festive twist.
- Mix in other fruit juices, such as pear or cranberry, for a unique flavor.
- Experiment with different types of apples to discover new profiles.
- Try adding a bit of ginger for a spicy kick.
- For sparkling wine, carbonate after fermentation.
Dietary Adaptations
- Gluten-free: This recipe is naturally gluten-free.
- Dairy-free: No dairy is used, making it suitable for all diets.
- Vegan: The ingredients are plant-based and vegan-friendly.
- Low-carb/Keto: Reduce sugar for a lower-carb option, but expect a different taste.
Storage and Reheating
Refrigerator
Store your finished apple wine in a cool, dark place or the refrigerator. Make sure bottles are sealed tightly to preserve flavor.
- Best consumed within a year for optimal freshness.
- Keep bottles upright to avoid sediment disturbance.
Freezer
While freezing is not recommended for wine, if you must, use ice cube trays for small portions. Just know it may alter the texture.
- Use within 3 months for the best quality.
- Thaw in the refrigerator before serving.
Reheating
Apple wine is best enjoyed chilled, but if you want to warm it, do so gently. Avoid boiling to preserve its flavor.
- Heat in a saucepan over low heat.
- Avoid microwave heating as it can alter the flavor.
Nutrition Information
| Nutrient | Amount |
|---|---|
| Calories | 120 |
| Total Fat | 0g |
| Saturated Fat | 0g |
| Carbohydrates | 30g |
| Fiber | 0g |
| Sugar | 28g |
| Protein | 0g |
| Sodium | 5mg |
| Cholesterol | 0mg |
This information is approximate and can vary based on the specific ingredients used in your recipe.
Frequently Asked Questions
Can I use store-bought juice?
Yes, but ensure it is 100% juice without preservatives for the best results.
How long can I store my apple wine?
For optimal flavor, consume within a year, but it can last longer if stored properly.
Can I make this wine without yeast?
While it is possible, yeast is crucial for fermentation and developing flavor.
Why is my apple wine not bubbling?
This could indicate that fermentation has stopped; check the temperature or consider adding more yeast.
Can I add more sugar during fermentation?
Yes, but do so cautiously and taste as you go to avoid overly sweet wine.
Final Thoughts
Making your own Apple Wine is not just a project; it’s a delightful way to capture the essence of autumn. The flavors, aromas, and the joy of sharing it with others make the effort truly worthwhile.
So gather those apples, roll up your sleeves, and enjoy the wonderful process of crafting your own wine. For more inspiration, check out this homemade wine recipe or try an apple cider martini recipe for a fun twist!
Apple Wine Recipe
Ingredients
Equipment
Method
- Start by cleaning all your equipment to prevent unwanted bacteria.
- Pour the apple juice into a large pot and heat it gently.
- Stir in the granulated sugar and yeast nutrient until fully dissolved.
- Remove the pot from heat and let the mixture cool to room temperature.
- Once cooled, sprinkle the yeast over the surface of the juice and do not stir.
- Carefully pour the mixture into your fermentation vessel, using a funnel.
- Seal your fermentation vessel with an airlock.
- Place the vessel in a cool, dark area and let it ferment for about 4 to 6 weeks.