
Picture this: a cozy morning with the scent of freshly brewed coffee wafting through your kitchen. You take a sip and add a splash of homemade almond milk creamer, instantly transforming your cup into a creamy delight that feels like a warm hug.
This recipe is not just about making coffee better; it’s about creating a rich, velvety creamer that’s dairy-free and full of flavor. With its nutty essence and smooth texture, this creamer is a versatile addition to your coffee, tea, or even smoothies.
Let’s get started on crafting your own delicious almond milk creamer with just a few simple ingredients!
Why You’ll Love This Recipe
This almond milk creamer is a delightful way to enhance your beverages.
- Rich and creamy texture that rivals store-bought options.
- Completely dairy-free and vegan.
- Customizable flavors to suit your taste.
- Simple and quick to make with minimal ingredients.
- Great for coffee, tea, and even in baking recipes.
My Experience Making This Recipe
When I first whipped up this almond milk creamer, I was amazed at how easy it was to make. The first sip was a revelation, with its nutty flavor making my coffee feel like a luxurious treat.
It quickly became a staple in my kitchen. Friends and family were shocked when I revealed how simple it was to prepare, and they couldn’t get enough of it!
Recipe Overview
- Recipe Name: Almond Milk Creamer
- Servings: 4
- Prep Time: 5 minutes
- Cook Time: 0 minutes
- Total Time: 5 minutes
- Course: Beverage
- Cuisine: Vegan
- Calories per Serving: 30
Equipment You Will Need
- High-speed blender
- Nut milk bag or fine mesh strainer
- Measuring cups
- Glass container for storage
Ingredients for Almond Milk Creamer
- 1 cup raw almonds
- 4 cups water
- 1-2 tablespoons maple syrup (optional)
- 1 teaspoon vanilla extract (optional)
- Pinch of salt
Ingredient Notes and Substitutions
- Raw almonds: These provide a rich flavor and creaminess. You can substitute with cashews for a creamier texture.
- Maple syrup: This adds sweetness to the creamer. Agave syrup or honey can be used instead.
- Vanilla extract: It enhances the flavor profile. Feel free to omit if you prefer a more neutral taste.
How to Make Almond Milk Creamer
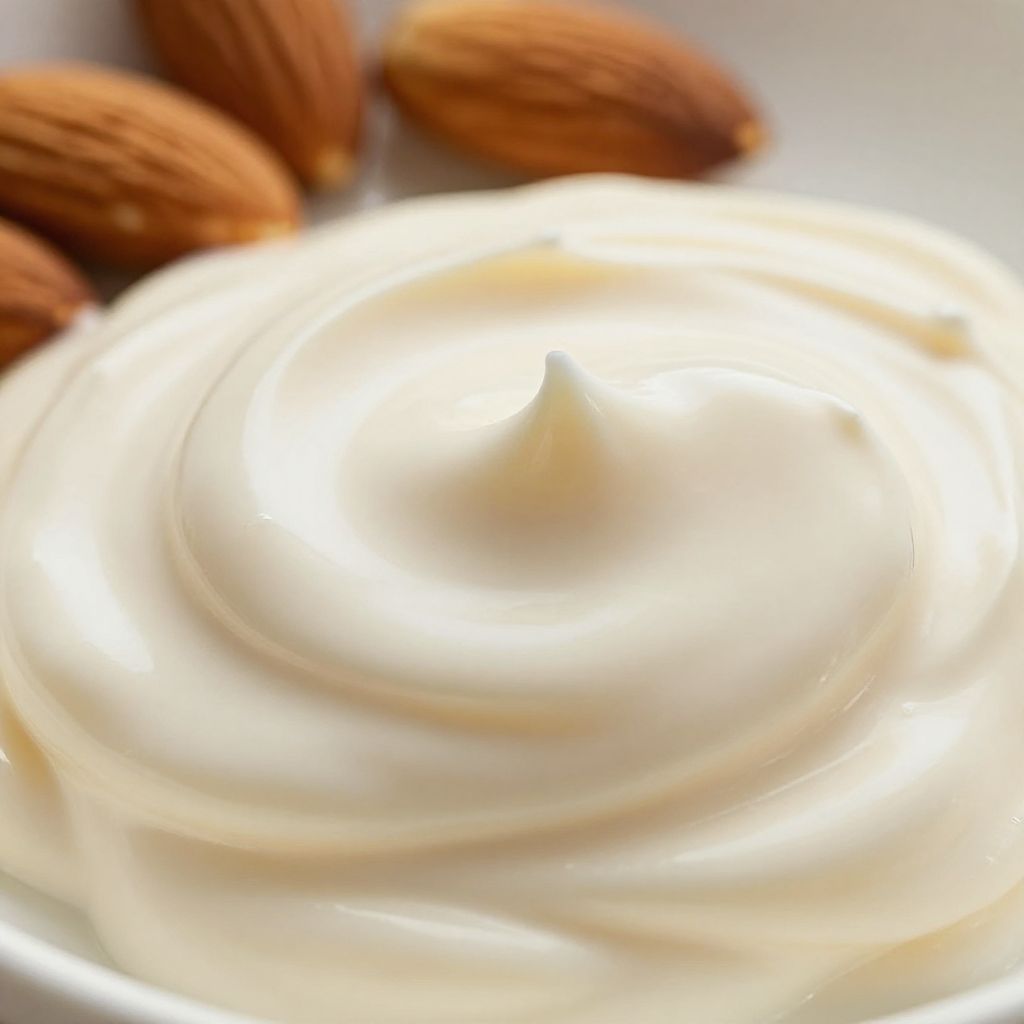
Step 1: Soak the Almonds
Start by soaking the almonds in water for at least 6 hours or overnight. Soaking softens the nuts, making them easier to blend and resulting in a creamier texture.
Step 2: Drain and Rinse
After soaking, drain and rinse the almonds under cold water. This helps remove any phytic acid and makes the nuts easier to digest.
Step 3: Blend the Almonds
Place the soaked almonds in a high-speed blender with 4 cups of fresh water. Blend on high until the mixture looks creamy and smooth, about 1-2 minutes.
Step 4: Strain the Mixture
Pour the blended mixture through a nut milk bag or fine mesh strainer into a large bowl. This separates the almond milk from the almond pulp.
Step 5: Squeeze Out Excess Liquid
Gently squeeze the nut milk bag to extract as much liquid as possible. The more you squeeze, the creamier your almond milk creamer will be.
Step 6: Add Flavoring
Return the strained almond milk to the blender and add maple syrup, vanilla extract, and a pinch of salt. Blend for an additional 30 seconds to combine all the flavors.
Step 7: Store the Creamer
Transfer the almond milk creamer to a glass container with a tight lid. It will keep in the refrigerator for up to 5 days.
Step 8: Shake Before Use
Before using, give the container a good shake to mix any settled cream. This ensures every cup is just as delicious as the last.
Pro Tip: For a thicker creamer, reduce the water to 3 cups during blending.
Tips for the Best Almond Milk Creamer
- Always soak the almonds to enhance creaminess.
- Experiment with flavorings like cinnamon or cocoa powder for a unique twist.
- Use a high-speed blender for the smoothest results.
- Don’t skip squeezing the nut milk bag; it makes a big difference.
- Store in a glass container for freshness and flavor preservation.
Common Mistakes to Avoid
- Skipping the soaking step: this results in a grainy texture.
- Not straining well: this leads to a chunky creamer.
- Using too much water: it dilutes the flavor and creaminess.
- Forgetting to shake before use: this causes separation and uneven texture.
Serving Suggestions
This almond milk creamer is perfect for coffee lovers looking to add a touch of creaminess to their drinks.
- Pair it with your favorite brewed coffee.
- Add it to tea for a smooth finish.
- Use it in smoothies for extra creaminess.
- Drizzle over oatmeal or pancakes.
Variations to Try
- Chocolate Almond Creamer: Add 2 tablespoons of cocoa powder for a chocolatey delight.
- Cinnamon Almond Creamer: Incorporate 1 teaspoon of ground cinnamon for a warm spice.
- Hazelnut Almond Creamer: Blend in roasted hazelnuts for a nutty twist.
- Maple Pecan Creamer: Use pecans instead of almonds for a different flavor.
Dietary Adaptations
- Gluten-free: This recipe is naturally gluten-free.
- Dairy-free: Perfect for those avoiding dairy.
- Vegan: All ingredients are plant-based.
- Low-carb/Keto: Keep the sweeteners minimal for a low-carb option.
Storage and Reheating
Refrigerator
Store the almond milk creamer in the refrigerator in a sealed container.
- Good for up to 5 days.
Freezer
For longer storage, freeze in ice cube trays.
- Transfer to a freezer bag once frozen for easy use.
Reheating
Reheat gently on the stovetop or in the microwave.
- Heat until just warm, not boiling.
Nutrition Information
| Nutrient | Amount |
|---|---|
| Calories | 30 |
| Total Fat | 2.5g |
| Saturated Fat | 0.2g |
| Carbohydrates | 1g |
| Fiber | 0.5g |
| Sugar | 0.5g |
| Protein | 1g |
| Sodium | 1mg |
| Cholesterol | 0mg |
This nutrition information is an estimate and may vary based on ingredients used.
Frequently Asked Questions
Can I use blanched almonds instead of raw?
Yes, blanched almonds work well and may result in a smoother texture.
Can I make this creamer ahead of time?
Absolutely! It can be made a few days in advance and stored in the fridge.
How do I store leftover almond pulp?
The leftover almond pulp can be dried and used in baking or smoothies to reduce waste.
Why is my creamer separating?
Separation is normal; just give it a good shake before using.
Can I add other flavors?
Yes! Feel free to experiment with different spices or sweeteners.
Final Thoughts
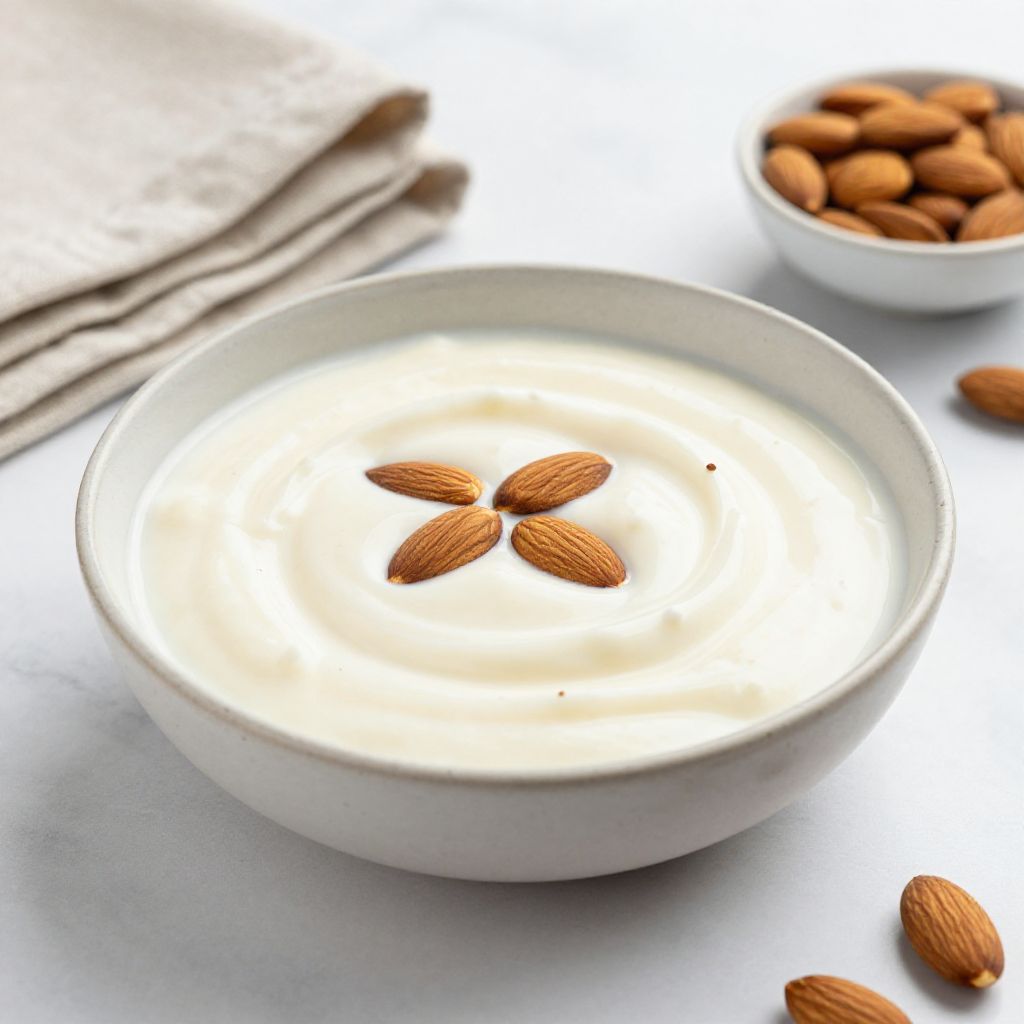
Making your own almond milk creamer is a rewarding experience that brings both flavor and comfort to your morning routine. Give this recipe a try, and enjoy the delightful creaminess it brings to your beverages.
For more delicious ideas, check out this oat milk creamer recipe or indulge in a festive peppermint mocha creamer recipe. Happy brewing!
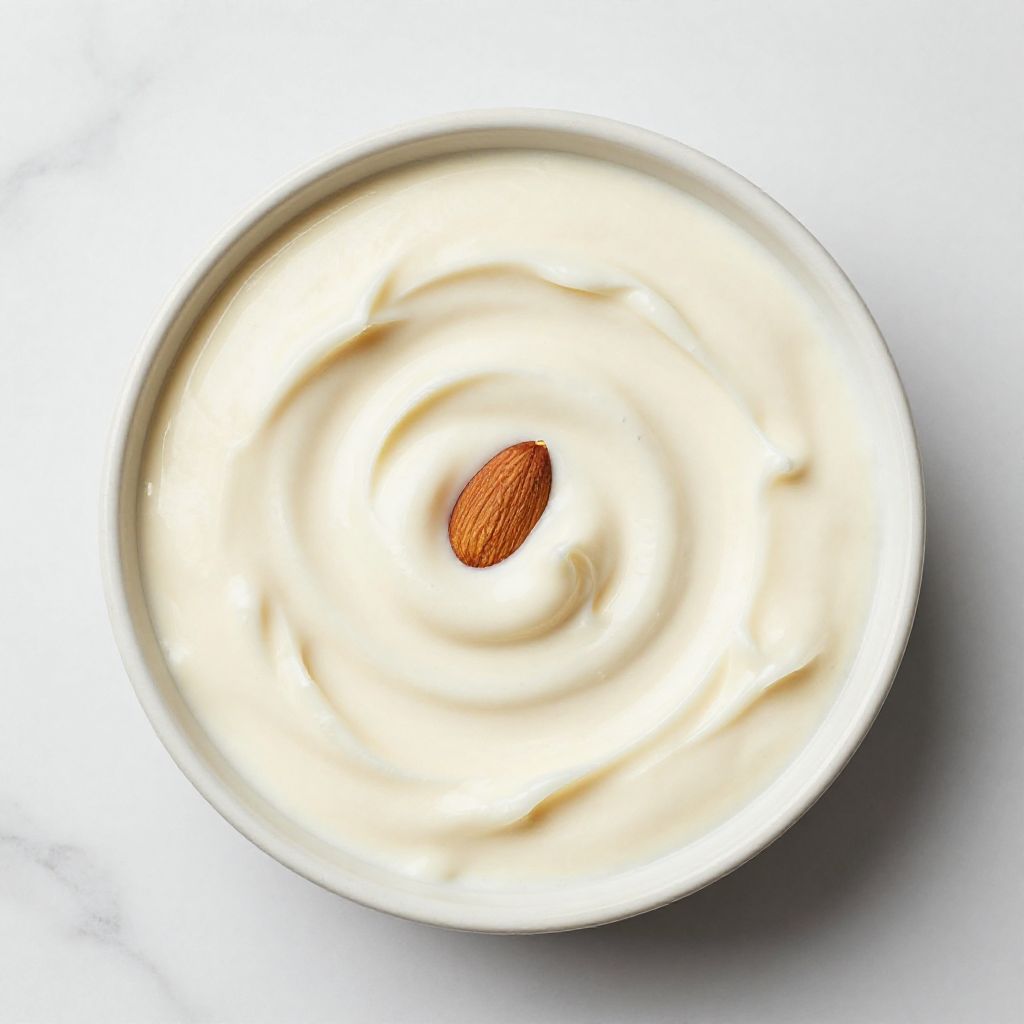
Almond Milk Creamer
Ingredients
Equipment
Method
- Soak 1 cup raw almonds in water for at least 6 hours or overnight.
- Drain and rinse the soaked almonds under cold water.
- Place soaked almonds and 4 cups of fresh water in a high-speed blender and blend on high for 1-2 minutes until smooth.
- Pour the blended mixture through a nut milk bag or fine mesh strainer into a bowl to separate the liquid from the pulp.
- Gently squeeze the nut milk bag to extract all the liquid.
- Return the strained almond milk to the blender, add maple syrup, vanilla extract, and a pinch of salt, then blend for 30 seconds to combine.
- Transfer the almond milk creamer to a glass container with a tight lid and refrigerate for up to 5 days.
- Shake well before each use to recombine any settled cream.